SETUP INSTRUCTIONS
INSTALL BATTERY
Turn the meter over to gain access to the battery compartment.
To open the compartment:
1) Use a small Phillips-head screwdriver to remove the single screw near
the top of the one-piece battery compartment cover/flip-up stand.
2) Remove the cover/stand and set it aside.
3) After removing the plastic wrap from the “9V” battery in the
compartment, plug the battery into the wired socket inside the
compartment. The terminals of the battery and the socket mate in
only one way, with the smaller male terminal plugging into the
larger female terminal.
4) Secure the battery compartment by replacing the cover/stand and
reinstalling and tightening the Phillips-head screw.
OPERATING INSTRUCTIONS
GENERAL INSTRUCTIONS
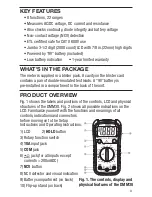
All parameters are measured through the included test leads. Unless
you are measuring DC currents larger than 200 mA, plug the red test
lead into the
jack and the black test lead into the
COM
jack.
To measure currents larger than 200 mA, plug the red lead into the
10A
jack (Fig. 1, Callout 4) and the black lead into the
COM
jack.
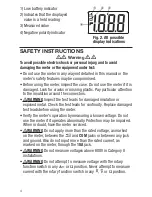
HOLDING READINGS
Pressing the
HOLD
button “freezes” any measurement on the LCD and
causes the symbol
to appear at its left. Pressing the button again
releases the hold, removes the symbol and resumes real-time
measurements.
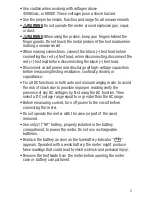
MEASURING AC OR DC VOLTAGE
••
Warning
••
Do not measure any AC or DC voltage higher than 600V. Doing so may
damage the meter’s internal circuitry.
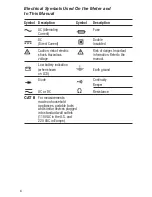
(1) Turn the rotary switch to one of the
or
positions, depending on
the type (AC or DC) and amplitude of voltage you expect to
7


