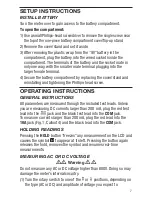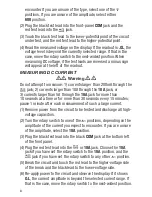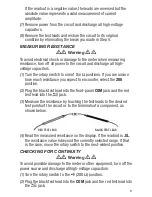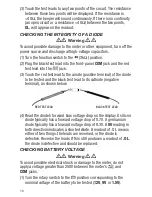
OPERATING & MAINTENANCE TIPS
When the
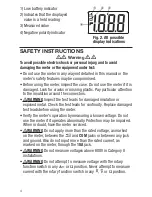
icon appears in the upper left corner of the LCD,
immediately replace the “9V” battery that powers the meter. Before
following the instructions on p. 7, power off the meter and unplug the
test leads.
To replace a blown fuse:
1. Power off the meter.
2. Unplug the test leads.
3. Remove the meter's outer holster by using both hands to spread it
apart.
4. Loosen the screw that secures the meter’s back cover.
5. Remove the four Phillips-head screws that secure the two halves of
the housing and pull the two halves apart.
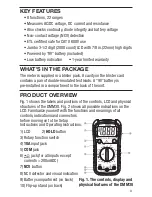
6. Locate the blown fuse on the circuit board. The DMM30 uses two
different ceramic fuses. The
jack is protected by an
F250mA/250V fuse. The
10A
jack is protected by an F10A/250V
fuse. Each fuse is located directly behind the jack it protects.
7. Using another multimeter or a continuity checker, verify that the
suspected blown fuse produces a resistance reading consistent
with an open circuit.
8. Replace the blown fuse by a fuse with the same current and voltage
ratings.
9. Rejoin both halves of the housing by replacing and tightening its
four screws.
10. Replace the back cover and tighten its screw.
11. Replace the outer holster.
Do not operate the DMM30 in the presence of a flammable or
explosive gas or near an arc welder or induction heater.
After subjecting the meter to a large change in ambient temperature,
wait at least 30 minutes before making measurements to guarantee
the accuracy of readings.
Remove the battery when storing the meter or when you do not expect
to use it for an extended period of time (months rather than weeks).
Do not disassemble the meter or immerse it in water.
13


