page | 58
B
asic Oper
ation
B
asic Oper
ation
Front Panel Operation
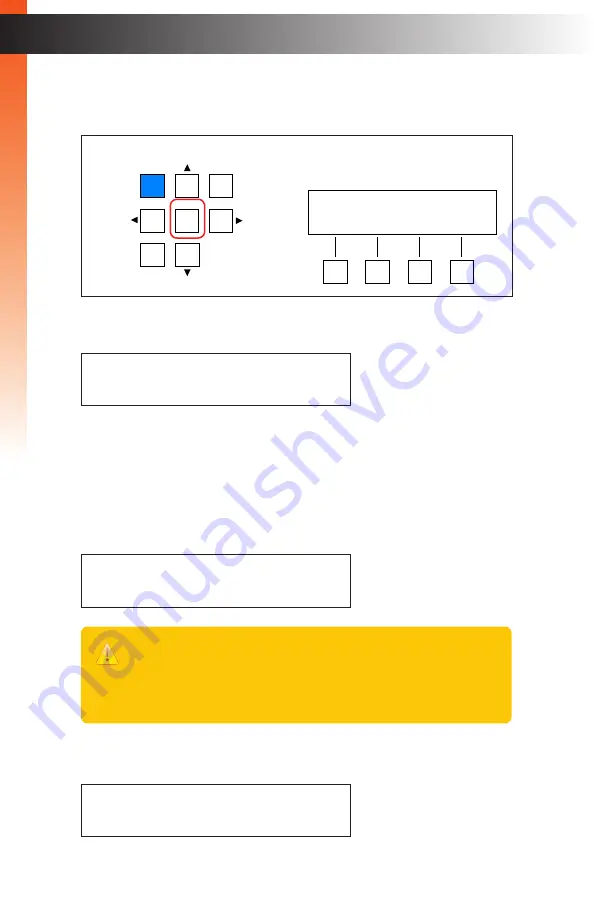
5. Press the
OK
button to enter the menu.
6. The current IP mode setting will be displayed.
7. Press the
OK
button, again, to edit the current setting.
8. Press the
▲
or
▼
buttons to select either
Static
or
DHCP
. In this example, we will
leave the IP mode setting as
Static
. Consult your network administrator, if necessary,
for required network configuration settings.
9. Press the
OK
button to save the current changes.
10. The following screen will be displayed, momentarily:
11. After a few seconds, the IP Mode menu will be displayed.
LAN
Matrix Controller
Status
IR
Power
Menu
1
2
3
4
5
6
7
8
9
In
0
Out
Set
Clear
Mask
Preset
Back
OK
Lock
®
ip mode:
static
IP MODE: (edit)
static
IP MODE:
static
please reboot unit
to apply changes
Important
Any time a setting has been changed, this message will be displayed.
However, it is not required to reboot the unit until all desired changes have
been made. All changed settings are “saved” but will
only
be applied once
the unit is rebooted.
B
asic Oper
ation
B
asic Oper
ation
Summary of Contents for EXT-CU-LAN
Page 1: ...Audio Embedder 3GSDI EXT CU LAN User Manual Matrix Controller Release A1 1 Preferred...
Page 10: ......
Page 11: ...Matrix Controller 1 Getting Started...
Page 32: ......
Page 33: ...page 23 Matrix Controller 2 Basic Operation...
Page 114: ......
Page 115: ...Matrix Controller 3 Advanced Operation...
Page 157: ......
Page 158: ......
Page 159: ...page 149 Matrix Controller 4 Appendix...
Page 167: ......


