Geekpure GP-UV12W Installation And Maintenance Manual Download Page 1

Installation and Maintenance Manual

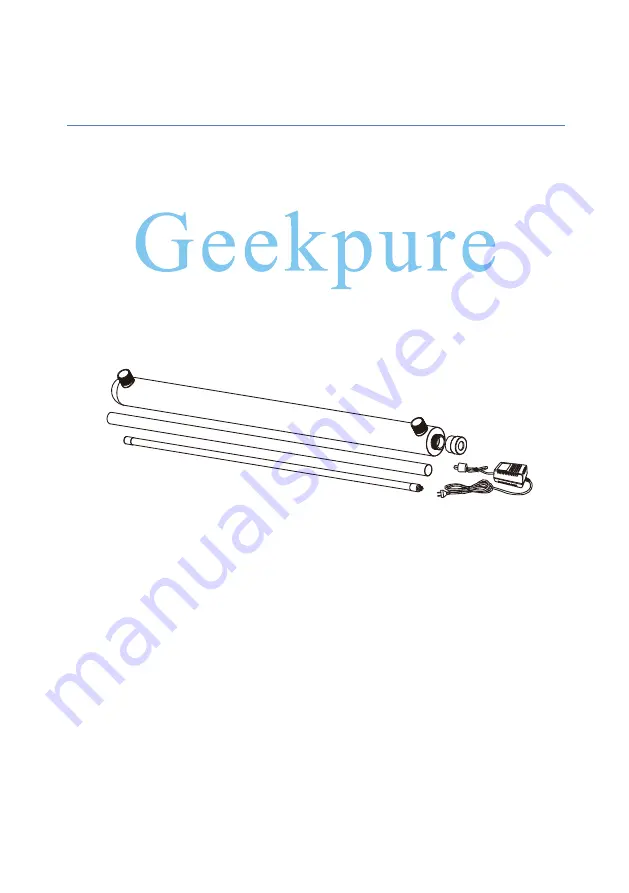
(Models:GP-UV6W, GP-UV12W, GP-UV55W)

INSTALLERS: 
PLEASE READ ALL INSTRUCTIONS BEFORE 
INSTALLING AND USING THIS SYSTEM.
PERFORMANCE IS GUARANTEED WHEN THE SYSTEM 
IS INSTALLED AND OPERATED APPROPRIATELY.

Ultraviolet Water Sterilizer

Summary of Contents for GP-UV12W

Page 1: ...Manual Models GP UV6W GP UV12W GP UV55W INSTALLERS PLEASE READ ALL INSTRUCTIONS BEFORE INSTALLING AND USING THIS SYSTEM PERFORMANCE IS GUARANTEED WHEN THE SYSTEM IS INSTALLED AND OPERATED APPROPRIATELY Ultraviolet Water Sterilizer ...

Page 2: ...How Your System Works Parts Included Specifications Safety Instructions Installation Instructions Disinfection Procedure Operating Maintenance Trouble Shooting Table of Contents 1 2 3 4 6 8 11 13 ...

Page 3: ...riendly alternative to chlorine disinfection and do not create carcinogenic by products usual for chemical disinfection such as Trihalomethanes THM UV systems are easy to operate and require little maintenance Geekpure Ultraviolet Water Sterilizer System Geekpure Ultraviolet Water Sterilizer System is uniquely designed to protect households from waterborne contaminants It includes a low pressure U...

Page 4: ...ting clips D Quartz Sleeve E UV Lamp F Ballast G NOTE 1 2PCS mounting clips included with GP UV6W and GP UV12W 3 pcs mounting clips included with GP UV55W 2 GP UV55W with extra 2sets quartz tube and UV lamp so total is 3 pcs UV lamp and 3pcs Quartz Sleeve in the box of GP UV55W 2 www geekpure cc ...

Page 5: ...Electrical 100 140V 200V 50 60Hz A inches cm 9 3 23 6 11 8 30 35 8 91 B inches cm 34 8 88 5 C inches cm 6 5 16 4 8 9 22 7 32 9 83 5 D inches cm 1 4 1 4 1 E inches cm 0 75 1 9 0 75 1 9 0 95 2 5 F inches cm 0 47 1 2 0 49 1 25 0 49 1 25 G inches cm 0 98 2 5 H inches cm 2 5 2 5 2 5 6 35 Quartz Sleeve inches cm 9 23 11 65 29 6 37 94 UV Lamp inches cm 8 46 21 5 11 3 28 7 36 4 92 5 A C E F H G D B C D D ...

Page 6: ...e treatment is essential for the UV disinfection system to operate as intended Safety Instructions To prevent injuries and ensure proper operation of the System please read and carefully follow these safety instructions Please save them for future reference WARNING Once the system is installed carefully examine it before connecting to power The system should be connected to a properly grounded ded...

Page 7: ...unsafe condition s may occur The UV water disinfection system is intended for indoor use only Make sure not to install it outside and expose the system to temperatures below freezing Drain all water from the system before storage Keep it in a dry warm place If while operating or storing the system you encounter any situation which is not addressed in this manual always request services of a profes...

Page 8: ...nto the Chamber until it fits into the bottom opening and goes through it The bottom end should contain the same amount of visible glass as another side of the Chamber Step 6 Screw the end Cap B onto the Stainless Steel Chamber A It will keep the Sleeve in place and prevent it from sliding Hand tighten both Caps do not use any tools Step 7 Carefully take out the UV Lamp F from packaging Do not touc...

Page 9: ...he Quartz Sleeve E Attach the Ballast G to the UV Lamp F Till now UV lamp is ready to be mounted The lamp can be mounted vertically or horizontally For the first time installation of the UV lamp it is recommended that quartz sleeve is installed in the horizontal position for better sealing purposes If the lamp installed vertically the incoming water should come from the bottom of the housing moving...

Page 10: ... is installed It should then be repeated every time the UV system has been out of service for any reason To disinfect the water distribution system take the following steps 2 Remove cartridges from all bowls of the housing water filter 3 Fill half of one filter bowl with the household 5 25 chlorine bleach and re install all the bowls without cartridges back into the filter housing head DO NOT use hyd...

Page 11: ...stem and while the UV system remains on shut off the water supply again and re install cartridges in the housing water filter 8 Turn on the water supply again Make sure you check the water for leaks and contaminants NOTE 1 Ensure that the UV system controller is plugged during the entire disinfection process 2 The disinfection procedure results in a massive chlorine presence in the water far in exc...

Page 12: ... Step 3 Wear gloves to prevent contamination of the lamp surface Step 4 Slowly pull the lamp cord away from the chamber and carefully disconnect the lamp from the cord Do not try to untwist the cord Simply pull it away Avoid touching the glass part of the lamp Step 5 Remove the lamp from the chamber Be careful not to angle the lamp as in case it touches the quartz sleeve the sleeve can be damaged ...

Page 13: ...To clean the quartz sleeve take the following steps Step 1 Shut off water supply and let water drain from the water pipes Step 2 Remove the UV lamp follow the UV lamp replacement instructions Step 3 Using the drain port drain water from the UV disinfection system chamber Step 4 Unscrew the close ended cap and carefully remove the silicone stopper Step 6 To install a new lamp follow instructions in...

Page 14: ...leeve and the UV lamp into the chamber following the installation instructions NOTE Very carefully remove the silicone stopper from the open end of the quartz sleeve After replacing the quartz sleeve or the UV lamp perform the disinfection procedure detailed in the disinfection procedure section of this manual In case the sleeve can no longer be cleaned completely is scratched or cracked replace i...

Page 15: ...maybe appropriate for older homes D Sediment filter malfunction D It is recommended that for best results a sediment filter be installed before the disinfection system Make sure the filter functions properly Replace the filter cartridge as often as instructed Replace the filter if broken 3 Warm water Infrequent use of water Run water through the system for a few minutes and the temperature will go down...

Page 16: ...ecommended that the UV system be connected to a properly grounded dedicated power outlet with no other devices connected to the same power outlet The UV system should not be controlled by a light switch If you need any support please do not hesitate contact us customersevice geekpure cc 14 www geekpure cc ...

Reviews: