GE H
EALTHCARE
O
PTIMA
XR200
AMX
/XR220
AMX
D
IRECTION
5336113-1EN, R
EVISION
10
I
NSTALLATION
M
ANUAL
Chapter 3 Installation
Page 41
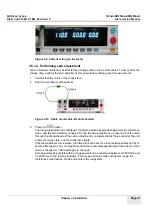
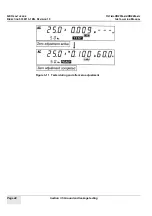
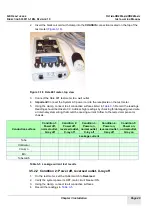
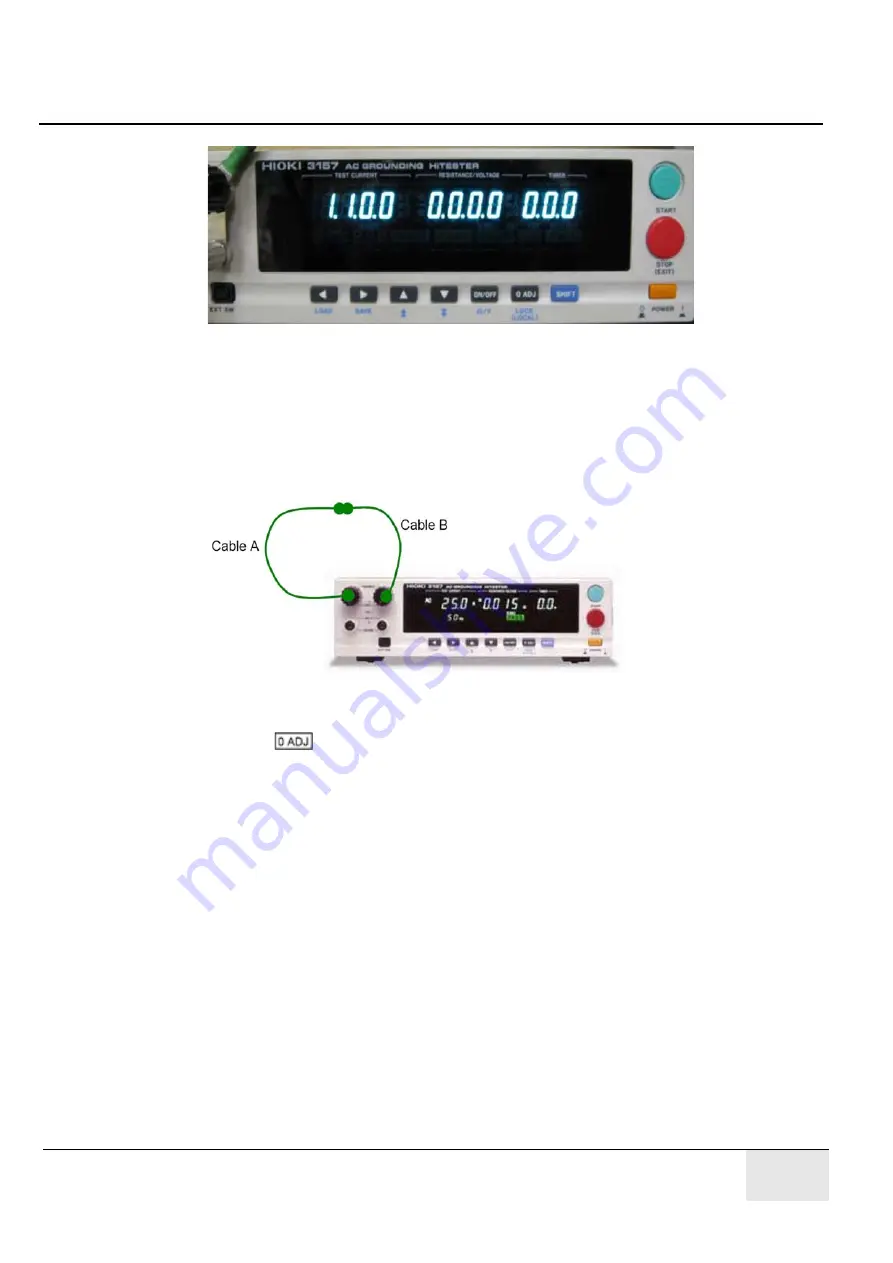
Figure 3-9 Current setting on the tester
3.5.1.4 Performing zero adjustment
Ground measurements may be affected by a voltage drop in the A and B cables. To account for the
voltage drop, perform the zero adjustment procedure before taking ground measurements.
1.
Confirm that the unit is in the ready state.
2.
Short circuit cable A with cable B.
Figure 3-10 Cable A and cable B short-circuited
3.
Press the
button.
The orange test indicator is displayed, the 0ADJ indicator begins flashing below the resistance
value, and the zero adjustment begins. During the zero adjustment, a preset current is output
through the shorted leads. When zero adjustment is complete (about three seconds), the unit
enters the ready state, and the 0ADJ lamp lights.
If the test cables are too resistive, the offset cannot be set. Use less-resistive cables and try to
set the offset again. The zero adjustment function is automatically disabled if the output current
value is changed or if data settings are changed.
Zero adjustment is possible within a range equivalent to a resistance between 0.000 Ohms and
0.100 Ohms on the resistor indicator. If the measured value falls outside this range, the
resistance value flashes, and the unit enters the ready state.
Summary of Contents for Optima XR200amx
Page 129: ......

