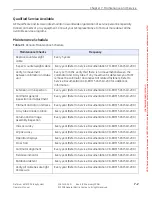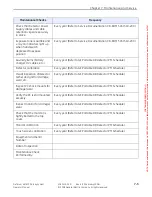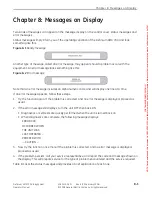
Chapter 6: Charging the Batteries
Definium AMX 700 X-Ray System
5161515-1EN
Rev. 6 (10 February 2008)
6-5
Operator Manual
© 2008 General Electric Company. All rights reserved.
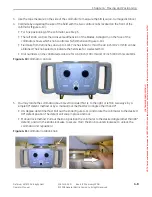
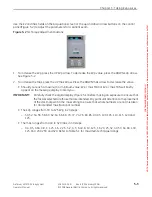
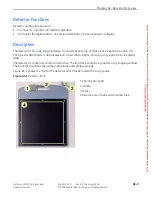
3. Check the message display to confirm the charging status: the message CHARGING should appear
on the display (Figure 6-4).
The message “STANDBY XX MINS” will appear if the Key Switch is ON. Refer to
2) for more information.
Figure 6-4
Charging display
During normal charging all other controls—driving and x-ray exposures, for instance—are
disabled. Note that you may charge the batteries with the Key Switch in either the ON or OFF
position.
During STANDBY (refer to
(p. 6-2) for more information), the unit may not be driven
nor may x-ray exposures be taken. If the Key Switch is in the ON position and the display shows
STANDBY, the system software may be used to update Worklist data, view and adjust images
stored in the local database, manage images, or edit preferences. Normal QAP tests cannot be
performed. The unit will remain in standby mode for a maximum of 60 minutes.
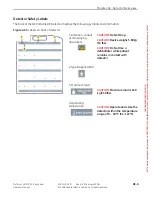
4. When CHARGE COMPLETE appears on the message display, and all blue segments are illuminated,
the batteries are fully charged (at 100% of capacity).
Charging should not be stopped before the CHARGE COMPLETE message appears, even if all of the
indicator bars are illuminated.
5. Unplug the unit from the outlet, giving the plug a slight tug to release from take-up reel.
IMPORTANT!:
After unplugging the unit, turn the unit on and wait approximately 15 minutes before
taking your first exposure to ensure technique accuracy.
If the unit is plugged into the AC wall outlet for an extended period after the “Charge Complete”
message is displayed, the unit will shutdown by tripping the main circuit breaker to protect the
internal electronics. This same protection scheme can cause the main circuit breaker to trip if the
Definium AMX 700 is turned on while still plugged into the AC wall outlet after the “Charge
Complete” message is displayed (there may be a delay of 30 - 180 seconds after the unit is turned
on before the breaker will trip). Refer to
(p. 6-6) for more information.
IMPORTANT!:
The unit should be unplugged when the “Charge Complete” state is reached. Also, the Key
Switch should not be turned ON while the unit is plugged into the AC wall outlet while the
“Charge Complete” message is displayed.
The prompt BATTERY TOO HIGH may display when the first exposure is attempted after charging.
If this occurs, run the rotor for 15 to 20 seconds and then make the exposure. This prompt is
caused by a normal battery voltage rise after charging.
FOR
TRAINING
PURPOSES
ONLY!
NOTE:
Once
downloaded,
this
document
is
UNCONTROLLED,
and
therefore
may
not
be
the
latest
revision.
Always
confirm
revision
status
against
a
validated
source
(ie
CDL).

