Chapter A6: Image Management
Definium AMX 700 X-Ray System
5161515-1EN
Rev. 6 (10 February 2008)
A6-13
Operator Manual
© 2008 General Electric Company. All rights reserved.
6. Confirm the exams to be copied. Uncheck any exams that you do not want saved to the CD.
7. Press [WRITE].
The CD begins copying. The light on the front of the computer flashes yellow as the data is being
written.
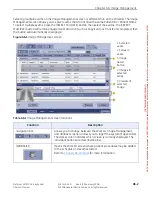
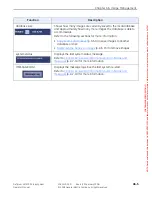
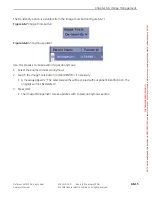
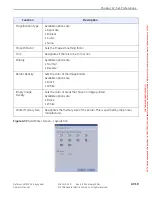
To see the status of the exams being copied, press [TRANSFER LOG] at the bottom of the Image
Management screen.
The Transfer Log screen appears.
Press [CLOSE] to close the screen and return to the Image Management screen.
When complete, the CD tray will open and close.
8. After the system finishes the CD, open the exams on the CD to ensure that the CD has the data
(p. A6-7) for more information.
9. Remove the CD.
10. Label the CD and store in a safe place.
Delete Exams, Series, or Images
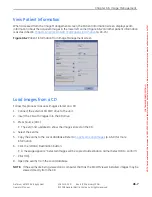
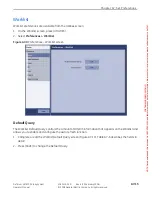
Exams, series, and images may be deleted from the local database from the Image Management screen.
Follow this process to delete exams, series, and images.
1. Select the
Local
source, if necessary.
NOTE:
Items cannot be deleted from a CD or network locations.
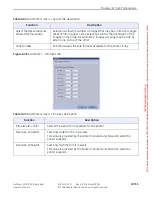
2. Unlock exams, if necessary.
Refer to
(p. A6-14) for more information.
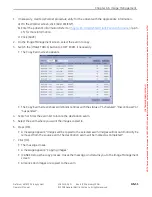
3. Select the items to delete.
The items may be exams, series with an exam, or images within a series. Multiple items may be
selected and deleted at once.
4. Press [DELETE].
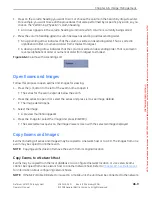
A message appears: “Are you sure that you would like to delete the selected items?”
5. Press [OK].
The message closes.
The items are deleted from the Image Management screen.
[CANCEL] closes the message and the items remain on the Image Management screen.
FOR
TRAINING
PURPOSES
ONLY!
NOTE:
Once
downloaded,
this
document
is
UNCONTROLLED,
and
therefore
may
not
be
the
latest
revision.
Always
confirm
revision
status
against
a
validated
source
(ie
CDL).

