SymSafe/SymSafe Pro
User Manual
52
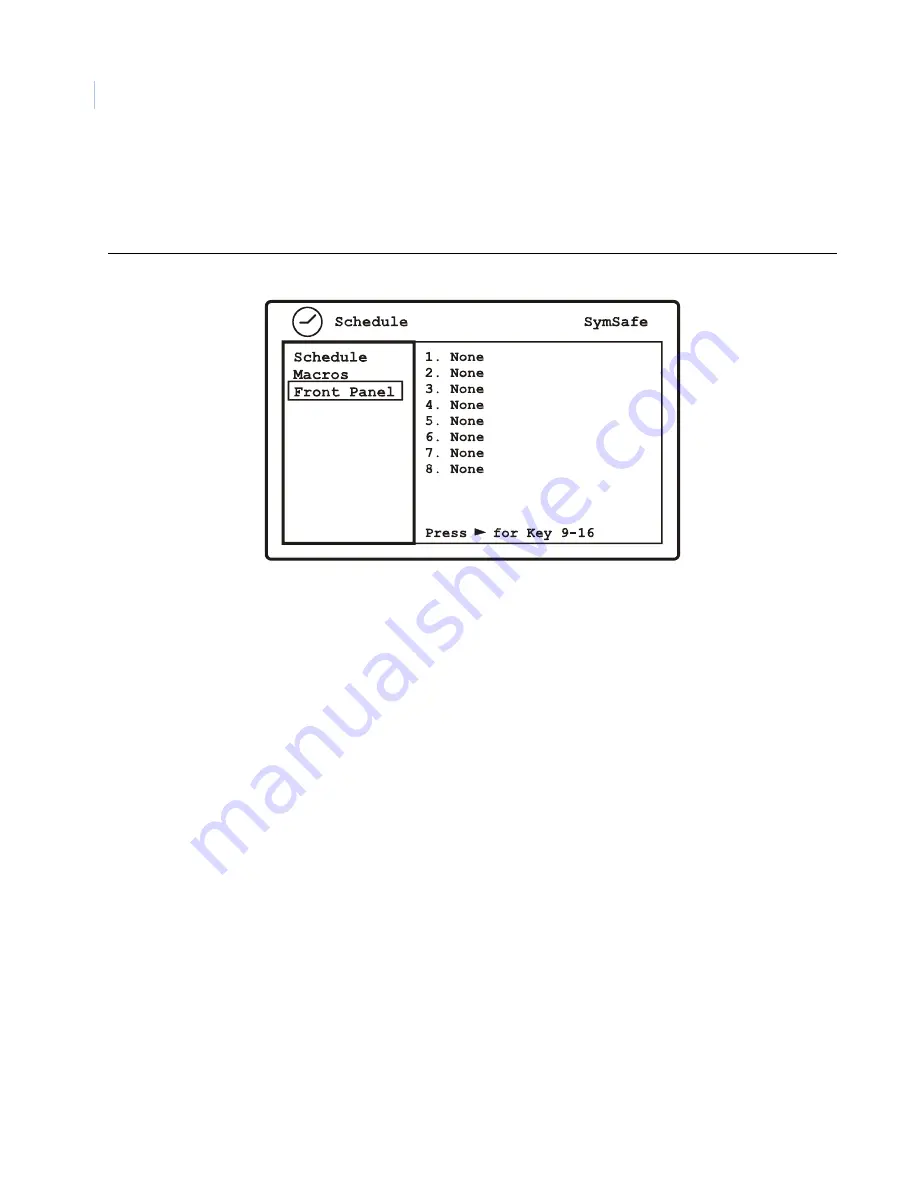
Front Panel
Use this menu to assign a camera button (1-16) to a created Macro. Once assigned hold down the camera
button (2 sec.) to launch the macro.
Figure 31. The Schedule/Front Panel menu
How to schedule a macro
As an example, let’s say that we want to turn camera 1 off at 7 p.m. and back on at 7 a.m. This requires that
you:
1. Create a macro to turn camera 1 off and name it
Camera 1 Off
.
a.
From the
Macros
screen press
enter
to move to edit mode.
b. Select
Create New Macro
and press
enter
.
c.
In the
Name
field press
enter
.
d. Use the on-screen keypad to enter
Camera 1 Off.
Press
Done
when finished.
e.
Navigate to
Begin Recording
and press
enter.
f.
Select
Camera
and press
enter.
Select camera 1.
g. Press
enter,
select
Input
and press
enter.
Select
Disable
and press
enter.
h. Press the
Alarm
button to finish recording the macro.
i.
Select
Save Macro
and press
enter.
2. Create a macro to turn camera 1 on and name it
Camera 1 On
.
a.
From the
Macros
screen press
enter
to move to edit mode.
b. Select
Create New Macro
and press
enter
.
c.
In the
Name
field press
enter
.
Summary of Contents for SymSafe
Page 1: ...SymSafe SymSafe Pro User Manual ...
Page 10: ...SymSafe SymSafe Pro User Manual x ...
Page 28: ...SymSafe SymSafe Pro User Manual 18 Figure 6 Sample network diagram ...
Page 30: ...SymSafe SymSafe Pro User Manual 20 ...
Page 99: ...Chapter 5 SymNav and SymBrowser 89 Figure 63 The SymNav main operation screen ...
Page 116: ...SymSafe SymSafe Pro User Manual 106 Figure 82 The Alarms Inputs Outputs edit page ...
Page 133: ...Chapter 5 SymNav and SymBrowser 123 Network Figure 99 Network Info page ...
Page 135: ...Chapter 5 SymNav and SymBrowser 125 ...
Page 136: ...SymSafe SymSafe Pro User Manual 126 ...
Page 152: ...SymSafe User Manual 142 ...


