


CONFIGURATION:
6-6
Dash 3000/4000 Patient Monitor
Revision B
2000966-105
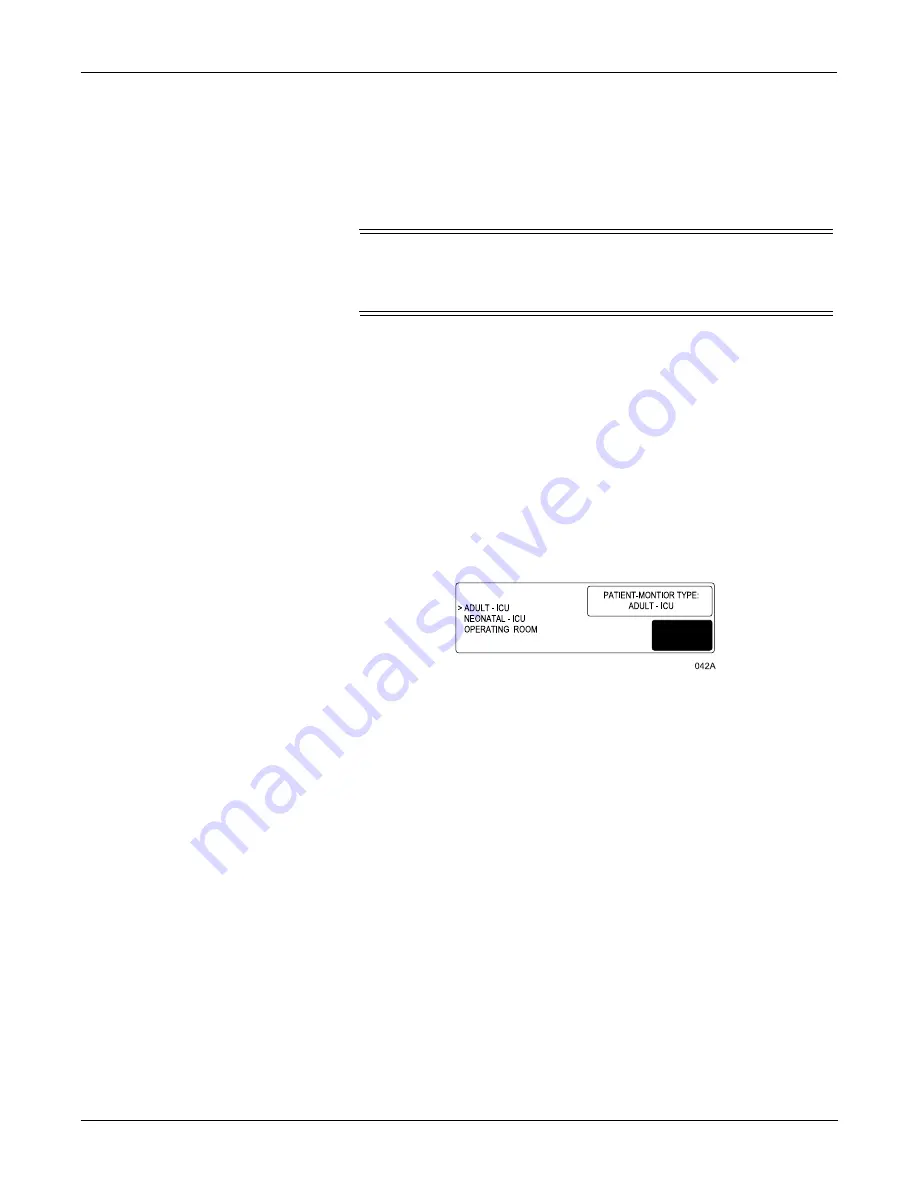
Patient-Monitor Type
The PATIENT-MONITOR TYPE selection determines the type of
monitor desired, i.e adult, neonatal or operating room. Different alarms
and parameters are activated for each selection. This menu item is part
of the SERVICE MODE menu.
&$87,21
Each time the patient-monitor type is changed, the ADMIT
MENU function defaults to STANDARD configuration. Be aware
that some alarms and parameters may be changed.
NOTE: The keypad/remote control is DIDCA programmed for specific
monitor types. The error message WARNING: REMOTE
MISMATCHED WITH MONITORING MODE displays if the
monitor and keypad/remote control do not match.
Access PATIENT-MONITOR TYPE option, starting from the Main
Menu.
1.
Select MORE MENUS -> MONITOR SETUP -> SERVICE MODE.
2.
Enter password using the Trim Knob control to select the day and
month from monitor screen with leading zeros. (e.g. July 4 = 0407)
3.
Select PATIENT-MONITOR TYPE. Be sure to read the information
in the ATTENTION box before changing anything.
4.
Rotate Trim Knob control to select the type of environment the
monitor will be used in.
5.
Press Trim Knob control to exit. Your selection displays at the top of
the screen after the time.
Set Graph Locations
Access MANUAL GRAPH LOCATION option, starting from the Main
Menu.
1.
Select MORE MENUS -> MONITOR SETUP -> GRAPH SETUP ->
GRAPH LOCATION -> MANUAL GRAPH LOCATION.
2.
Using the Trim Knob control, choose the manual graph location
from the list.
3.
Select ALARM GRAPH LOCATION.
4.
Using the Trim Knob control, choose the alarm graph location from
the list.
5.
Select PRINT WINDOW LOCATION.
6.
Using the Trim Knob control, choose the print window location from
the list.
7.
Select 12 LEAD PRINT LOCATION.
↓
↑
Summary of Contents for Dash 3000
Page 11: ...Revision B Dash 3000 4000 Patient Monitor 1 1 2000966 105 1 INTRODUCTION ...
Page 12: ...INTRODUCTION 1 2 Dash 3000 4000 Patient Monitor Revision B 2000966 105 For your notes ...
Page 19: ...Revision B Dash 3000 4000 Patient Monitor 2 1 2000966 105 2 EQUIPMENT OVERVIEW ...
Page 20: ...EQUIPMENT OVERVIEW 2 2 Dash 3000 4000 Patient Monitor Revision B 2000966 105 For your notes ...
Page 43: ...Revision B Dash 3000 4000 Patient Monitor 3 1 2000966 105 3 INSTALLATION ...
Page 44: ...INSTALLATION 3 2 Dash 3000 4000 Patient Monitor Revision B 2000966 105 For your notes ...
Page 51: ...Revision B Dash 3000 4000 Patient Monitor 4 1 2000966 105 4 MAINTENANCE ...
Page 52: ...MAINTENANCE 4 2 Dash 3000 4000 Patient Monitor Revision B 2000966 105 For your notes ...
Page 93: ...Revision B Dash 3000 4000 Patient Monitor 5 1 2000966 105 5 TROUBLESHOOTING ...
Page 94: ...TROUBLESHOOTING 5 2 Dash 3000 4000 Patient Monitor Revision B 2000966 105 For your notes ...
Page 123: ...Revision B Dash 3000 4000 Patient Monitor 6 1 2000966 105 6 CONFIGURATION ...
Page 124: ...CONFIGURATION 6 2 Dash 3000 4000 Patient Monitor Revision B 2000966 105 For your notes ...
Page 144: ...CONFIGURATION 6 22 Dash 3000 4000 Patient Monitor Revision B 2000966 105 For your notes ...
Page 145: ...Revision B Dash 3000 4000 Patient Monitor 7 1 2000966 105 7 CALIBRATION ...
Page 146: ...CALIBRATION 7 2 Dash 3000 4000 Patient Monitor Revision B 2000966 105 For your notes ...
Page 189: ...Revision B Dash 3000 4000 Patient Monitor 9 1 2000966 105 9 ASSEMBLY DRAWINGS ...
Page 190: ...ASSEMBLY DRAWINGS 9 2 Dash 3000 4000 Patient Monitor Revision B 2000966 105 For your notes ...
Page 231: ......
Page 232: ...GE Medical Systems Information Technologies g gemedicalsystem com ...