Jaguar IV User Manual
4. Position the cropmark
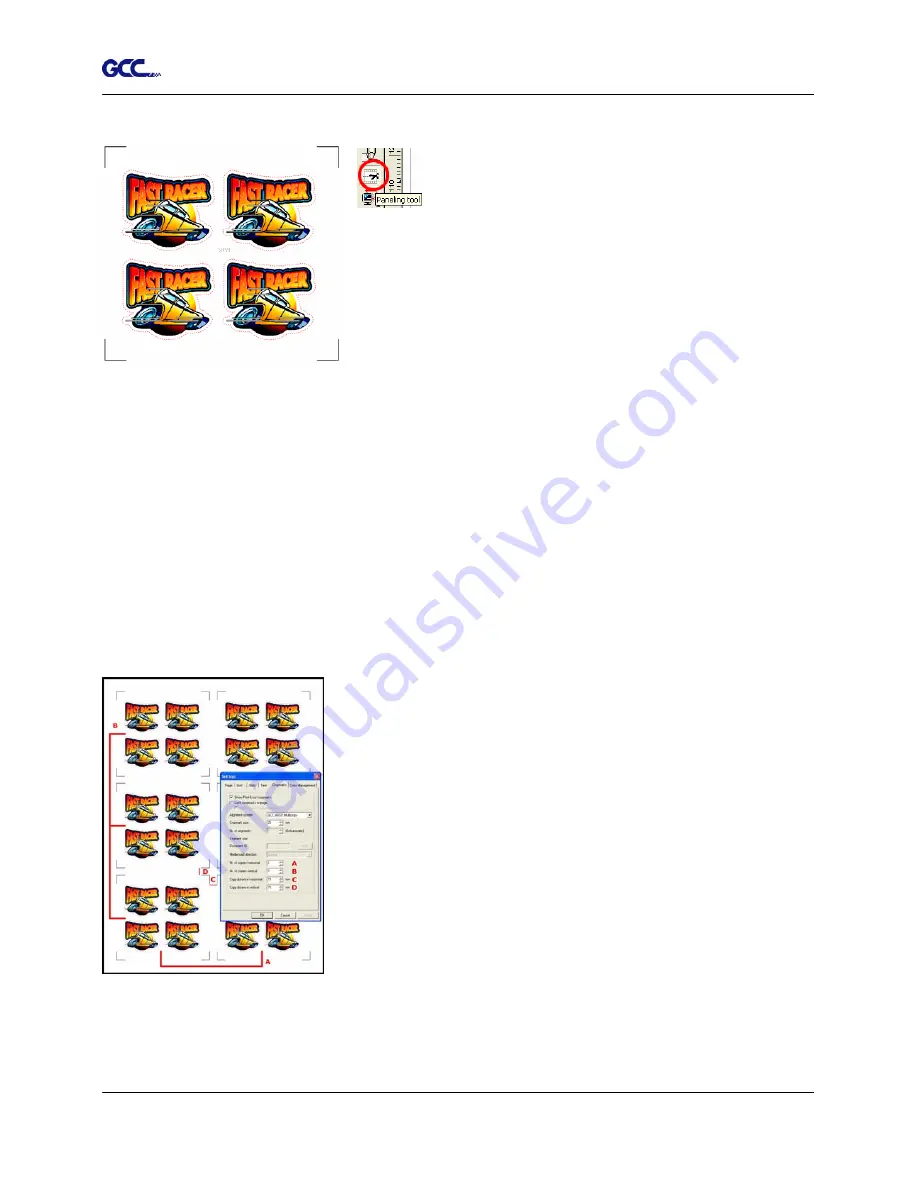
Use the panelling tool from the left toolbox to drag the
cropmarks around your job.
Make sure that the cropmarks have some white space
around them, there should not be any objects inside them, to
make sure they can be scanned accurately.
5. Export the job for printing
Your design is now ready for production. Click “File, Export”, and a dialog will come up that
enables you to create a file. We advise you to use “EPS Encapsulated Postscript (*.EPS)” as
the output format, this can be read by any RIP or other print software. Print the resulting EPS
file with the software of your choice.
6. Cut the result
Place the resulting print in your plotter. Set the plotter to “offline” and use the arrow keys to
position the laser within the lower right cropmark, then set the plotter to “online”.
If you have chosen the cropmarks “Multicopy”, there is one
extra step: right-click the page and go to the “Cropmark
settings” dialog again. In the dialog, enter the correct values
for “nr. Of copies horizontal”, “Nr of copies vertical” and
“Copy distance horizontal”, “copy distance vertical”, then click
“OK”.
EasySIGN Instruction A-5
Summary of Contents for J4-101S
Page 1: ...Jaguar IV Series User Manual http www GCCworld com V 6 2012 Mar ...
Page 22: ...Jaguar IV User Manual Installation 2 11 Figure 2 21 Figure 2 20 ...
Page 90: ...Jaguar IV User Manual SignPal 8 5 Instruction A 4 z 9 ...
Page 93: ...Jaguar IV User Manual SignPal 8 5 Instruction A 4 z 12 4 Select the printer and paper size ...
Page 98: ...Jaguar IV User Manual SignPal 8 5 Instruction A 4 z 17 ...


