25
Aadva Lab Scanner 2
Manual
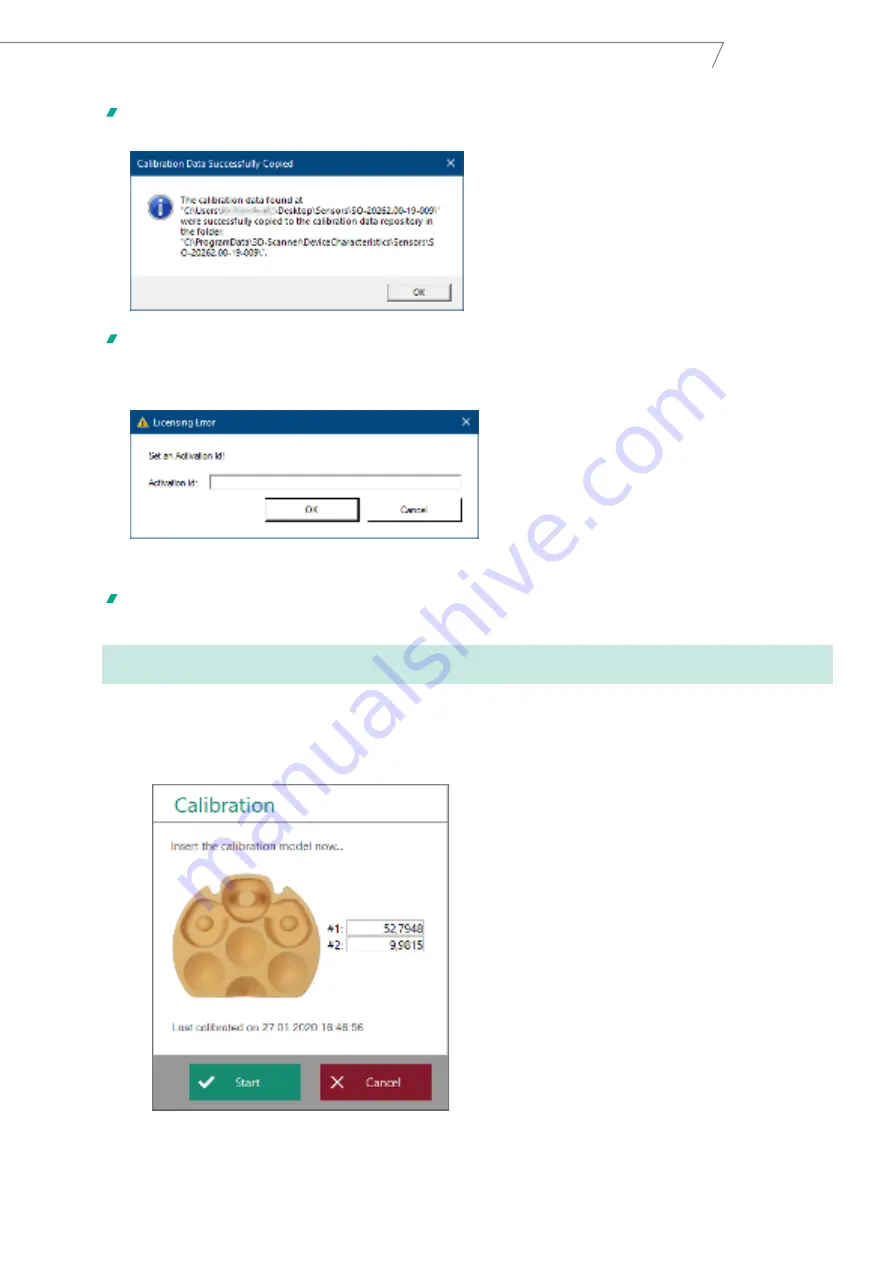
The data will be copied into the protected Windows folder
C:\ProgramData\3D-Scanner\DeviceCharacteristics\Sensors\SO-202….
As of now, the calibration data will be found when starting the software. The software will only start if the scanner
is connected and switched on.
•
At the first start Aadva Scan requires the Activation ID for your GC license.
•
Enter the GC license ID and click
OK
.
The license is saved. From now on you can use Aadva Scan for this specific scanner according to your license
agreement with GC.
If you want to change your GC license, you have to reset the Activation ID via the “Miscellaneous” menu of Aadva Scan
first. You can do the same in preparation for scanning with another ALS 2 scanner.
•
At the first
start the calibration
of your scanner is mandatory. Otherwise Aadva Scan will be closed.
•
To start calibration, click on
Start calibration
in the message box. You can click on the “Miscellaneous” icon and
then on
Calibration
at any time during operation.
•
Fixate the calibration model on the object holder.
•
Position the calibration model in the scanner.
Summary of Contents for Aadva Lab Scanner 2
Page 55: ...55 Aadva Lab Scanner 2 Manual ...


