253
Upgrading the Gateway Micro Tower Case
www.gateway.com
5
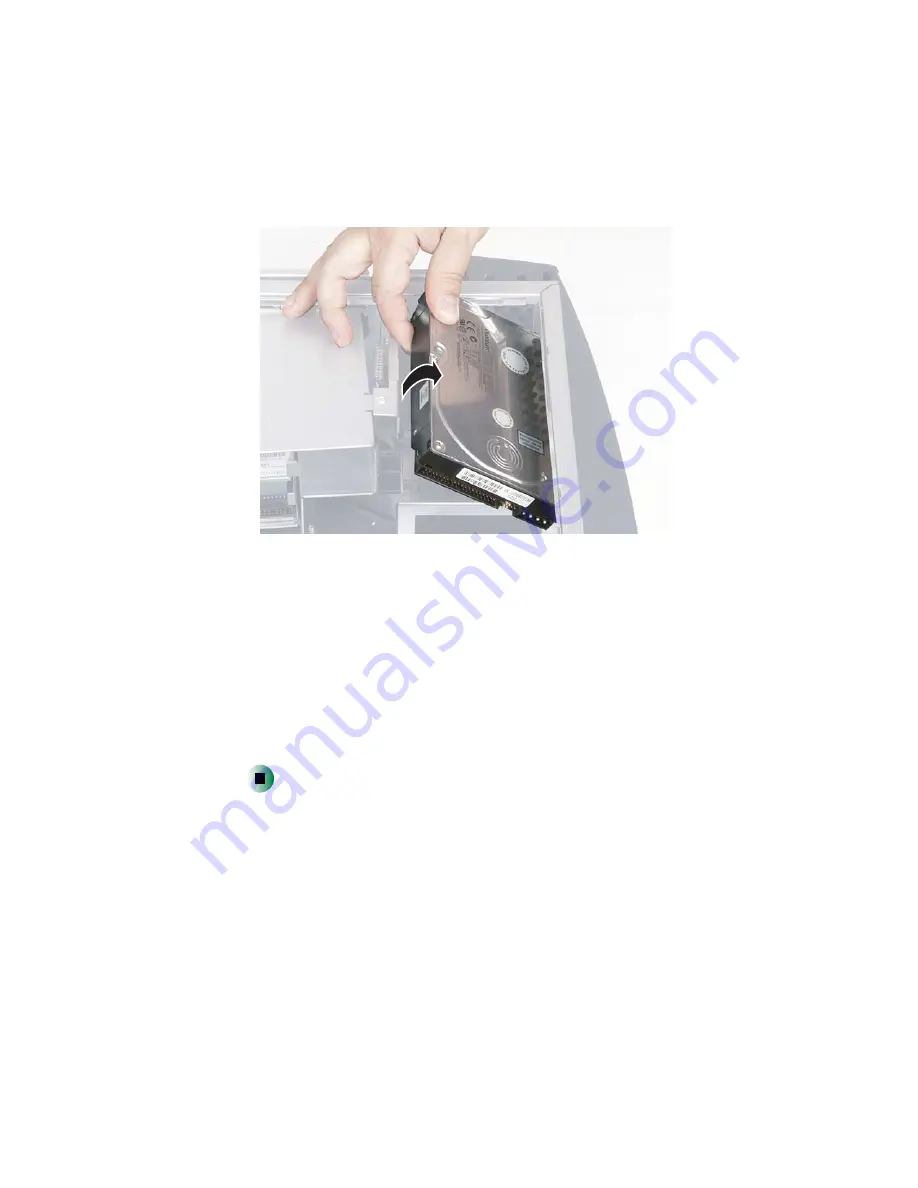
Lift the old drive out of the drive bay.
6
Set any jumpers on the new drive to match the old drive. See the drive
documentation for further instructions.
7
Insert the new drive, then slide the release lever toward the front of the
case to lock it into place.
8
Reconnect the drive cables using your notes from Step 3. The red-striped
edge on the data ribbon cable indicates Pin 1 and corresponds with Pin 1
on the drive (typically on the side farthest from the power supply
connection). See the drive documentation for more information.
9
Close the case using the instructions in “Closing the case” on page 246.
Summary of Contents for Micro Tower
Page 1: ......
Page 2: ......
Page 78: ...70 Chapter 4 Windows Basics www gateway com...
Page 176: ...168 Chapter 8 Customizing Your Computer www gateway com...
Page 226: ...218 Chapter 12 Restoring Software www gateway com...
Page 232: ...224 Chapter 13 Upgrading Your Computer www gateway com 6 Push in on the cover release handle...
Page 252: ...244 Chapter 13 Upgrading Your Computer www gateway com 9 Lift the side panel up...
Page 280: ...272 Chapter 13 Upgrading Your Computer www gateway com...
Page 331: ......
Page 332: ...MAN SYS US DT USR GDE R8 12 02...


