3 System upgrades
26
6
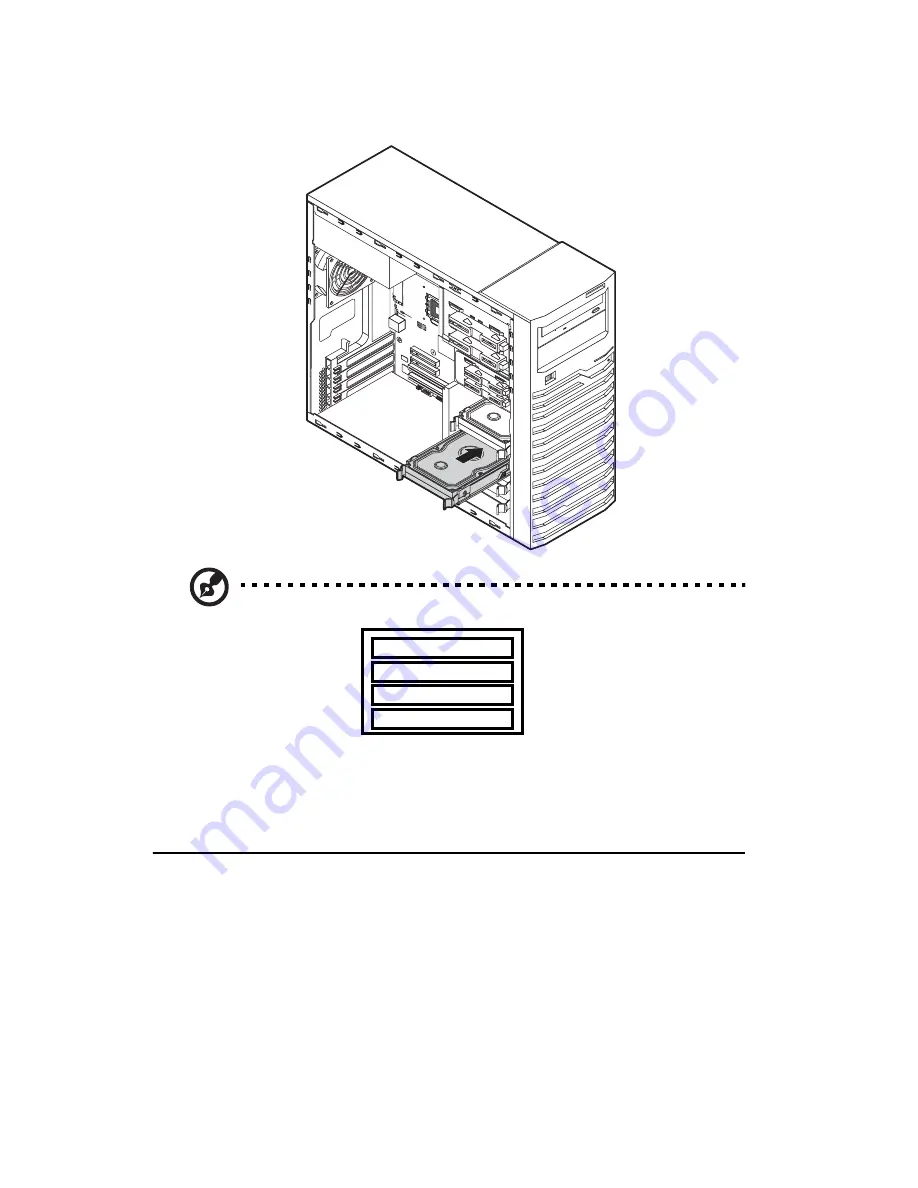
Insert the new hard drive into the case.
Note
: Recommended HDD installation order is from bottom to top.
1
2
3
4
Slide the drive into the case until the carrier tabs snap into place.
7
Connect the power and SATA/SAS cables to the new HDD.
8
Observe the post-installation instructions described on page 23.
Installing a 5.25" storage device
The two 5.25" device bays support a variety of storage devices for
additional storage capacity and scalability.
By default, the system ships with a DVD-ROM drive installed on the
topmost device bay. You can choose to replace these default drives, or you
can install a new storage device on the second device bay.
Summary of Contents for GT110 Series
Page 1: ...GT110 Series User Guide GT110...
Page 15: ...1 System tour...
Page 19: ...5 4 HDD carriers 5 Mainboard 6 PCI slot lock 7 System fan No Component...
Page 27: ...2 System setup...
Page 34: ...2 System setup 20...
Page 35: ...3 System upgrades...
Page 55: ...4 System BIOS...
Page 74: ...4 System BIOS 60 window are non configurable...
Page 79: ...5 System troubleshooting...
Page 82: ...5 System troubleshooting 68 e g two add in boards sharing the same interrupt...
Page 88: ...5 System troubleshooting 74...
Page 89: ...Appendix A Server management tools...
Page 93: ...Appendix B LSI RAID configuration...
Page 96: ...Appendix B LSI RAID configuration 82...
Page 99: ...85 U USB ports front 2 rear 4 troubleshooting 72 user password 56...
Page 100: ...86...


