- 30 -
Options:
(All in seconds) 2, 4, 8,16, 32, 52 or Off.
Default Value:
Default Value:
Default Value:
Default Value: OFF
OFF
OFF
OFF
Video
Video
Video
Video
Adjustment
Adjustment
Adjustment
Adjustment
Sets the brightness and contrast of the viewed image.
Options:
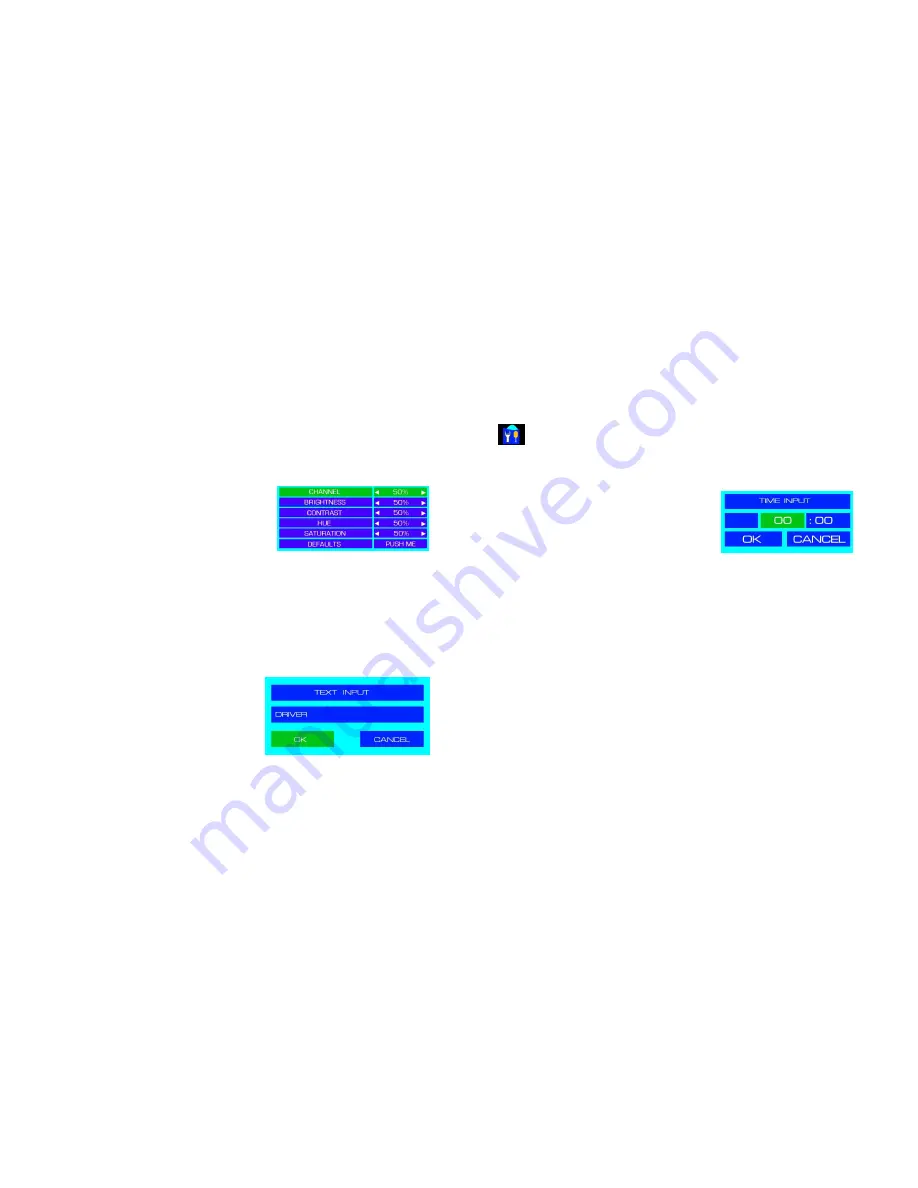
See Figure 9. Use the Up and Down navigation keys to select an
option and the Right and Left navigation keys to increase or
decrease its value. Once the required option is highlighted,
press the OK key.
Default Value
Default Value
Default Value
Default Values
s
s
s: 50% Brightness; Contrast; Hue; Satu
: 50% Brightness; Contrast; Hue; Satu
: 50% Brightness; Contrast; Hue; Satu
: 50% Brightness; Contrast; Hue; Saturation.
ration.
ration.
ration.
The available values for all options are
1% to 100%.
Figure 9 : Default Brightness / Contrast Options.
Camera Title
Camera Title
Camera Title
Camera Title
Each video channel can have its own title, e.g. Driver, Rear Seat, etc. First
ensure the correct camera is highlighted, the button will have a green
background, use the Right and Left navigation keys to select the channel. Once
the correct channel is selected, press the Down navigation key. This will change
the background Green press the menu button to bring up the Text Input
window (Figure 10). There is a limitation of 20 characters which can be
entered per title. Please Note:
Please Note:
Please Note:
Please Note: There is a limitation of eight characters being
visible on the OSD.
Default Value
Default Value
Default Value
Default Values: Cam 01; Cam 02; Cam 03; Cam 04.
s: Cam 01; Cam 02; Cam 03; Cam 04.
s: Cam 01; Cam 02; Cam 03; Cam 04.
s: Cam 01; Cam 02; Cam 03; Cam 04.
Use the Left navigation key to delete the title
currently in the text input box. Once cleared you
can now add the title which you wish to appear on
the screen. Use the input keys on the remote
control to make a selection, once a selection is
made use the Right navigation key to advance the
cursor. Once all characters have been entered
use the Down navigation key to highlight OK and
press the OK key twice on the remote control, this
will take you back to the OSD menu.
Figure 10 : Text Input Box.
PTZ Parameter
There are five options within the PTZ Parameter. This option is currently
reserved for future development.
- 39 -
Default Value:
Default Value:
Default Value:
Default Value: On
On
On
On
LANC
LANC
LANC
LANC
Function
Function
Function
Function
This Mode is reserved for future development.
Power.
Power.
Power.
Power.
There are four options in the Power menu.
Powe
Powe
Powe
Power On
r On
r On
r On
Reserved For Future Development
Default Value:
Default Value:
Default Value:
Default Value: 00:00
00:00
00:00
00:00
Power Off
Power Off
Power Off
Power Off
Reserved For Future Development
Default Value:
Default Value:
Default Value:
Default Value: 00:00
00:00
00:00
00:00
Figure 18 : Time Input Dialog Box.
Power Off
Power Off
Power Off
Power Off
Delay
Delay
Delay
Delay
Sets a pre-determined time, in seconds, for how long the NiTRO
400 or
NiTRO-X
400 series will continue to record once Ignition is switched off. To
access press the Menu key on the remote control. A Digital Input dialog window
will appear, see figure 17, use the keys on the remote control to enter the
required seconds and once completed highlight the OK button and then press
OK on the remote control.
Default Value:
Default Value:
Default Value:
Default Value: 300 Seconds
300 Seconds
300 Seconds
300 Seconds
Ignition
Ignition
Ignition
Ignition
Signal
Signal
Signal
Signal
Determines when the NiTRO
400 series or NiTRO-X
400 series will power
up.
Please Note:
Please Note:
Please Note:
Please Note: This option should always be set to HIGH as if it is set to LOW when
the ignition on the vehicle is turned off the DVR will power up.
Options
Low Level / High Level.
Default Value:
Default Value:
Default Value:
Default Value: High Level
High Level
High Level
High Level


