G4-304SD1a
User Manual & Install Guide
51 of 151
Main Menu:
Click this icon to return to the Main Menu.
Back to Previous Screen:
Click this icon to return to the Previous Screen that you were at.
Time Scale:
This is the time bar which shows recorded video availability for the day (from
00:00:00H to 23:59:59H). Click the
( + )
and
( - )
buttons to zoom in and zoom out
respectively. Zooming in decreases the time scale, and zooming out increases the time scale –
to allow for easier visualisation and selection of time periods.
Scroll Time Scale:
After zooming in, the entire day’s time scale will not be able to fit on the
screen display. Click the
( < )
and
( > )
buttons to scroll the time scale to the left and right
respectively.
Camera Channels:
This shows the camera channels for which the recorded video is available.
Use the checkboxes to select/deselect the camera channels which are to be included in the
playback.
Scroll Camera Channels:
When more than four camera channels have recorded video
available, click the
( ^ )
and
( v )
buttons to scroll up and down in the list of available
channels.
Recorded Video Available:
The colored bar shows the times for which recorded video is
available. The bar is colored coded to indicate the type of video available.
RED
: Recorded video at this time period has alarm events.
YELLOW
: Recorded video at this time period is locked.
GREEN
: Normal recorded video at this time period.
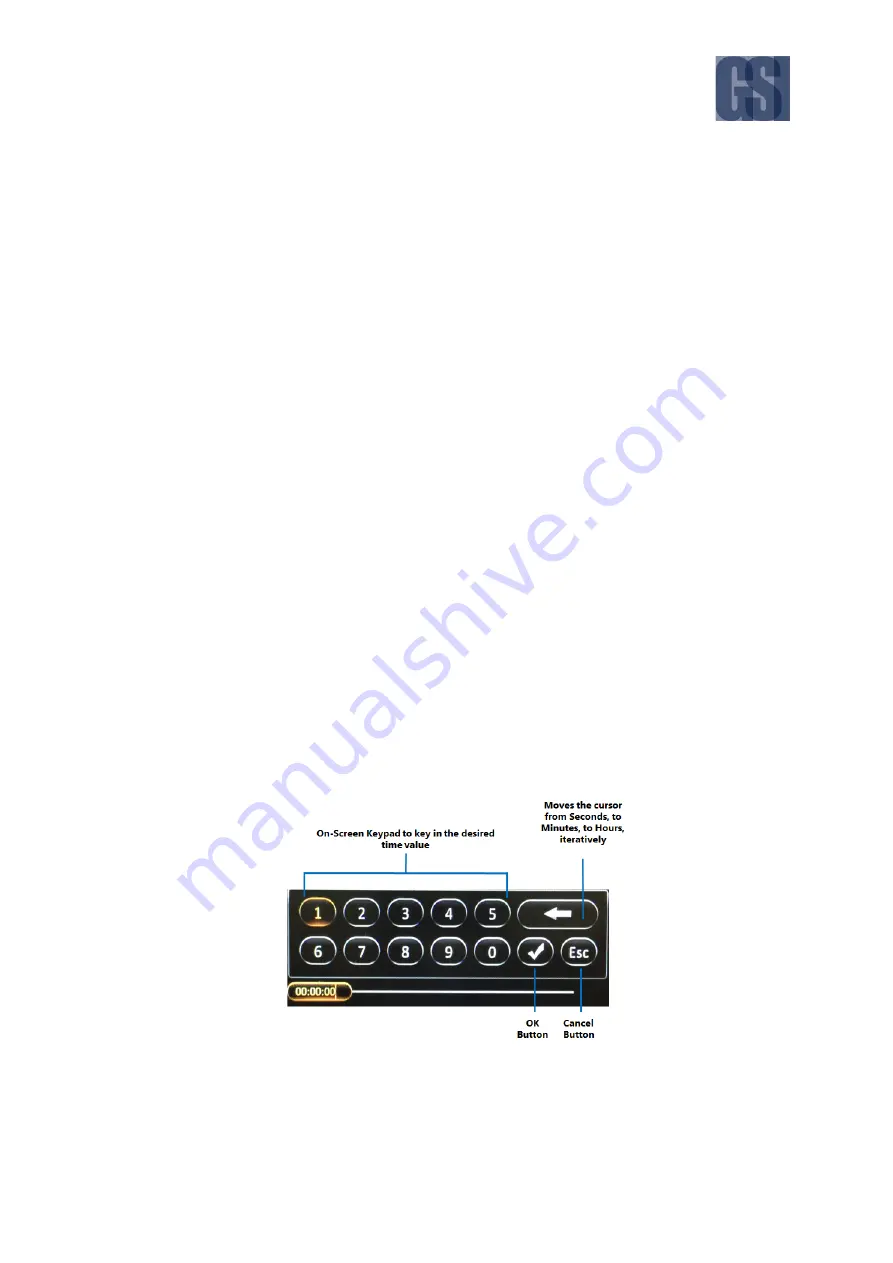
Playback Start Time:
This shows the selected playback time. Clicking on it will bring up the
time control dialog which allows you to key in a specific time (in hh:mm:ss 24-hour time
format) from which to begin the playback.
Playback Start Time Marker:
This vertical blue dotted line indicates the playback start time
across the camera channels. If you are using a Finger Mouse or an ICD2, you can click and


