Meterbox Assembly - General
Page
109
12/09
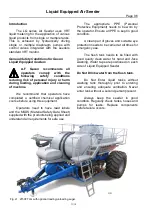
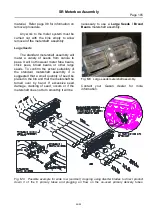
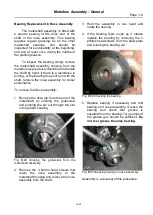
Fig. M16 Grub screws on metershaft bearing.
4.
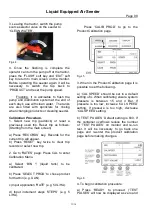
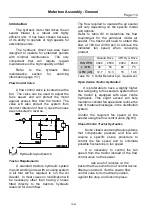
Undo and remove the 3 button head
screws that are used to retain the
plastic nose assembly to the driving
end of the metershaft.
5.
Slide
the
metershaft
and
nose
assembly out away from the handle
end. It may be necessary to use a long
drive pin punch through the hole in the
handle
to
start
the
metershaft
movement.
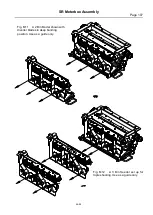
Fig. M17 Removing screws from drive end.
6.
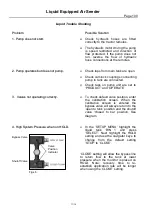
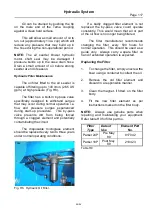
As the metershaft moves out and away
from the housing the meterwheels can
be removed one at a time.
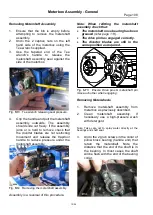
Fig. M18 Withdrawing metershaft from housing.
Assembly is a reversal of this operation.
Before
rebuilding
the
metershaft
assembly check that the bearings turn
freely. The bearing in the nose assembly will
be firm to turn but should rotate and feel
smooth in its operation. If excessive force is
required, or a bearing feels rough when
rotating replace bearing before re-assembly.
Clean hexagonal metershaft of product build
up to allow the meterwheels free movement
along the shaft.
Check that the meterwheels are in good
condition & not worn before re-assembling.
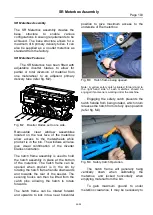
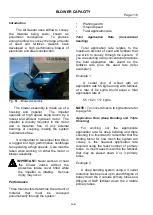
Check that the vertical spacers attached to
the housing are not excessively worn and
are still functional. The vertical spacers are
used to retain the meterwheels in position.
Replace individual units if required.
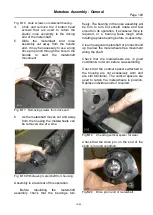
Fig.M19 Checking vertical spacer for wear.
Check that the drive pin on the end of the
shaft is in good condition.
Fig.M20 Drive pin in end of metershaft.


