Revision 5
125
August 2021
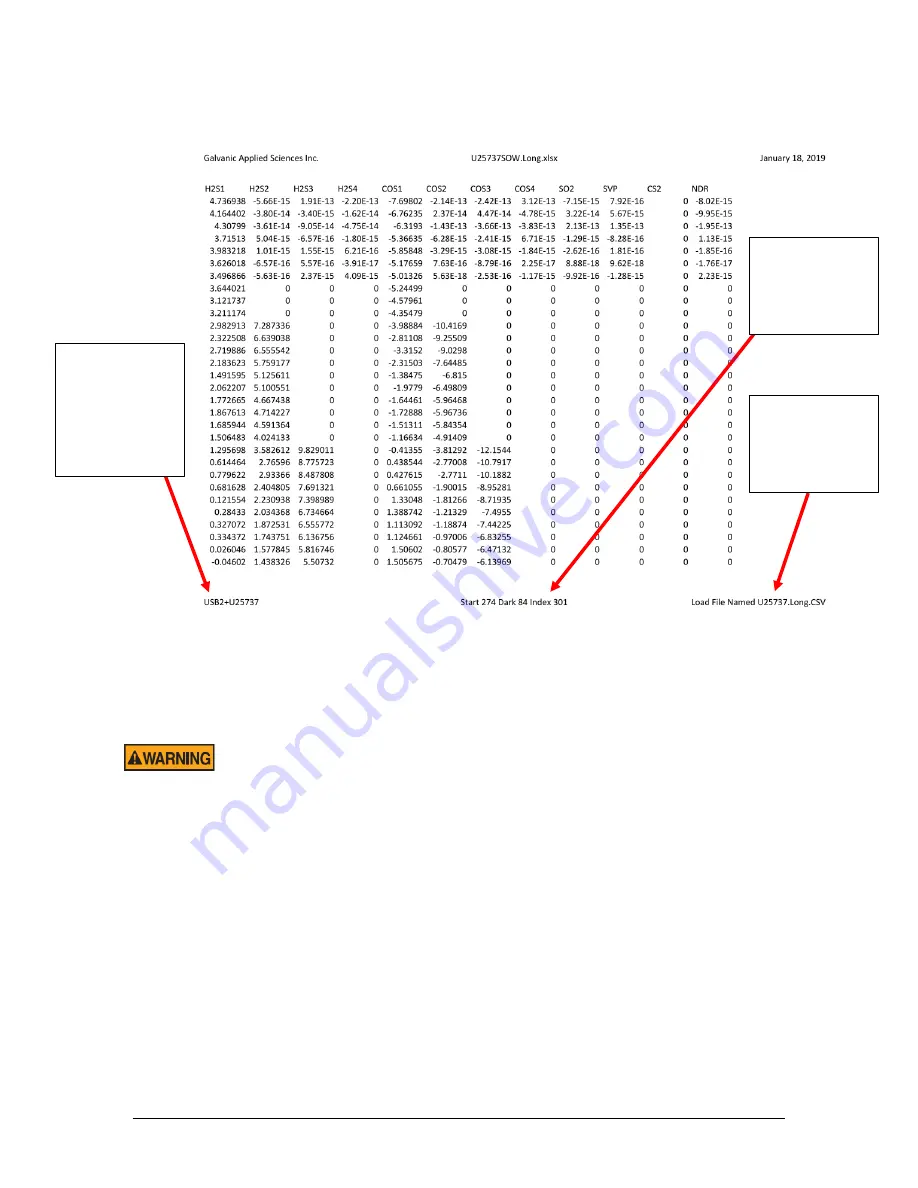
Figure 80: Spectrometer Calibration Matrix PDF Example
Select the file indicated by the
Load File Named
heading at the bottom right of this page,
then press
OK.
Once the file has been selected, click on
Calibration Matrix Upload to
Analyzer
to upload the file.
Uploading an incorrect calibration matrix file may render the analyzer
unusable. Be absolutely CERTAIN that the matrix file being uploaded is the
correct file. If uncertain, contact Galvanic Applied Sciences Inc. for
assistance.
4. Once the Calibration Matrix file has successfully uploaded to the analyzer, click on
Reboot
Analyzer
to reboot the analzyer. The analyzer must be rebooted before it will start to use
the new calibration matrix file.
5. Once the analyzer has rebooted, navigate to the
Calibration Matrix
page in the web GUI
(refer to Section 5.2.2) and confirm that the first several rows of the displayed calibration
matrix match the first several rows of the calibration matrix printed in the PDF file supplied
with the spectrometer.
6. Navigate to the
Factory Parameters
section in the web GUI (refer to section 5.4). Switch
to Update mode, then change the
Dark Start Pixel
value to the
Dark
value indicated at
the bottom of the PDF file. Change the
First Vector Pixel
to the
Start
pixel indicated in
Spectrometer
Serial Number –
Make sure this
matches
spectrometer
serial number
label!
Dark Start
Pixel
and
First
Vector Pixel
to
be input via web
GUI.
File name of the
spectrometer
calibration
matrix to be
loaded
Summary of Contents for 943-TGXeNA
Page 130: ...Revision 5 130 August 2021 Figure 82 Oven Cabinet Door Removed ...
Page 131: ...Revision 5 131 August 2021 Figure 83 Control Cabinet Door Removed ...
Page 132: ...Revision 5 132 August 2021 Figure 84 Power Steam Air Signals Connection Details ...
Page 133: ...Revision 5 133 August 2021 Figure 85 AC Wiring Schematic ...
Page 134: ...Revision 5 134 August 2021 Figure 86 DC Signals and Wiring Diagram ...
Page 135: ...Revision 5 135 August 2021 Figure 87 Flow Diagram ...


