Caution:
• When inserting a CD, do not use force.
• Make sure that the CD is correctly inserted into the tray.
• Do not leave the CD tray open. Also, avoid touching the lens in the tray with
your hand. If the lens becomes dirty, the CD-ROM may malfunction.
• Do not wipe the lens using materials with a rough surface (such as paper
towel). Instead, use a cotton swab and an approved cleaning solution to gently
wipe the lens.
FDA regulations require the following statement for all laser-based devices:
“Caution, Use of controls or adjustments or performance of procedures other
than those specified herein may result in hazardous radiation exposure.”
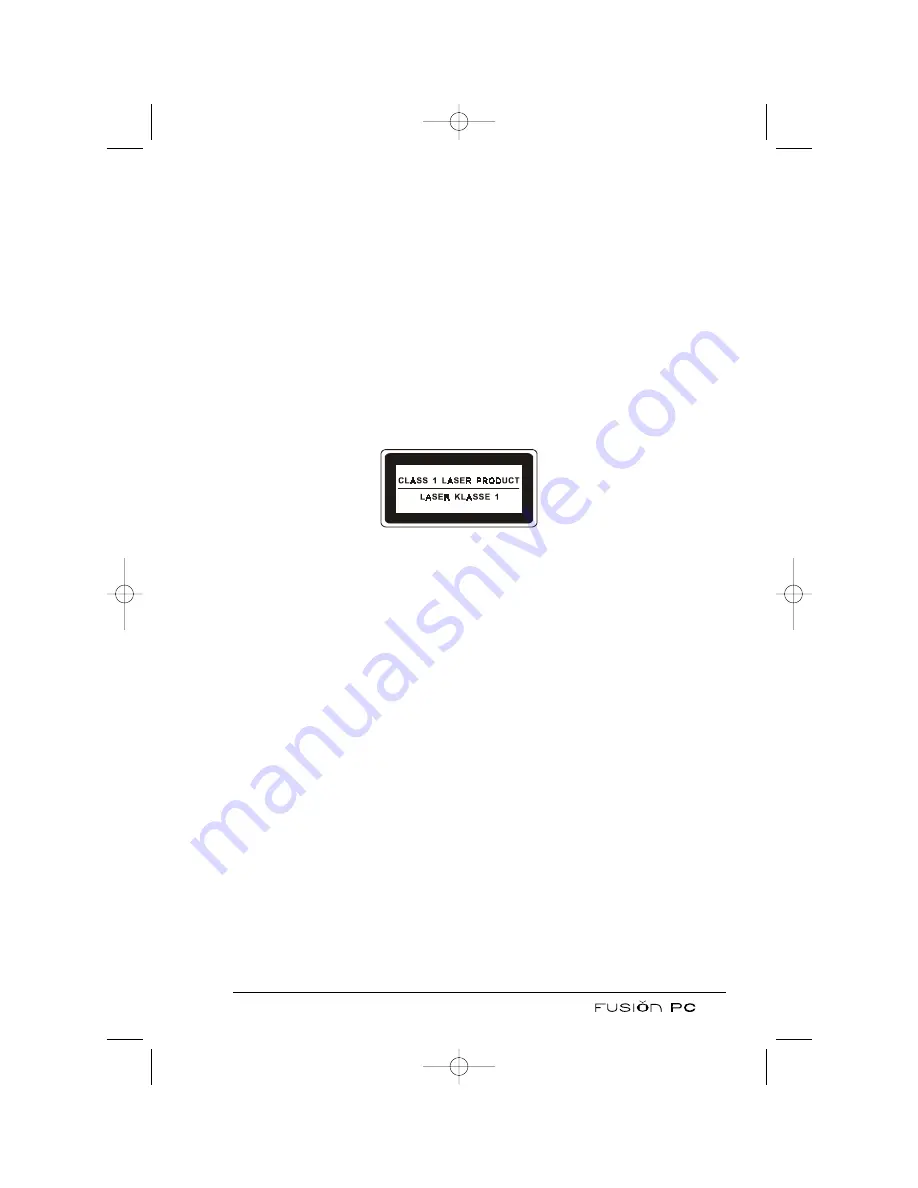
Note: The drive is classified as a Class 1 laser product. This label is located
on the drive.
Note: For DVD/Combo/DVD-R/DVD-RW drives only.
This product incorporates copyright protection technology that is protected
by method claims of certain U.S. patents and other intellectual property rights
owned by Macrovision Corporation and other rights owners. Use of this copy-
right protection technology must be authorized by Macrovision Corporation,
and is intended for home and other limited viewing uses only unless otherwise
authorized by Macrovision Corporation. Reverse engineering or disassembly
is prohibited.
Inserting and Removing a CD
Note: The following procedure applies to inserting or removing a DVD as well.
Follow this procedure to insert or remove a CD:
1. When the system power is on, press the eject button on the drive and the
CD tray will slide out partially. Gently pull the tray until it is fully extended.
2. To insert a CD, place the CD in the tray with its label facing the front of the
system. Slightly press the center of the CD until it clicks into place.
Caution: Never try to use a cracked CD. The rotational speeds inside the drive
can shatter a cracked CD thus causing damage to the drive or even bodily injury.
33
FusionPC manual 6/6 8/21/03 1:28 PM Page 33
Summary of Contents for FusionPC
Page 1: ...User s Manual FusionPC manual 6 6 8 21 03 1 26 PM Page 1...
Page 2: ...FusionPC manual 6 6 8 21 03 1 26 PM Page 2...
Page 64: ...54 FusionPC manual 6 6 8 21 03 1 29 PM Page 54...
Page 96: ...To Press Button Name 86 FusionPC manual 6 6 8 21 03 1 30 PM Page 86...
Page 116: ...106 FusionPC manual 6 6 8 21 03 1 31 PM Page 106...


