background image

26

EN

2)

Press 

s

 or 

B

 to select “CUSTOM”, then press 

ENTER

.

•CUSTOM mode screen will appear.

3)

Press 

s

 or 

B

 to select “AUDIO”, then press 

ENTER

 to 

confirm.

4)

Press 

K

 or 

L

 to select the below items.

5)

Press 

ENTER

 repeatedly to select “ON” or “OFF”.

6)

Press 

SETUP

 to exit.

DRC (Dynamic Range Control) :

ON : to compress the sound range.
OFF : to output an original sound range.
• This function is only available on DVDs recorded in the 

Dolby Digital format.

• The default setting is “ON”.

DOWN SAMPLING :

ON : to convert 96 kHz format into 48 kHz.
OFF : to output the original sound.
• This function is only available when this unit is connected 

to another source using one of the DIGITAL AUDIO 
OUT jacks.

• When playing a disc with copyright protection, the sound 

will be down sampled at 48 kHz, even if you set to “OFF”.

• The default setting is “ON”.

DOLBY DIGITAL : 

BITSTREAM  : to output Dolby Digital signals.
PCM 

: to convert Dolby Digital signals to PCM (2 

channel) signals.

• Set to “BITSTREAM” when this unit is connected to a 

Dolby Digital decoder.

• The default setting is “BITSTREAM”.

MPEG : 

BITSTREAM  : to output MPEG formatted sound.
PCM 

: to convert MPEG signals to PCM signals.

• Set to “BITSTREAM” when this unit is connected to an 

MPEG decoder.

• The default setting is “PCM”.

MP3 SURROUND :

BITSTREAM  : to output MP3 files in Bitstream.
PCM 

: to output all the MP3 files in stereo.

• Set to “BITSTREAM” when this unit is connected to an 

amplifier for MP3 Surround.

• The default setting is “PCM”.

Parental Control

Parental Control prevents viewing of DVDs that exceed your 
rating limit. The password is required to change the 
“PARENTAL LEVEL”.
This feature prevents your children from viewing 
inappropriate materials.

1)

In Stop mode, press 

SETUP


.

2)

Press 

s

 or 

B

 to select “CUSTOM”, then press 

ENTER

.

•CUSTOM mode screen will appear.

3)

Press 

s

 or 

B

 to select “PARENTAL”, then press 

ENTER

.

4)

Press 

the


Number buttons

 to enter your 4-digit password. 

•When doing this for the first time, enter any 4-digit 

number by pressing 

the


Number buttons

 (except for 

4737), then press 

ENTER

. That number will be used as 

the password from the second time onward. Record your 
password in case you forget it.

•If you forget the password, press 

4

7

3

7

. The original 

password will be cleared and parental levels will be set to 
“ALL”. Enter a new 4-digit password, then press 

ENTER

.

5)

Press 

K

 or 

L

 to select “PARENTAL LEVEL”, then press 

ENTER

.

6)

Press 

K

 or 

L

 to select the desired level, then press 

ENTER.


For details, see below.

7)

Press 

SETUP

 to exit.

PARENTAL LEVEL :

ALL

: All parental locks are cancelled.

8    

: DVD softwares of any grades (adult/general/

children) can be played back.

7 to 2

: Only DVD softwares intended for general use

and children can be played back.

: Only DVD softwares intended for children can be 

played back. 

Note: •

This function may not work on some DVDs. Make 
sure if the parental lock function operates in the way 
you have set.

The resume information will be cleared if you change 
the parental level when the resume information is on.

To Change the Password

1)

Follow the steps 

1)

 to 

4)

 above. 

2)

Press 

K

 or 

L

 to select “PASSWORD CHANGE”, then 

press 

ENTER

3)

Enter a new 4-digit password, then press 

ENTER

.

4)

Press 

SETUP

 to exit.

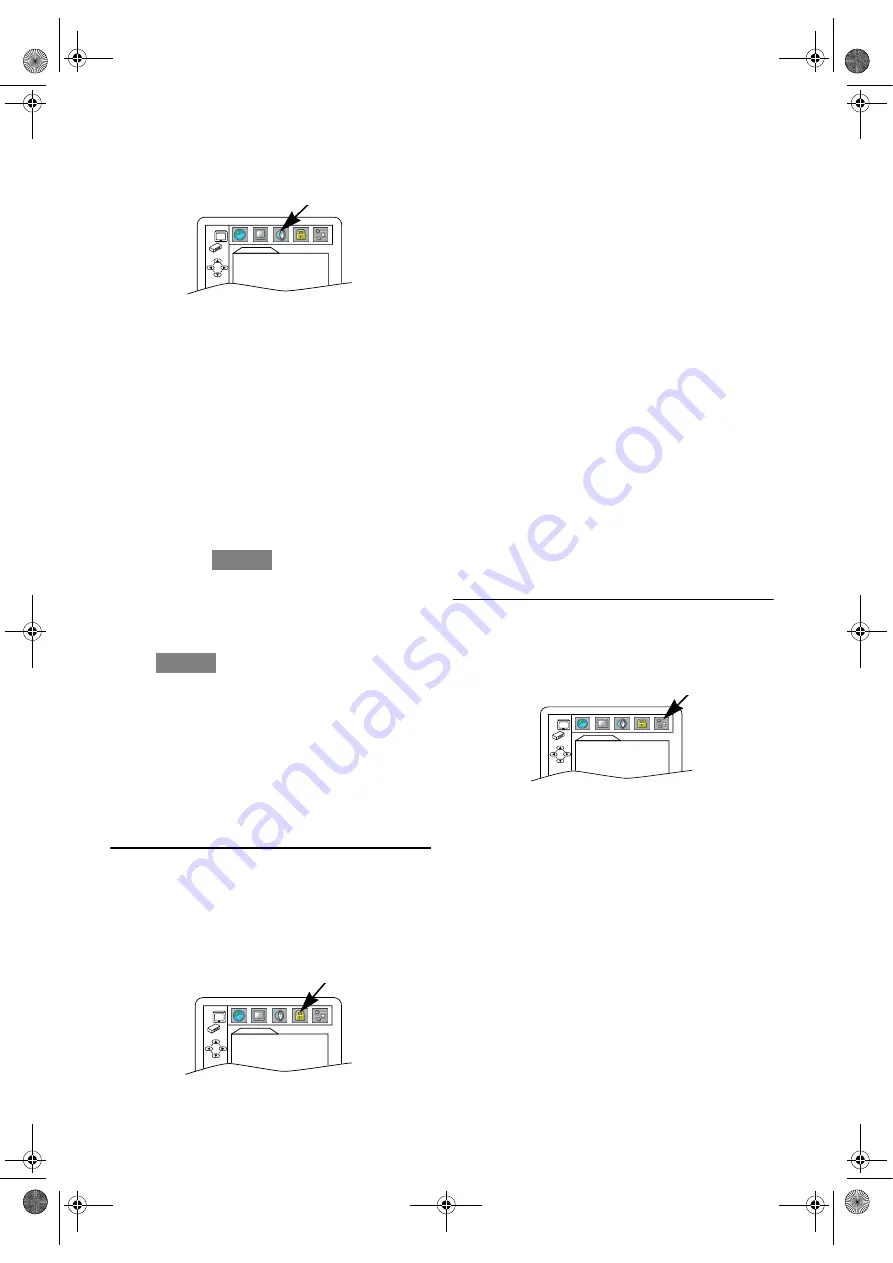
Others Setting

You can change the other functions.

1)

In Stop mode, press 

SETUP


.

2)

Press 

s

 or 

B

 to select “CUSTOM”, then press 

ENTER

.

•CUSTOM mode screen will appear.

3)

Press 

s

 or 

B

 to select “OTHERS”, then press 

ENTER

 to 

confirm.

4)

Press 

K

 or 

L

 to select the below items, then press 

ENTER

.

Select options following instructions below.

5)

Press 

SETUP

 to exit.

ANGLE ICON :

ON : to show the angle icon when multiple camera angles are 

available during DVD playback.

OFF : to hide the angle icon.
• Press 

ENTER

 repeatedly to select “ON” or “OFF”.

• The default setting is “ON”.

AUTO POWER OFF : 

ON : to turn off the unit automatically after 30 minutes of no 

use.

OFF : to keep this unit on.
• Press 

ENTER

 repeatedly to select “ON” or “OFF”.

• The default setting is “ON”.

DUAL PLAYBACK : 

ON : to play MP3 tracks and JPEG files simultaneously.
OFF : to play MP3 tracks and JPEG files separately.
• Press 

ENTER

 repeatedly to select “ON” or “OFF”.

• The default setting is “OFF”.

SLIDE SHOW :

5sec

: to display each image for 5 seconds.

AUDIO

DRC

ON

DOWN SAMPLING

ON

DOLBY DIGITAL

BITSTREAM

MPEG

PCM

MP3 SURROUND

BITSTREAM

QUICK

QUICK

PARENTAL

PARENTAL LEVEL

ALL

PASSWORD CHANGE

OTHERS

ANGLE ICON

ON

AUTO POWER OFF ON
DUAL PLAYBACK

OFF

SLIDE SHOW

5sec

DivX(R) VOD

E8G01BD(EN).fm  Page 26  Monday, December 4, 2006  6:14 PM

Summary of Contents for D8B-N8110ZB

Page 1: ...utomatic Operations 16 DVD OPERATION 17 Basic Playback 17 General Features 17 Disc Menus 17 Title Menu 17 Calling Up a Menu Screen During Playback 17 MP3 JPEG DivX Playback 18 Dual Playback 20 Slide S...

Page 2: ...ake sure that the Timer Recording mode is OFF 9 This product is in Stand by mode when it turns off while the power cord is connected 10 Do not place any combustible objects on the device candles etc 1...

Page 3: ...uctions carefully before attempting to connect this unit to mains The wires in this mains lead are coloured in accordance with the following code BLUE NEUTRAL BROWN LIVE Important As the colours of th...

Page 4: ...prohibited This product incorporates copyright protection technology that is protected by U S patents and other intellectual property rights Use of this copyright protection technology must be authori...

Page 5: ...cated by each mark is still working OPEN CLOSE CHANNEL VCR DVD STOP PLAY OUTPUT REW F FWD PLAY REC OTR STOP EJECT VIDEO STANDBY ON 1 2 3 4 5 6 7 8 9 10 11 12 13 14 15 16 17 18 19 20 DVD output mode DV...

Page 6: ...change sound modes of a CD DVD To change sound modes VCR 23 PAUSE F To pause playback DVD To advance playback one frame at a time DVD To pause playback or recording VCR To advance playback one frame...

Page 7: ...al the Euro AV scart connection ensures you the best picture and audio quality However if your TV does not conform to RGB input signal the S VIDEO OUT and ANALOG AUDIO OUT connection is better for DVD...

Page 8: ...nts for connecting to an MD deck or DAT deck The audio source on a disc in a Dolby Digital Multi channel surround format cannot be recorded as digital sound by an MD or DAT deck Unless connected to a...

Page 9: ...ect during steps 5 to 8 Although seconds are not displayed they begin counting from 00 when you exit by pressing MENU Use this feature to synchronize the clock with the correct time If this unit is un...

Page 10: ...EL then press B 8 Press K or L to start scanning The unit s tuner will begin to search up or down automatically When a channel is found the unit will stop searching and the picture will appear on the...

Page 11: ...can change the background to solid blue by pressing C RESET If you press C RESET again the background will return to the static screen 6 Press K or L repeatedly until the channel move to another posi...

Page 12: ...fter the unit has been in Still mode for 5 minutes it will stop automatically to protect the tape and the video head Note for Speed Search and Still Picture Usually there will be video noise lines bla...

Page 13: ...ording mode Operations must be followed up within 30 seconds from steps 2 to 3 otherwise the Time Search mode will be cancelled To exit the Time Search mode press MENU in step 2 or press STOP C after...

Page 14: ...ars Then press B 4 Select once daily everyday or weekly recording For once only recording Press K or L repeatedly until the relevant month appears and then press K or L repeatedly until your desired d...

Page 15: ...NDBY ON to turn on the unit Press DVD on the remote control to choose DVD mode then continue with the other DVD features as described in this manual You don t need to set the TIMER off to use the unit...

Page 16: ...play 5 Press 0 0 4 with the Number buttons then disc briefly appears on the front panel display 6 Press REC OTR 7 Press DVD then press PLAY B 8 To stop recording press VCR then STOP C Status Display T...

Page 17: ...ly and black bars may appear at the both top and bottom of the screen It may take a time to deliver the picture or the sound This is not a malfunction You can change the on screen language in PLAYER M...

Page 18: ...d back If a large sized DivX file is selected it may take a while to start the playback over 20 seconds sometimes If DivX files wrote on CD discs cannot be played back rewrite them on a DVD disc and t...

Page 19: ...a shop that deals with developing service of Kodak Inc 1 Insert a Kodak Picture CD then Kodak Picture CD menu will automatically appear on the TV screen If all menu items cannot be displayed in the sc...

Page 20: ...ch playback was stopped To cancel resume press STOP C twice For MP3 JPEG and DivX files the top hierarchy of FILE LIST will automatically appear on the TV screen Note For MP3 and JPEG files playback w...

Page 21: ...changed during playback of discs not recorded in double sound Audio language setting cannot be made during x1 3 and x0 8 Rapid Play with Voice Refer to x1 3 and x0 8 Rapid Play with Voice If your lan...

Page 22: ...ck to the previous tracks Track number will appear briefly on the front panel display If SKIP H G are pressed while the playback is paused the playback will be paused again after skipping to the next...

Page 23: ...s set press CLEAR Repeat A B playback does not function during chapter title track group or all repeat playback For some DivX files A B Repeat playback may not function Programmed Playback You may det...

Page 24: ...ess DISPLAY repeatedly until on screen information disappears 1 During playback press DISPLAY Current track number total tracks elapsed time and remaining time of the current track and current playbac...

Page 25: ...top and bottom of the screen 4 3 PAN SCAN When viewing a 16 9 on a 4 3 aspect TV screen a full height picture with both sides trimmed is presented 16 9 WIDE If a wide screen TV is connected to this un...

Page 26: ...case you forget it If you forget the password press 4 7 3 7 The original password will be cleared and parental levels will be set to ALL Enter a new 4 digit password then press ENTER 5 Press K or L t...

Page 27: ...es that can be played back Some DivX VOD files are restricted with the limited playable times you cannot play them back beyond the limit If your DivX VOD file has such limit the playback confirmation...

Page 28: ...ay 5965 Malayalam 5958 Maltese 5966 Maori 5955 Marathi 5964 Moldavian 5961 Mongolian 5960 Nauru 6047 Nepali 6051 Norwegian NOR 6061 O R Occitan 6149 Oriya 6164 Oromo Afan 6159 Panjabi 6247 Pashto Push...

Page 29: ...removed Reset the unit by turning it off and on again This unit does not respond to the remote control Aim the remote control directly at the sensor on the front panel Reduce the distance to this unit...

Page 30: ...S Front Panel Video input RCA connector x 1 Audio input RCA connector x 2 Rear Panel AERIAL Coaxial type female RF OUT Coaxial type male AUDIO VIDEO 21 pin scart jack x 2 S Video output Mini DIN 4 pin...

Page 31: ...icture The playback picture may become blurred or interrupted even if the TV programme received is clear This does not mean that the recorded programme has been erased This problem is caused by dirt a...

Page 32: ...EC We declare that the following product DVD CD PLAYER VIDEO CASSETTE RECORDER Model D8B N8110ZB Trade Name Funai is in compliance with following Regulations EN55013 2000 A1 2003 EN55020 2002 A1 2003...

Reviews: