Actions (for Windows Users)
201
3. Click the [OK] button to close the [Scan to SugarSync - Options] dialog box.
4.
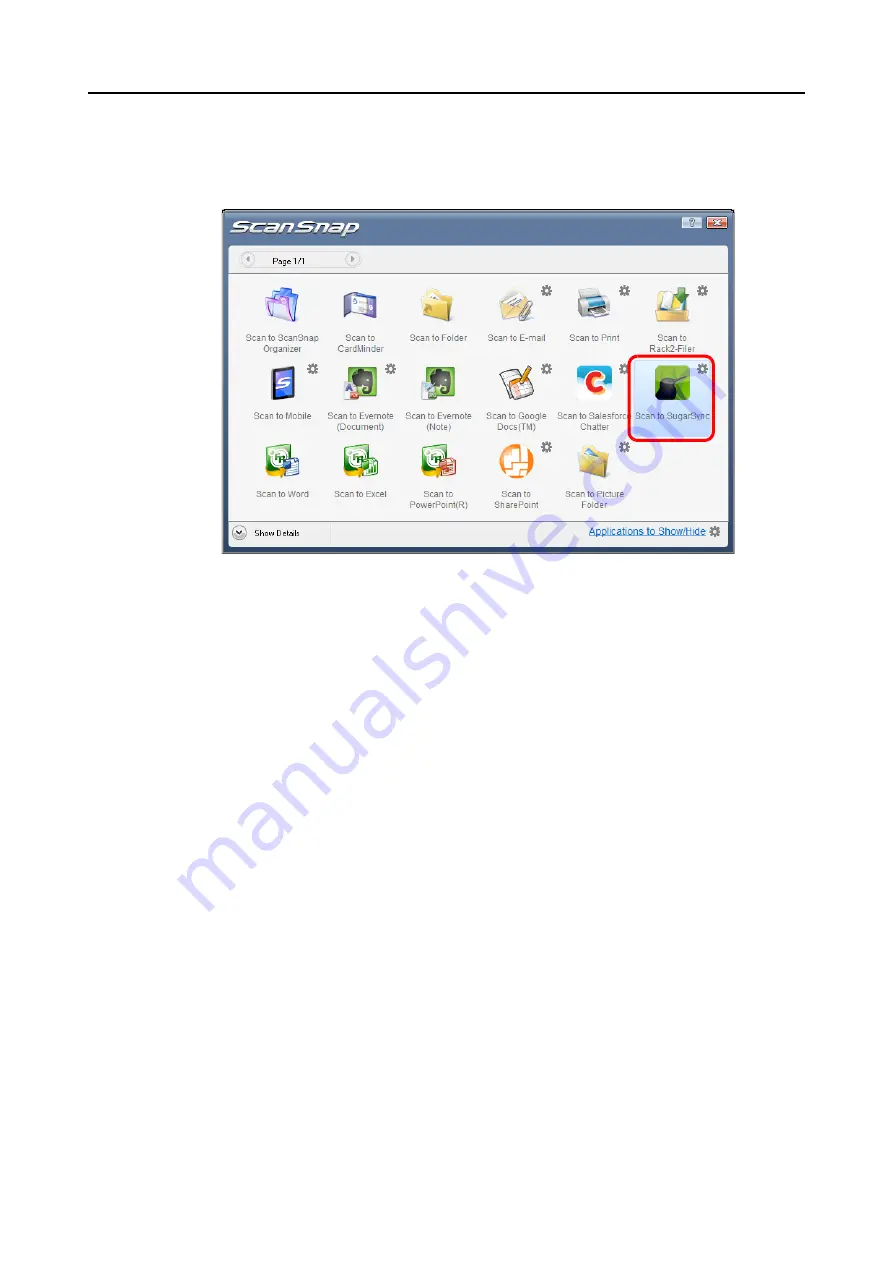
Click the [Scan to SugarSync] icon.
D
The [Scan to SugarSync] dialog box appears.
If you clear the [Show preview] check box in step
, scanned image is directly saved
to your SugarSync folder.


