


BATTERIES
Caring for your Batteries
• Always handle batteries carefully.
• Do not short-circuit the battery terminals (that is, do not touch both terminals with a metal
object). Do not carry lose batteries in a pocket or purse where they may mix with coins, keys, or
other metal objects. Doing so may cause an explosion or fire.
• Do not drop, puncture, disassemble, mutilate or incinerate the battery.
• Recharge batteries only as described in this manual and only in ventilated areas.
• Do not leave batteries in hot locations for more than a day or two. Intense heat can shorten
battery life.
• Do not leave a battery in storage for longer than 6 months without recharging it.
Increasing Battery Life
• Power your LifeBook notebook through the AC or optional auto/airline adapater whenever
possible.
• If your LifeBook notebook is running on battery power all day, connect it to the AC adapater
overnight to recharge the battery.
• Keep brightness to the lowest level comfortable.
• Set the power management for maximum battery life.
• Put your LifeBook notebook in Suspend mode when it is turned on and you are not actually
using it.
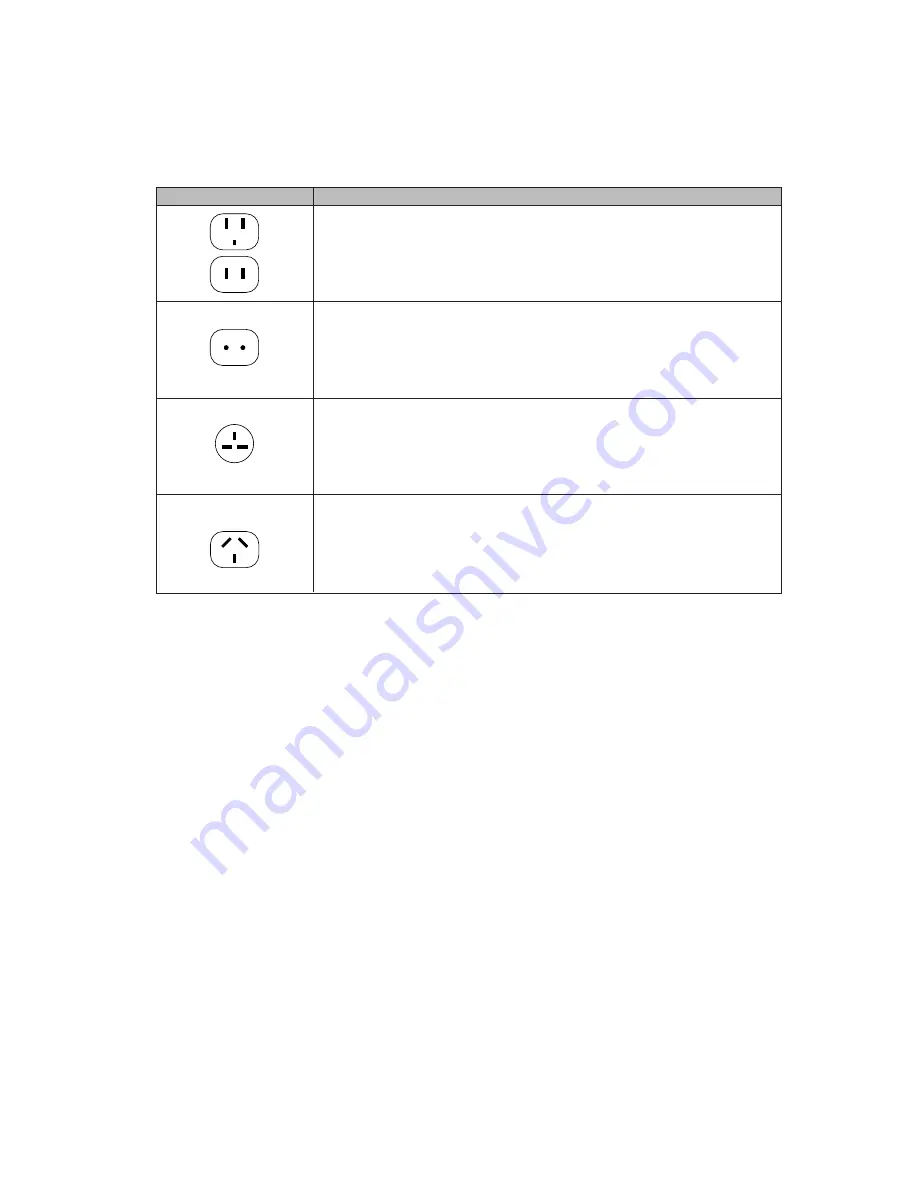
Outlet type
Location
United States, Canada, parts of Latin America, Japan, Korea,
the Philippines, Taiwan
Russia and the Commonwealth of Independent States (CIS),
most of Europe, parts of Latin America, the Middle East, parts
of Africa, Hong Kong, India, most of South Asia
Mexico, United Kingdom, Ireland, Malaysia, Singapore, parts of
Africa
China, Australia, New Zealand


