36
You can move the CD Player to anywhere on your desktop. Drag it by clicking on the track number
display, holding it down, and dragging the control panel.
When you have placed it where you would like, release the mouse button.
Precautions
• LifeBook Application Panel uses the date and time settings of your LifeBook notebook. If the date
and time are off, you can adjust this setting in the Windows Control Panel.
• If you insert an audio CD which has both audio and data tracks into the Disc Player, the Disc Player
may fail to play the first audio track.
• The Volume Up, Volume Down and Mute controls for the Disc Player desktop control panel adjusts
the volume of the CD audio line only. It does not adjust your notebook’s master software volume
control or the manual volume on the LifeBook notebook.
• The Disc Player desktop control panel is designed to be displayed in High Color (16-bit) or in True
Color (24-bit or more). If you have your notebook’s display set for 256 colors or less, the Disc
Player control panel will display in a “basic” mode.
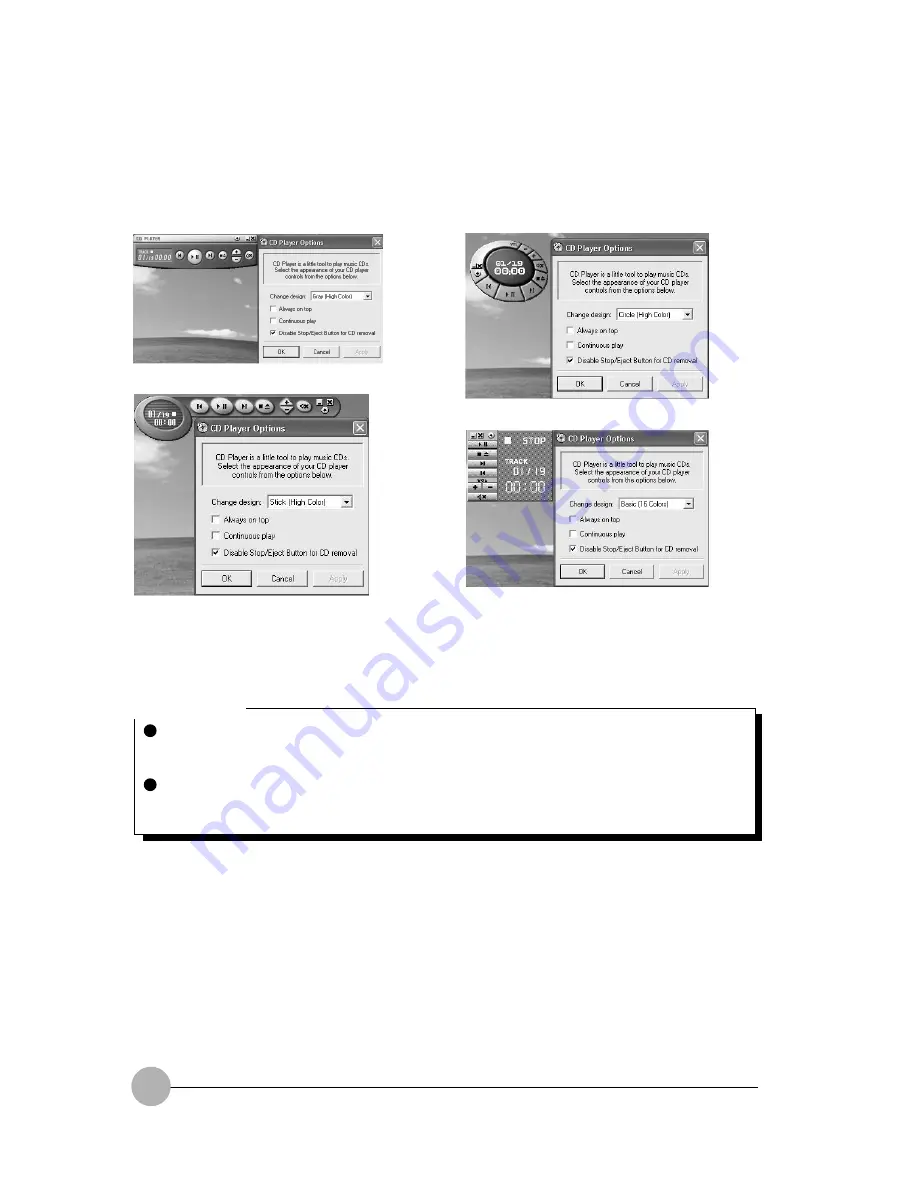
You can change the CD Player design by selecting the setting from the pull down menu from the CD
Player options by double click on the track display.
Basic (16 colors)
Grey (High Color)
Stick (High Color)
Circle (High Color)
Critical Point
If you have your display set to 256K colors the basic display will appear no matter which one
you select. You will need to set your display colors to more than 256K in order to select other
display appearances.
When you close the Disc Player’s desktop control panel, it will stop the audio Disc Player.
Simply press the Play button if you would like to continue listening, and the Disc Player will
restart at track 1. The Selector switch must be in the Disc Player position.


