


4.5 Delayed Print
85
4
Sp
ec
ia
l Pri
n
ti
n
g
4.5.2
Printing Delayed Print Jobs
This section describes how to print Delayed Print jobs.
First, set and send the Delayed Print job at the client. When printing the delayed
print jobs before being time to be set, use the control panel on the machine.
You can also check or delete print jobs saved in the machine using the same
procedure of executing print instruction at the printer.
At the computer
Here, we use Wordpad of Windows 98 as an example. The procedure is the
same when using other OS.
Depending on the application program, the way to display the printer properties dialog box might dif-
fer. See the manual of the application program used.
Procedure
1
Select
from the File menu.
2
Check Name and then click
Properties
.
3
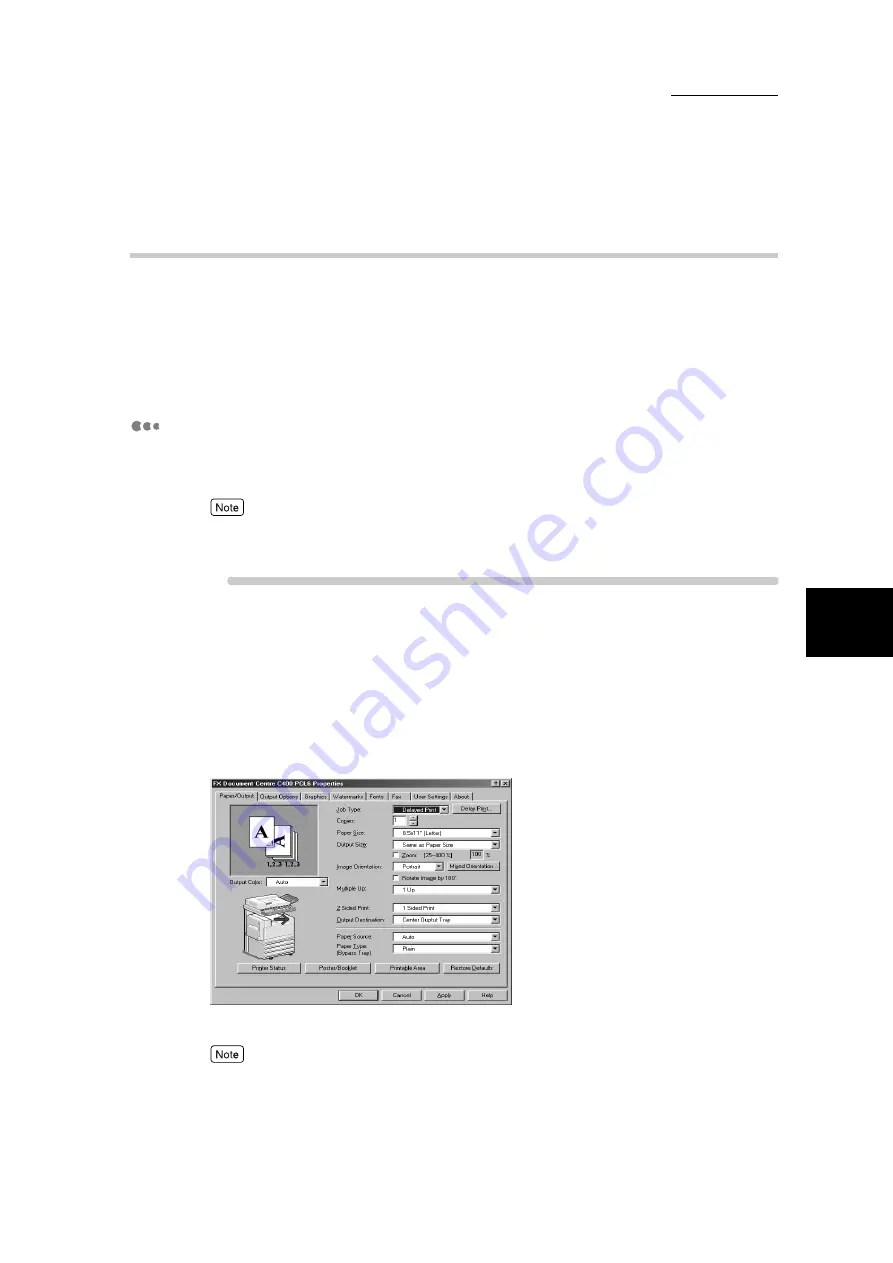
Click the Paper/Output tab.
4
Select Delayed Print from the Job Type drop-down list box.
The Delayed Print dialog box is displayed.
If necessary, click the Delayed Print button and change the settings.
Summary of Contents for DocumentCentre C240 Series
Page 16: ...Part 1 Printer ...
Page 116: ...4 10 File Upload Printing 103 4 Special Printing 5 Click Start to start printing ...
Page 127: ...Part 2 Scanner ...
Page 238: ...Part 3 Appendix ...


