


1
GB
1
Freecom Data Tank Gateway
Chapter 1: Connecting / Installing Data Tank Gateway
1.1 Hardware Installation
Setup of the Data Tank Gateway is performed using the following steps:
1. Plug the Data Tank Gateway's power cord into a power outlet.
2. Switch on DHCP on the PC in the TCP/IP-configuration. (For more information see
Appendix B)
3. Connect the included Ethernet Cable into the Ethernet port on the rear of Data Tank
Gateway into one of the LAN ports (1,2,3 or 4). Connect the other end of the cable
directly to the PC.
4. Check the LINK/ACT light on the UTP port you have connected on the Data Tank
Gateway. If it is lit, then your Data Tank Gateway is connected properly.
1. Software
The Freecom Network Storage Assistant quickly detects and performs the basic set-up
of your Data Tank Gateway. When you start it, it displays all Data Tank Gateways available
in your network and helps you configure the Data Tank Gateway as a printer server or
create network folders.
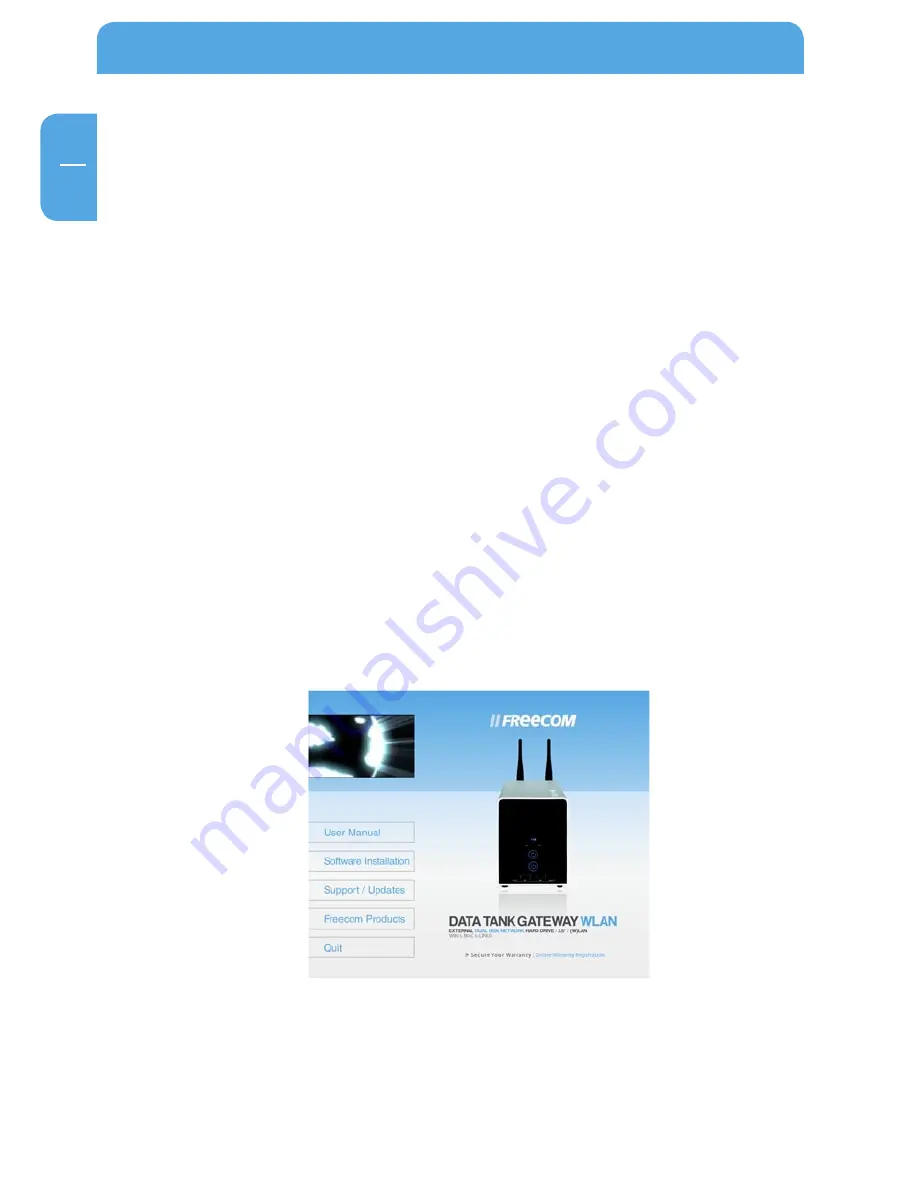
1. Install the Freecom Network Storage Assistant from the enclosed Manual & Applica-
tion CD.
2. Start the Freecom Network Storage Assistant.
3. Check the Freecom Network Storage Assistant whether your Data Tank Gateway was
detected. This may take some time. If your Data Tank Gateway is not immediately de-
tected, click "Search again for available Freecom Network Storage devices" to repeat
the search.


