


11
GB
5
Data Tank Gateway in everyday use
5.1 Establishing a WLAN connection to your Data Tank Gateway
1. Click 'Start', 'Settings', 'Control Panel'.
2. Click the 'Network Connections' icons in the Control Panel window.
3. Double-click 'Wireless Network Connections' in the window that appears.
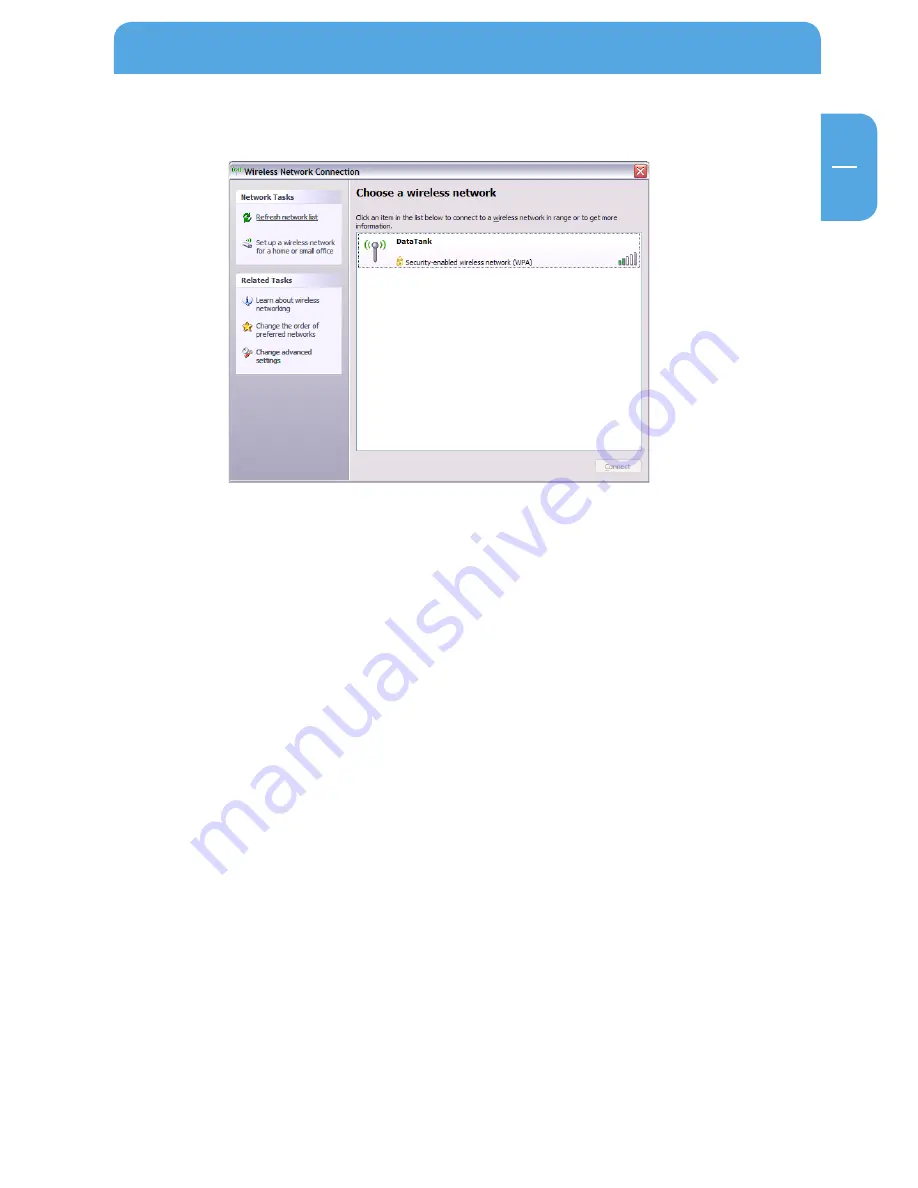
4. A new window opens and displays the available wireless networks.
5. Double-click on the name you selected for your Data Tank Gateway (set under 'Network
Name(ESSIUD)). In this example, it is DataTank.
6. A dialog window appear on the screen where you are requested to enter the authen-
tication key selected in step 4 (Setting up a WAP TPIK connection) twice.
7. Click OK. You computer then establishes a connection with the Data Tank Gateway.


