


111
GB
5
Data Tank Gateway in everyday use
5.11 WLAN in Everyday Use
To use the WLAN function on your Data Tank Gateway, please select which method of
encryption is used by the device that you want to attach to the Data Tank Gateway.
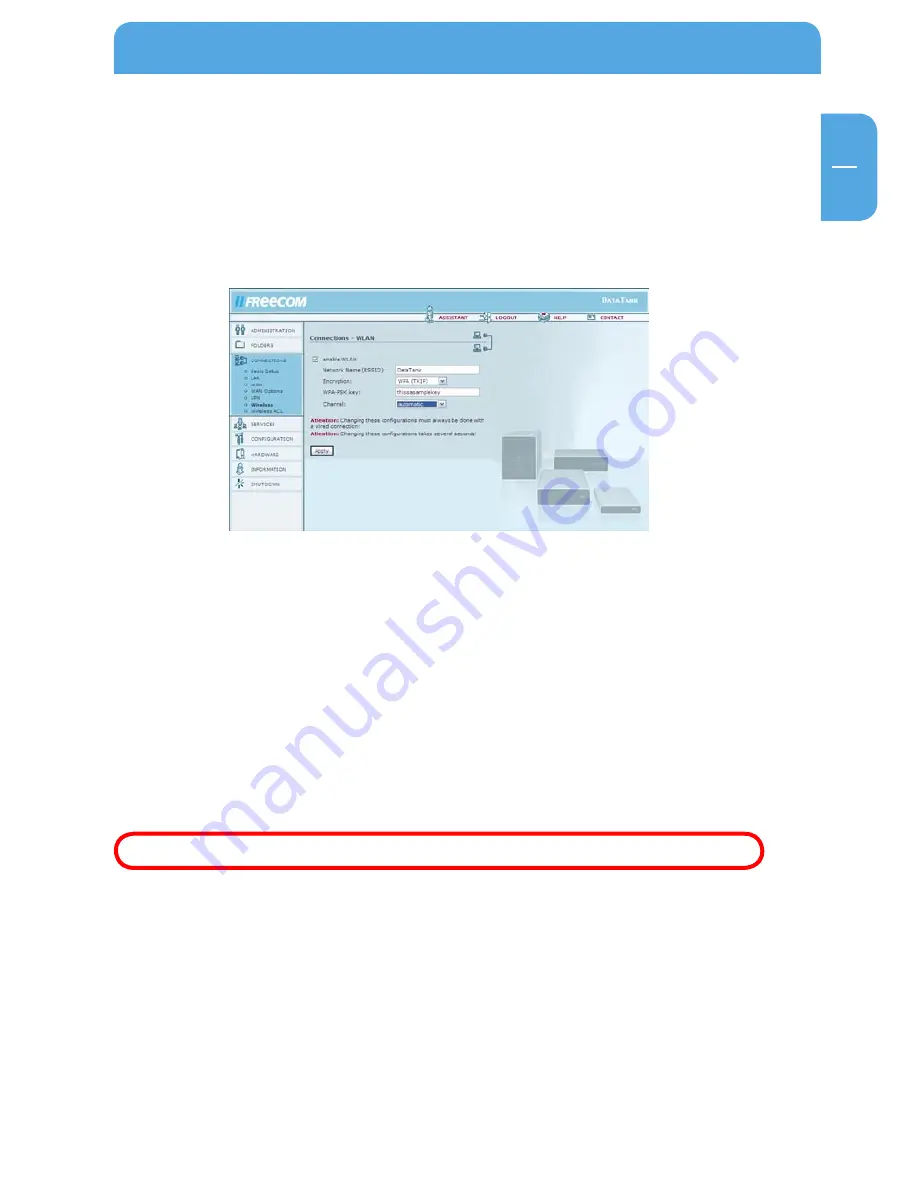
Setting up a WAP – TKIP connection
1. Go to 'Connections' and then click 'Wireless' on the web interface. This window con-
tains the main settings options for WLAN.
2. Enter the name used to identify your Data Tank Gateway in the network under
'Network Name(ESSID)'. You may choose any name. In this example, we are using
'MyDataTank'.
3. Check the box labeled 'enable WPA encryption (recommended)'.
4. Enter one of the authentication keys selected by you under 'WPA-PSK key'. This key
has to be at least eight and no more than 63 characters in length. Jot down the key
that you just typed in. It needs to be entered on all of the devices that will connect to
your Data Tank Gateway via WLAN.
In this example, we are using 'thisisanexample'.
Please do not use this code word for security reasons!
5. Select 'WPA TKIP' under 'Encryption'.
6. Confirm your settings by pressing 'Apply'.
Your Data Tank Gateway is now configured for WLAN using WPA TKIP.


