ShareLink 200 N • Using the Embedded Web Pages
24
Configuring ShareLink 200 N Settings
To access the ShareLink 200 N admin (configuration) pages:
1.
Click the
Configure
button on the top right hand corner of the landing page (see
,
1
, page 20). The
Login
page opens.
2.
Enter the password and click
Login
. The default password is “
configure”.
NOTE:
The factory configured password for all accounts has been set to the device
serial number (passwords are case sensitive). Performing a reset sets this password
to “
configure
” (see
on page 34 for reset instructions).
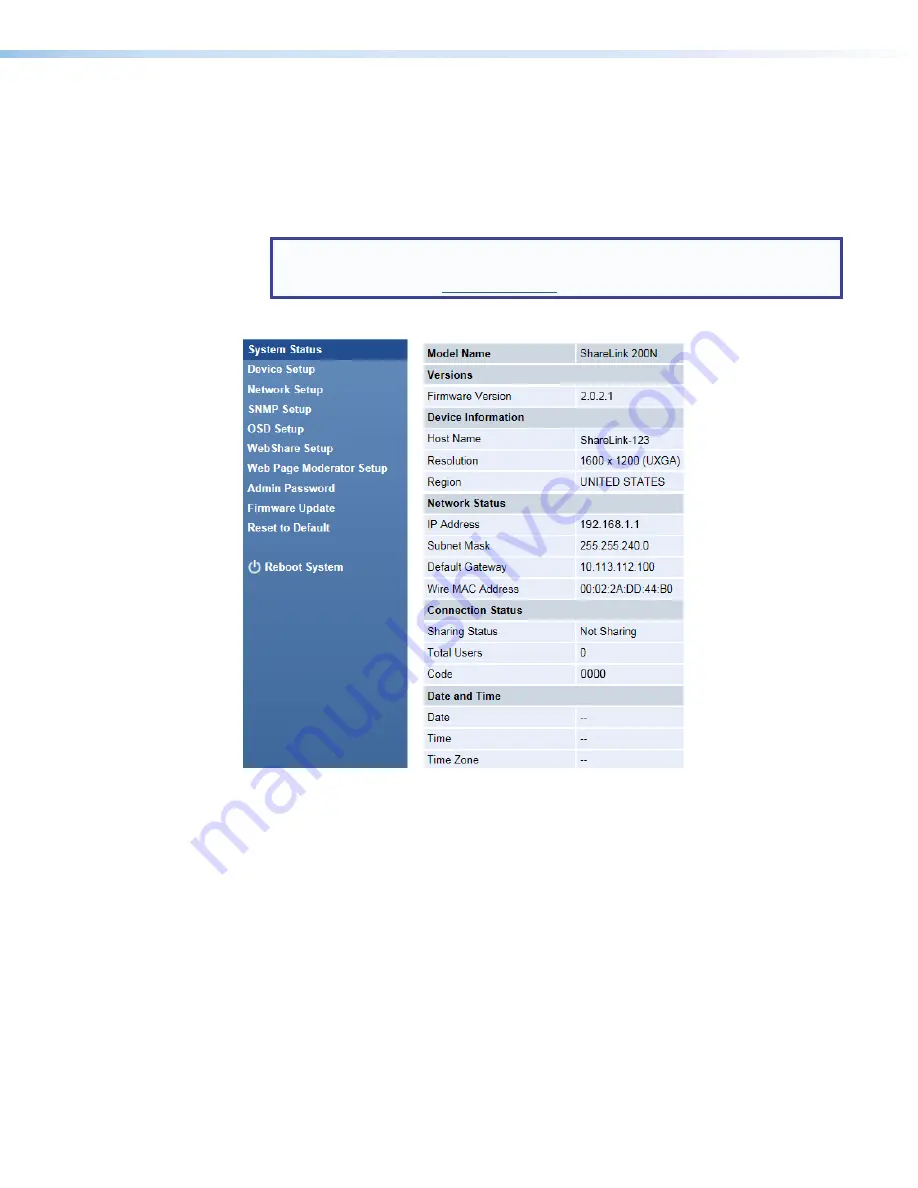
After login, the admin page opens:
Figure 19.
ShareLink 200 N Admin Pages
•
System Status
— This is the default page. It displays basic information about the
ShareLink 200 N model, network status, connection status, and date and time.
•
Device Setup
— Use this page to adjust the ShareLink 200 N output resolution, login
code, date and time, and to reboot settings (see
•
Network Setup
— Use this page to adjust network settings for the ShareLink 200
N, such as hostname, domain name, IP
settings, and DHCP settings (see
•
SNMP Setup
— Use this page to enable or disable SNMP service, and to configure
settings for managing the ShareLink 200 N via SNMP (see
on page 28).
•
OSD Setup
— Use this page to customize standby screen image or reset it to default,
and to choose which device information to display on the standby screen (see
•
WebShare Setup
— Use this page to set the auto refresh interval and the Access
Password Code for WebShare (see
PRELIMINARY
Summary of Contents for ShareLink 200 N
Page 6: ...PRELIMINARY ...


