


58
Managing meetings
5
Type text in the following text boxes:
• Subject
• Location
• Description
6
Repeat until you have filled in all the fields you want.
7
From the Show Time list box, choose one of the following values:
• Busy
• Free
• Out Of Office
• Tentative
8
When you have finished editing, click OK.
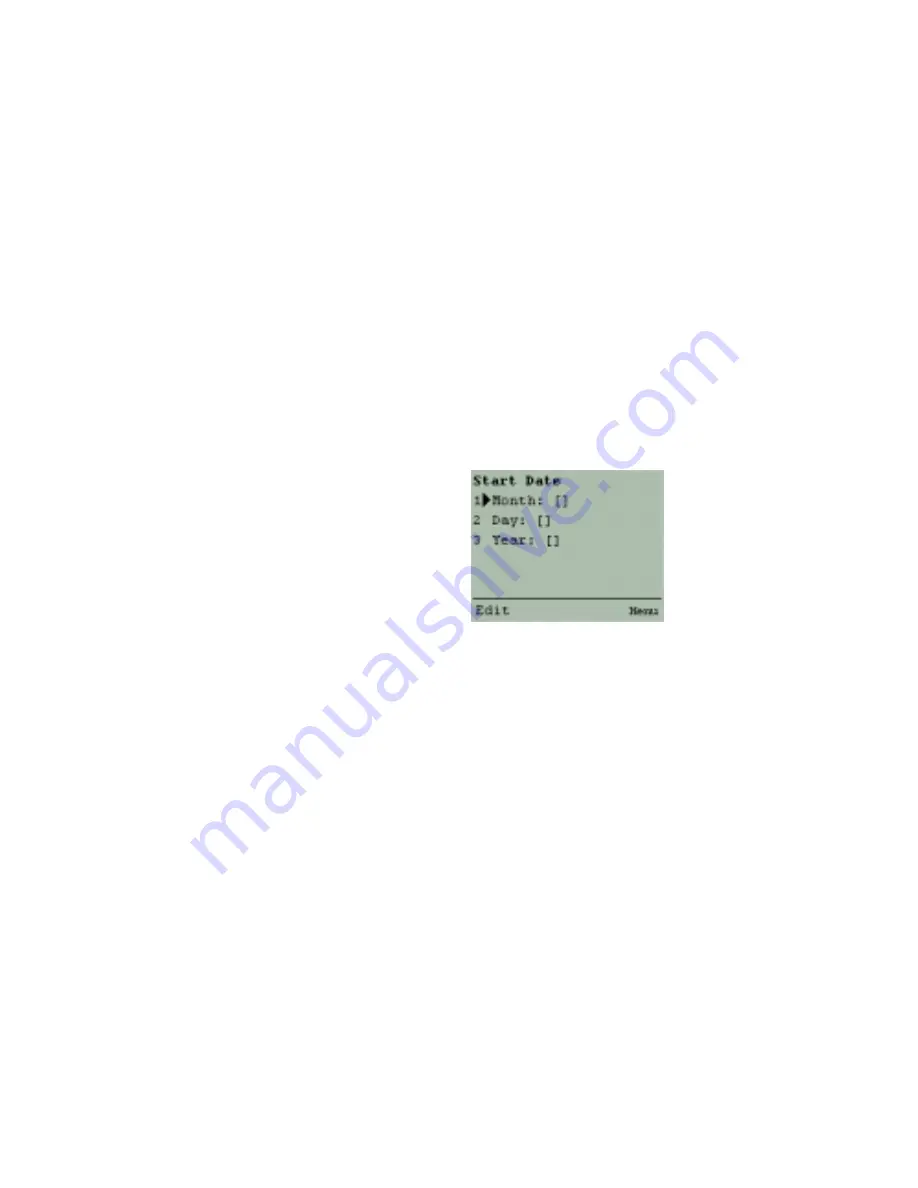
The Start Date screen appears.
Figure 5-6: Start Date screen
9
Type text in the following text boxes:
• Month
• Day
• Year
• Hour
• Minute
10
Click OK.
The Duration screen appears.
11
Type text in the following boxes:
• Hours
• Minutes
12
Click OK.
The Add Recipients screen appears.
The Recipient List screen displays a list of meeting attendees. You can
add and remove attendees from the recipient list. For more
information, see “Using the recipient list” on page 41.
Summary of Contents for OneBridge 4.1
Page 1: ...OneBridge Real Time Server 4 1 User Guide...
Page 2: ......
Page 4: ...ii...
Page 8: ...vi Table of Contents...
Page 42: ...32 Getting started...
Page 54: ...44 Managing messages...
Page 62: ...52 Using and managing contacts...
Page 88: ...78 Setting options...
Page 96: ...86 Index...


