HD9690 Series HDTV Graticule Generator Manual
DESKTOP CONTROL PANEL OPERATION
Revision 1.5
Page 4-13
4.4.
CONTROLLING THE GRID OBJECT
The
grid
object consists of two horizontal lines and two vertical lines that intersect the horizontal lines.
The lines are shaped to avoid sharp transitions in the video. Line width may be adjusted using the
Line
Width a
ttribute. The locations of the grid lines shown is the centre of the line.
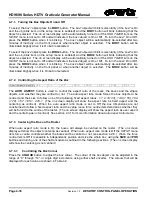
4.4.1. Turning the Grid Object On and Off
To select the
grid
object press the
GRID
button. The
grid
object will blink momentarily (if the
grid
is On
and the
obj blink
item on the
setup
menu is enabled) and the
GRID
button will blink indicating that the
object is selected. The on screen display will be automatically turned on if the
OSD TIMER
item on the
SETUP
menu is not set to
Off
and will indicate it the
grid
object is On or Off. To turn the
grid
On or Off,
press the
GRID
button when it is blinking. The
grid
object will be automatically de-selected after two
minutes of inactivity on the front panel or when another object is selected. The
GRID
button will be
illuminated brightly when it is On but not selected.
4.4.2. Centering the Grid on the Raster
When
auto aspect ratio mode
is On the
grid
object will always be centred on the raster. (The OSD will
show
centred.)
When
auto aspect ratio
mode is Off the
SETUP
menu item
force centre
controls whether
the
grid
will be centred or not (see section 4.2.6 for more information about
auto aspect ratio
mode).
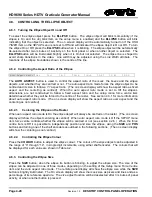
When the
force centre
item is Off it is possible to independently position and size the
grid
, using the
SIZE
and
POS
buttons and turning one of the shaft encoders as outlined in the following sections. (The OSD
will show
not centred.)
4.4.2.1.
Controlling the Grid Colour
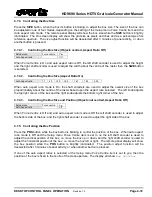
Press the
COLOUR
button to adjust the
grid
colour. The colour of the
grid
object can be adjusted in the
range of “0” through “14”, in single digit increments, using either shaft encoder. The colours that will be
displayed for each value are shown in Table 4-2.
4.4.3. Controlling the Grid Size
Press the
SIZE
button, when the
grid
button is blinking, to adjust the
grid
size. The size of the
grid
can be
adjusted in one of two modes, depending on the setting of the
Setup menu Force Centre
item and the
Auto aspect ratio
mode. The remote panel display will show the
grid
size while the
SIZE
button is brightly
illuminated. The On screen display will show the
grid
size as pixels and lines and as a percentage of its
reference aperture. The
size adjust
function will be deselected after 3 minutes of panel activity, or when
another button is pressed.
4.4.3.1.
Controlling the Grid Size (Objects centred or Aspect Ratio mode On)
Setup menu
Force centre
Yes
Or
Auto Aspect ratio
1:1
4:3
14:9
16:9
1.67
1.85
2.35
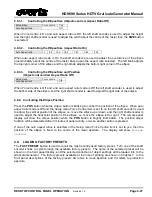
When
Force Centre
is On or
auto aspect ratio
mode is On, the left shaft encoder is used to adjust the
height and the right shaft encoder is used to adjust the width about the centre of the raster when the
SIZE
button is selected.


