HD9690 Series HDTV Graticule Generator Manual
Page 3-20
Revision 1.5
FRONT PANEL
OPERATION
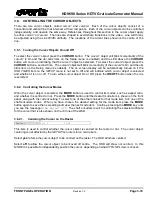
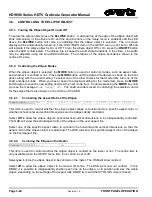
3.6.3. Controlling the Cursor Attributes
When the
cursor
object is selected the
CTRL SEL
button is used to select which of its attributes (colour.
line width, position, or size) will be adjusted by turning the shaft encoder knobs. Press the
CTRL SEL
button until the desired
CTRL SEL
item is shown on the front panel. When you have chosen the desired
CTRL SEL
item press the
CURSOR
button again or turn one of the shaft encoder knobs to begin
controlling the selected attribute of the
cursor
. The selected attribute for control will show on the
ctrl
line of
the OSD.
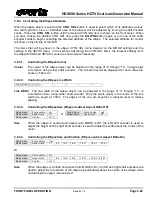
3.6.3.1.
Controlling the Cursor Colour
Colour
The colour of the
cursor
object can be adjusted in the range of “0” through “14”, in single digit
increments, using either shaft encoder. The colours that will be displayed for each value are
shown in Table 3-2.
3.6.3.2.
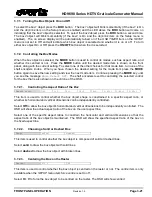
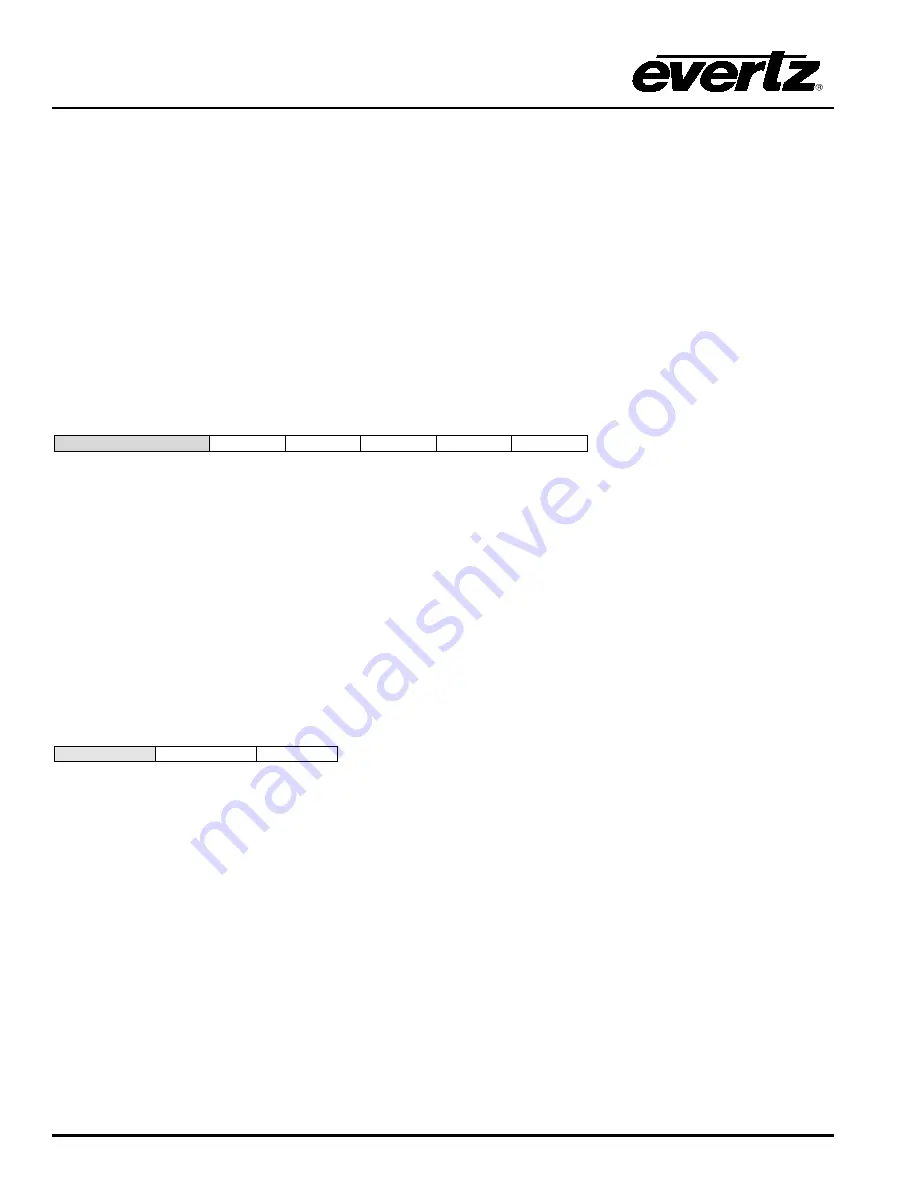
Controlling the Cursor Line Width
Line Width
3
5
7
9
11
Line Width
The line width of the
cursor
object can be adjusted in the range of “3” through “11”, in
increments of two, using either shaft encoder. Only the pixels (lines) in the centre of the line
width are keyed at 100%. The edges of the line are keyed at a reduced level to reduce
aliasing.
3.6.3.3.
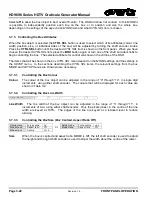
Controlling the Cursor Size
Size
The size of the
cursor
can be adjusted using either of the shaft encoders. The size will change
proportionately about the centre of the
cursor
.
H/V Size
The left shaft encoder is used to adjust the height of the
CURSOR
vertical line, and the right
shaft encoder is used to adjust the width of the
cursor
horizontal line.
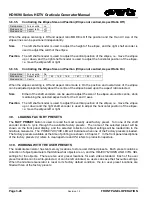
3.6.3.4.
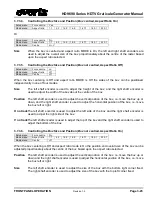
Controlling the Cursor Position (Cursor not centred)
Mode menu
Centre
off
When the
cursor
centering is Off the position of the
cursor
can be adjusted.
Position
The left shaft encoder is used to adjust the vertical
position
of the
cursor,
i.e. move the
cursor
up or down and the right shaft encoder is used to adjust the horizontal
position
of the
cursor
,
i.e. move the
cursor
left or right.
3.7.
CONTROLLING THE BOX OBJECTS
There are two
box
objects, called
box1
and
box2
. Each of the
box
objects can be controlled
independently, and operate the same way. Often
box1
is used to mark the safe action area and
box2
is
used to mark the safe title area. References throughout this section to the
box
object apply to either
box1
or
box2
. The box perimeter lines are shaped to avoid sharp transitions in the video. Line width may be
adjusted using the
Line Width a
ttribute. The locations of the box perimeter lines shown is the centre of the
line.

