


34
Set All: Press this button to select the entire area.
Clear All: Press this button to clear all the selected grid blocks.
Save & Back: Press this button to save the motion grid setting and return to the Motion setting menu.
Cancel: Press this button to cancel all changes and return to the Motion setting menu.
How to select a Motion Detection area with the MOUSE:
1.
Click on the editing screen to reveal the grid.
2.
Click “Clear All” to delete all green areas (motion detection areas).
3.
Decide what area you want to select and click on the grid block at the upper left corner of the area you want
to select.
4.
Click on the grid block at the lower right corner of the desired area.
5.
The rectangular area between these two grid blocks will be selected. You can now add individual grid
blocks by double-clicking on them. If you click once on a grid block it will turn red, which means if you click
on another grid block far away, all grid blocks in-between them will turn green (active).
5. Choose “Save & Back” to proceed.
How to select a Motion Detection area with the Front-Panel buttons:
1.
Scroll to the Grid Setting field and press the Enter key to open the Motion Grid Setup page.
2.
Scroll on to the setup video screen and press Enter to reveal the grid.
3.
Decide what area you want to select and scroll to the grid block at the upper left corner of the area you
want to select. Use the control wheel’s outer ring to scroll horizontally, and the inner disk to scroll vertically.
4.
Press Enter to select that corner block. The block will turn red, indicating that the setup program is waiting
for you to click on an opposing block so that it can turn all the grid blocks in-between into green (selected)
blocks.
5.
Scroll to the grid block at the lower right of the area you want to select. The rectangular area in-between will
turn red. Click Enter and the red area will turn green (selected).
6.
Add other blocks to this area if required, or add separate areas.
7.
Press the Menu/Esc button to exit the selection area.
8.
Scroll to “Save & Back” and press Enter.
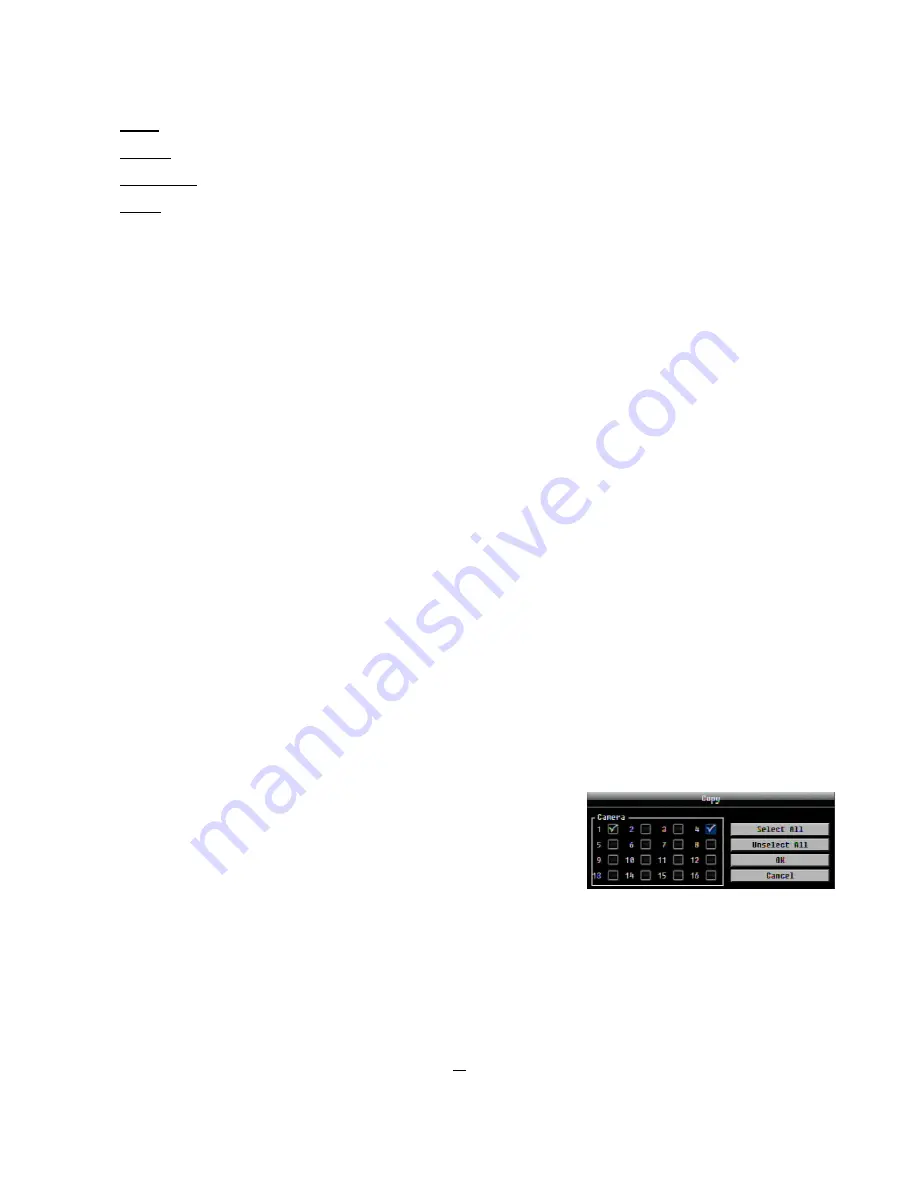
Apply To:
This button can be used to copy the motion settings for the selected
camera to other cameras. Select which cameras you wish to copy to. "Select All"
selects all cameras, “Unselect All” deselects all cameras. Click “OK” to copy the
settings or "Cancel" to exit without copying.
5.2.4
Video Loss
This section lets you configure the selected camera channel to detect and react to video-loss events.
Camera:
Select the camera you wish to configure, “Title” will change to the title name of the selected camera.
Enable:
Check this box to enable video-loss
detection.
Log:
Check this box to record video-loss events in the log.


