USER MANUAL > CENTERING A LENS
Mr Blue 2.0 > v4.0 -09.16
43
7
6
5
4
3
2
1
It also describes the
which makes it possible to limit the induced prism, and to ensure a job of quality.
Do not center the
(thickness < 0.8 mm) in automatic mode or in three focimeter dots mode, you
lenses precalibrated
are likely to break them with blocking.
a. Centering a single vision lens in automatic mode
Do not use this mode for a lens marked with a focimeter: the markings can alter the precision of the centering.
Press
to select the type of single vision lens.
Press
to select the automatic centering mode.
Press
to enter the cylinder angle (if the lens has one).
This information makes it possible to straighten the lens perfectly at the angle required by the prescription, then
ensure that the posiblock is set on the same axis.
When you start the blocking of a cylindrical lens without having indicated the angle value, a warning is displayed at
the start of the blocking operation:
Press
if you don't want to change the default value (default value = 0°).
Press
if you want to modify this value. The numeric keypad is displayed.
Enter the desired value, then press
to confirm.
Enter the half-PD and pupillary height.
Modify the distance between the PRP (point of reference prismatic) and centering cross, if necessary:
This value is configured by default at 4 mm for Essilor mid-distance lenses (EyeZen). This value may vary, depending
on lens manufacturers.
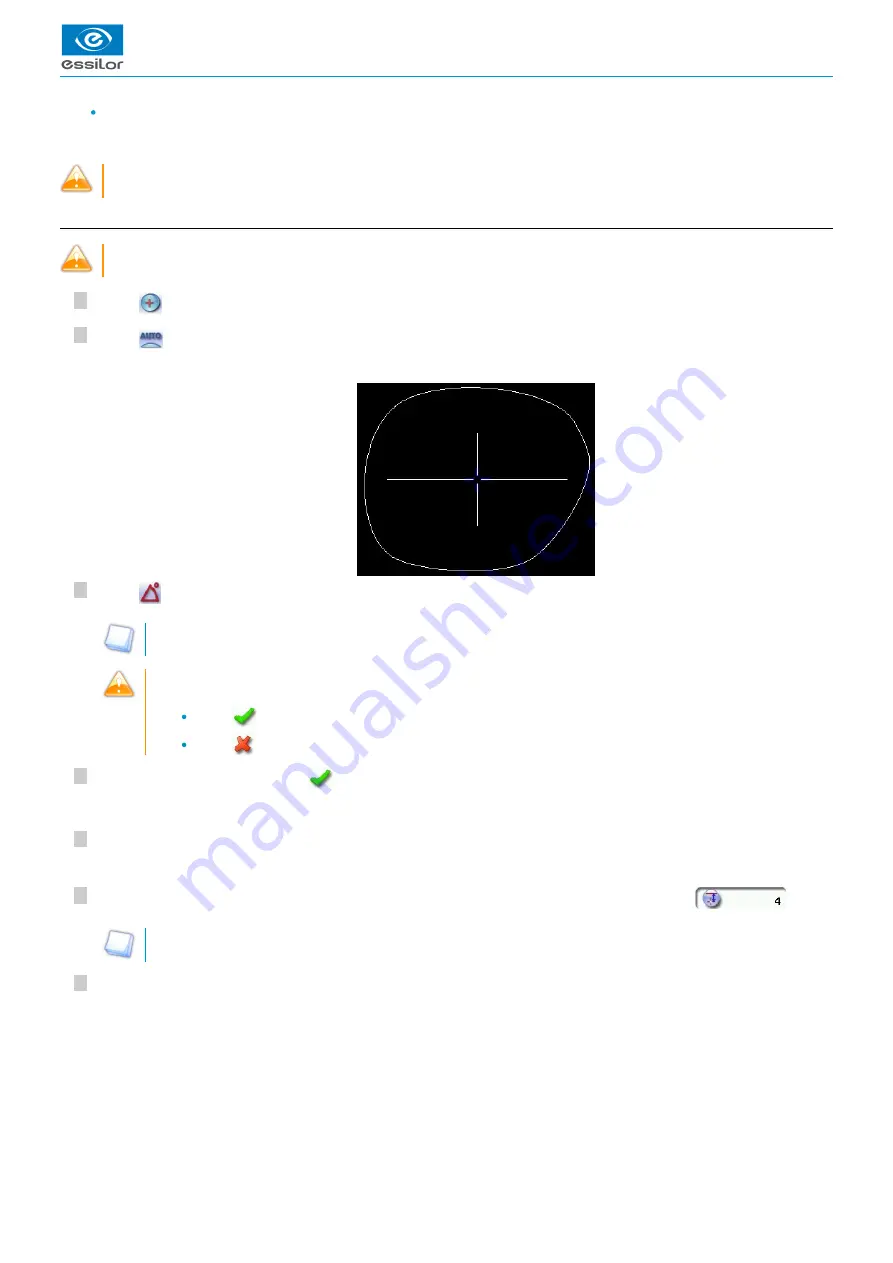
Position the lens in the middle of the centering chamber.
The centering target is displayed.
>
The angle value is displayed in the centering screen.
>
The target moves.
>
Summary of Contents for Mr Blue 2.0
Page 1: ...User Manual ...
Page 2: ......
Page 6: ...USER MANUAL CONTENTS ...
Page 8: ...USER MANUAL INTRODUCTION 8 Mr Blue 2 0 v4 0 09 16 ...
Page 9: ...I FIRST STEPS WITH MR BLUE 2 0 ...
Page 10: ...USER MANUAL FIRST STEPS WITH MR BLUE 2 0 10 Mr Blue 2 0 v4 0 09 16 ...
Page 17: ...II TRACING ...
Page 18: ...USER MANUAL TRACING 18 Mr Blue 2 0 v4 0 09 16 ...
Page 36: ...USER MANUAL TRACING 36 Mr Blue 2 0 v4 0 09 16 ...
Page 37: ...III CENTERING A LENS ...
Page 38: ...USER MANUAL CENTERING A LENS 38 Mr Blue 2 0 v4 0 09 16 ...
Page 82: ...USER MANUAL CENTERING A LENS 82 Mr Blue 2 0 v4 0 09 16 ...
Page 83: ...IV MODIFYING THE LENS SHAPE ...
Page 84: ...USER MANUAL MODIFYING THE LENS SHAPE 84 Mr Blue 2 0 v4 0 09 16 ...
Page 91: ...V PREPARING A DRILLED JOB ...
Page 92: ...USER MANUAL PREPARING A DRILLED JOB 92 Mr Blue 2 0 v4 0 09 16 ...
Page 103: ...VI PREPARING LENS EDGING ...
Page 104: ...USER MANUAL PREPARING LENS EDGING 104 Mr Blue 2 0 v4 0 09 16 ...
Page 108: ...USER MANUAL PREPARING LENS EDGING 108 Mr Blue 2 0 v4 0 09 16 ...
Page 109: ...VII TRACER CENTERER BLOCKER CONFIGURATION ...
Page 110: ...USER MANUAL TRACER CENTERER BLOCKER CONFIGURATION 110 Mr Blue 2 0 v4 0 09 16 ...
Page 119: ...VIII MAINTENANCE SERVICING ...
Page 120: ...USER MANUAL MAINTENANCE SERVICING 120 Mr Blue 2 0 v4 0 09 16 ...
Page 134: ...USER MANUAL MAINTENANCE SERVICING 134 Mr Blue 2 0 v4 0 09 16 ...
Page 135: ...IX M EYE SIGN AND M EYE TOUCH ...
Page 136: ...USER MANUAL M EYE SIGN AND M EYE TOUCH 136 Mr Blue 2 0 v4 0 09 16 ...
Page 139: ...TECHNICAL DATA ...
Page 142: ...USER MANUAL TECHNICAL DATA 142 Mr Blue 2 0 v4 0 09 16 ...
Page 143: ...GENERAL INFORMATION ...
Page 147: ...GLOSSARY ...
Page 150: ...USER MANUAL GLOSSARY 150 Mr Blue 2 0 v4 0 09 16 ...
Page 151: ...USER MANUAL GLOSSARY Mr Blue 2 0 v4 0 09 16 151 ...


