


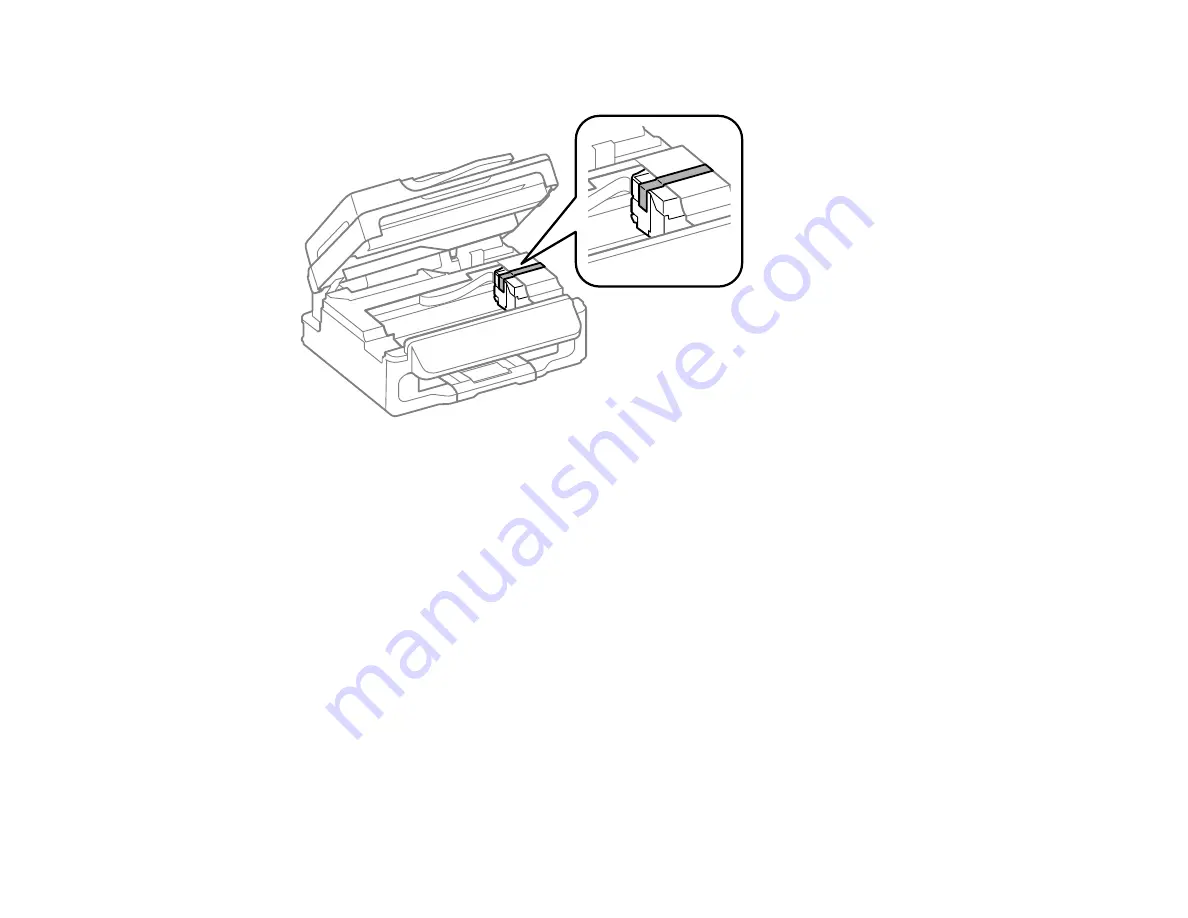
3.
Secure the ink cartridge holder to the case with tape.
Caution:
Do not place tape on the white flat cable inside the product; otherwise, you may damage
your product.
4.
Lower the scanner unit.
5.
Remove all the paper from the product.
6.
Unplug the power cable.
7.
Disconnect any connected cables.
8.
Close the output tray and paper support.
9.
Place the product in its original packing materials, if possible, or use equivalent materials with
cushioning around the product.
Keep the product level during transportation. Be sure to remove the tape from the ink cartridge holder
before turning on your product. If print quality has declined when you print again, clean and align the
print head.
Parent topic:
Cleaning and Transporting Your Product
Related concepts
Print Head Alignment
187
Summary of Contents for WorkForce WF-M1560
Page 1: ...WF M1560 User s Guide ...
Page 2: ......
Page 11: ...WF M1560 User s Guide Welcome to the WF M1560 User s Guide 11 ...
Page 17: ...1 Document cover 2 Scanner glass 3 Control panel Parent topic Product Parts Locations 17 ...
Page 38: ...Related topics Copying Scanning Faxing 38 ...
Page 90: ...90 ...
Page 116: ...1 Telephone wall jack 2 DSL filter 3 DSL modem ISDN connection one phone number 116 ...
Page 117: ...1 ISDN wall jack 2 Terminal adapter or ISDN router ISDN connection two phone numbers 117 ...
Page 118: ...1 ISDN wall jack 2 Terminal adapter or ISDN router 118 ...
Page 141: ...4 Select Speed Dial Group Dial List You see this window 141 ...
Page 188: ...Print Head Cleaning 188 ...
Page 202: ...4 Remove any jammed paper or torn pieces 202 ...
Page 205: ...1 ADF cover 2 Paper feeder 5 Remove any jammed paper or torn pieces 205 ...


