


Checking the Fax Connection
You can check whether the product is ready to send or receive faxes.
1.
Make sure paper is loaded in your product.
2.
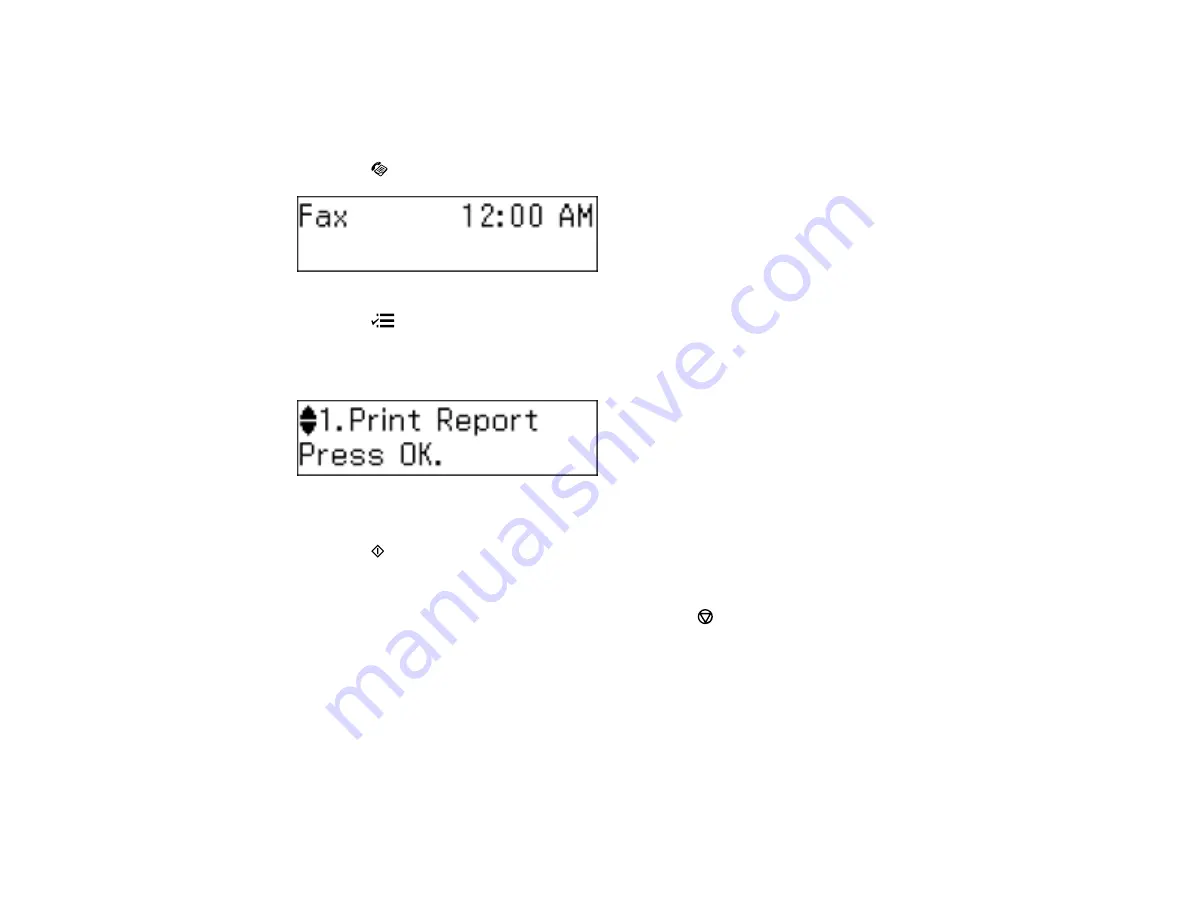
Press the
Fax
button.
3.
Press the
Menu
button.
4.
Press the up or down arrow buttons to select
Fax Settings
and press the
OK
button.
You see this screen:
5.
Press the up or down arrow buttons to select
Check Fax Connection
and press the
OK
button.
6.
Press the
Start
button.
Your product checks its fax connection and prints the results.
Note:
To cancel the connection check sheet, press the
Stop/Reset
button.
Note:
If errors are reported on the printed connection check, try the solutions listed on it.
Parent topic:
Connecting a Telephone or Answering Machine
Setting Up Fax Features
Before faxing with your product, set up your fax header and select the fax features you want to use.
121
Summary of Contents for WorkForce WF-M1560
Page 1: ...WF M1560 User s Guide ...
Page 2: ......
Page 11: ...WF M1560 User s Guide Welcome to the WF M1560 User s Guide 11 ...
Page 17: ...1 Document cover 2 Scanner glass 3 Control panel Parent topic Product Parts Locations 17 ...
Page 38: ...Related topics Copying Scanning Faxing 38 ...
Page 90: ...90 ...
Page 116: ...1 Telephone wall jack 2 DSL filter 3 DSL modem ISDN connection one phone number 116 ...
Page 117: ...1 ISDN wall jack 2 Terminal adapter or ISDN router ISDN connection two phone numbers 117 ...
Page 118: ...1 ISDN wall jack 2 Terminal adapter or ISDN router 118 ...
Page 141: ...4 Select Speed Dial Group Dial List You see this window 141 ...
Page 188: ...Print Head Cleaning 188 ...
Page 202: ...4 Remove any jammed paper or torn pieces 202 ...
Page 205: ...1 ADF cover 2 Paper feeder 5 Remove any jammed paper or torn pieces 205 ...


