


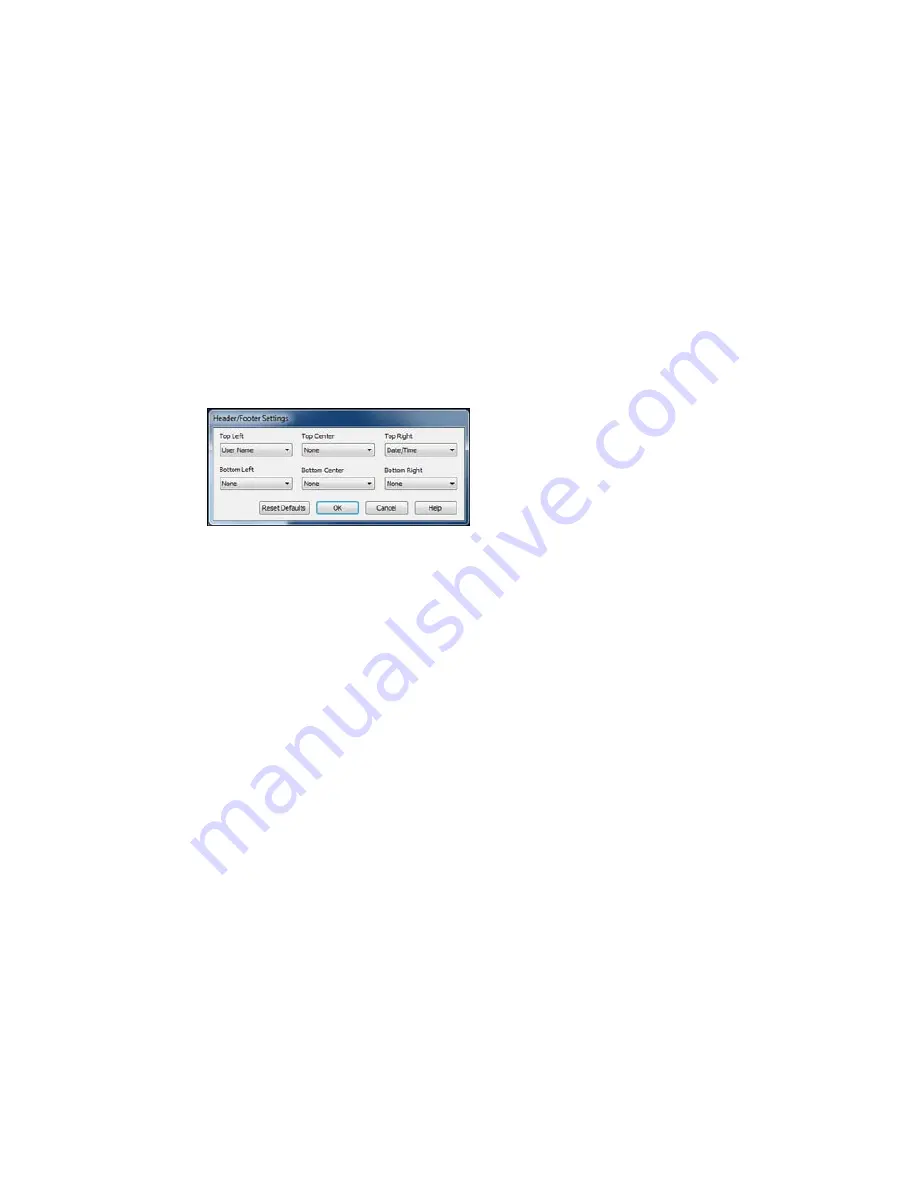
Header/Footer Settings - Windows
You can select any of the Header/Footer Settings options to add headers or footers when you print. The
items are available to print at the top or bottom of your pages, in either the left, right, or center of the
page.
Note:
These settings are not saved with your document.
You can select to print the following information, which comes from the Windows Control Panel on your
computer:
• User Name
• Computer Name
• Date
• Date/Time
Parent topic:
Selecting Additional Layout and Print Options - Windows
Selecting a Printing Preset - Windows
For quick access to common groups of print settings, you can select a printing preset on the Main or
More Options tab.
Note:
You can create your own preset by clicking the
Add/Remove Presets
button.
1.
Click the
Main
or
More Options
tab.
You see the available
Printing Presets
on the left:
82
Summary of Contents for WorkForce WF-3540
Page 1: ...WF 3540 User s Guide ...
Page 2: ......
Page 13: ...WF 3540 User s Guide Welcome to the WF 3540 User s Guide 13 ...
Page 37: ...4 Slide the edge guide to your paper size 37 ...
Page 41: ...1 Close the paper stopper and output tray if necessary 2 Pull out the paper cassette 41 ...
Page 42: ...3 Slide the edge guides outward 4 Slide the edge guide to your paper size 42 ...
Page 46: ...2 Pull out the paper cassette 3 Slide the edge guides outward 46 ...
Page 70: ...Parent topic Copying 70 ...
Page 129: ...129 ...
Page 156: ...1 Telephone wall jack 2 DSL filter 3 DSL modem ISDN connection one phone number 156 ...
Page 157: ...1 ISDN wall jack 2 Terminal adapter or ISDN router ISDN connection two phone numbers 157 ...
Page 158: ...1 ISDN wall jack 2 Terminal adapter or ISDN router 158 ...
Page 176: ...3 Select Fax Settings for Printer Select your product if prompted You see this window 176 ...
Page 185: ...3 Select Fax Settings for Printer Select your product if prompted You see this window 185 ...
Page 285: ...3 Carefully remove any jammed paper 4 Remove any jammed paper from the duplexer 285 ...
Page 286: ...5 Open the duplexer 286 ...
Page 287: ...6 Carefully remove any jammed paper stuck inside 7 Reattach the duplexer 287 ...
Page 290: ...6 Carefully remove any jammed pages in the direction shown 290 ...


