


4.
Select
Fax Settings
.
5.
Follow the prompts that appear on the screen to enter your fax header information and select your
fax settings.
Note:
For detailed information, select the FAX Utility
Help
option.
Parent topic:
Setting Up Fax Features
Related topics
Setting Up Fax Features Using the Product Control Panel
Setting Up Fax Features Using the Fax Utility - Mac OS X
You can set up your fax header and select your fax settings using the FAX Utility for Mac OS X.
1.
Do one of the following:
•
Mac OS X 10.6/10.7/10.8
: In the Apple menu or the Dock, select
System Preferences
. Select
Print & Fax
or
Print & Scan
, select the
FAX
option for your product, and select
Options &
Supplies
. Select
Utility
and select
Open Printer Utility
.
•
Mac OS X 10.5
: In the Apple menu or the Dock, select
System Preferences
. Select
Print & Fax
,
select the
FAX
option for your product, and select
Open Print Queue
. Select
Utility
.
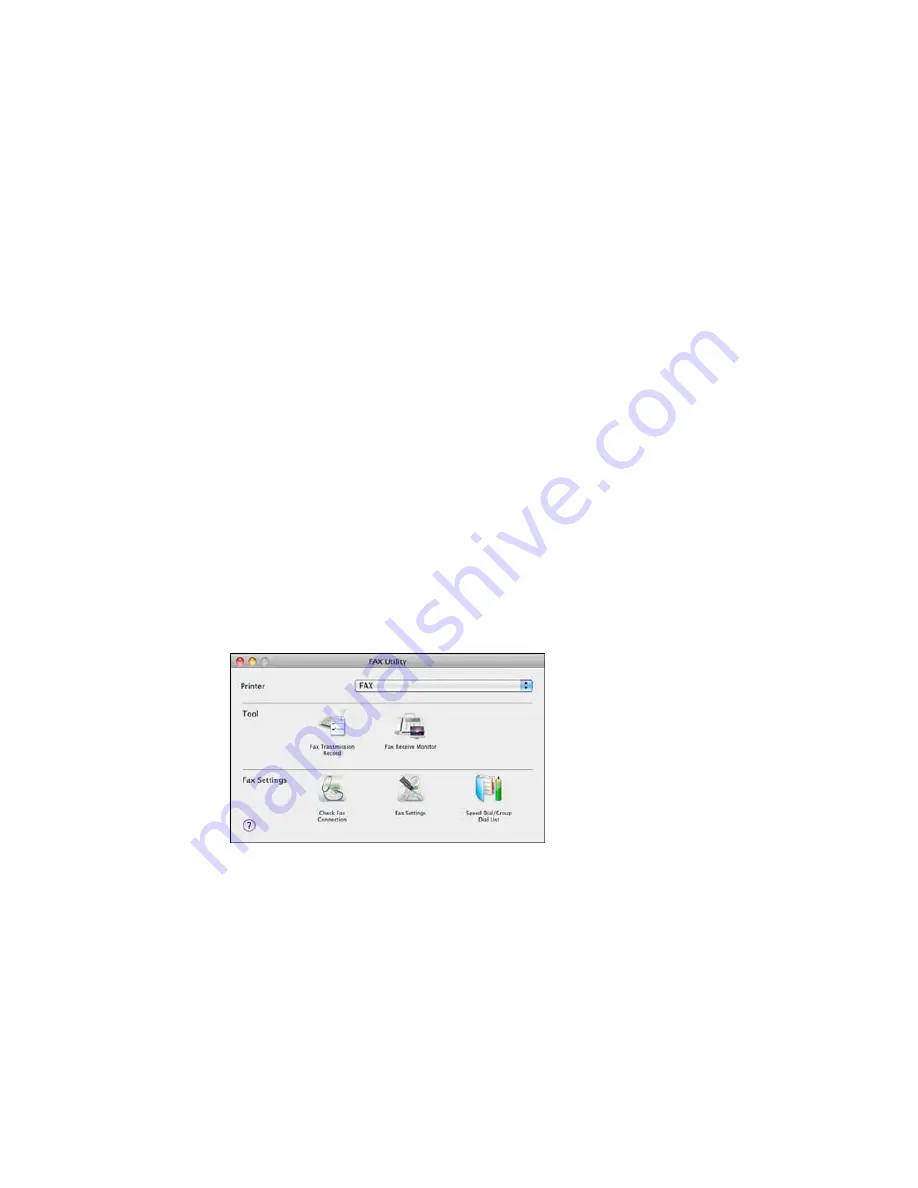
2.
Double-click
FAX Utility
, if necessary.
You see this window:
177
Summary of Contents for WorkForce WF-3540
Page 1: ...WF 3540 User s Guide ...
Page 2: ......
Page 13: ...WF 3540 User s Guide Welcome to the WF 3540 User s Guide 13 ...
Page 37: ...4 Slide the edge guide to your paper size 37 ...
Page 41: ...1 Close the paper stopper and output tray if necessary 2 Pull out the paper cassette 41 ...
Page 42: ...3 Slide the edge guides outward 4 Slide the edge guide to your paper size 42 ...
Page 46: ...2 Pull out the paper cassette 3 Slide the edge guides outward 46 ...
Page 70: ...Parent topic Copying 70 ...
Page 129: ...129 ...
Page 156: ...1 Telephone wall jack 2 DSL filter 3 DSL modem ISDN connection one phone number 156 ...
Page 157: ...1 ISDN wall jack 2 Terminal adapter or ISDN router ISDN connection two phone numbers 157 ...
Page 158: ...1 ISDN wall jack 2 Terminal adapter or ISDN router 158 ...
Page 176: ...3 Select Fax Settings for Printer Select your product if prompted You see this window 176 ...
Page 185: ...3 Select Fax Settings for Printer Select your product if prompted You see this window 185 ...
Page 285: ...3 Carefully remove any jammed paper 4 Remove any jammed paper from the duplexer 285 ...
Page 286: ...5 Open the duplexer 286 ...
Page 287: ...6 Carefully remove any jammed paper stuck inside 7 Reattach the duplexer 287 ...
Page 290: ...6 Carefully remove any jammed pages in the direction shown 290 ...


