


Removing a Memory Card
After you finish working with a memory card, you can check to make sure it is safe to remove it from your
product.
Caution:
Do not remove a memory card or turn off your product while the memory card access light is
flashing or you may lose data from the memory card.
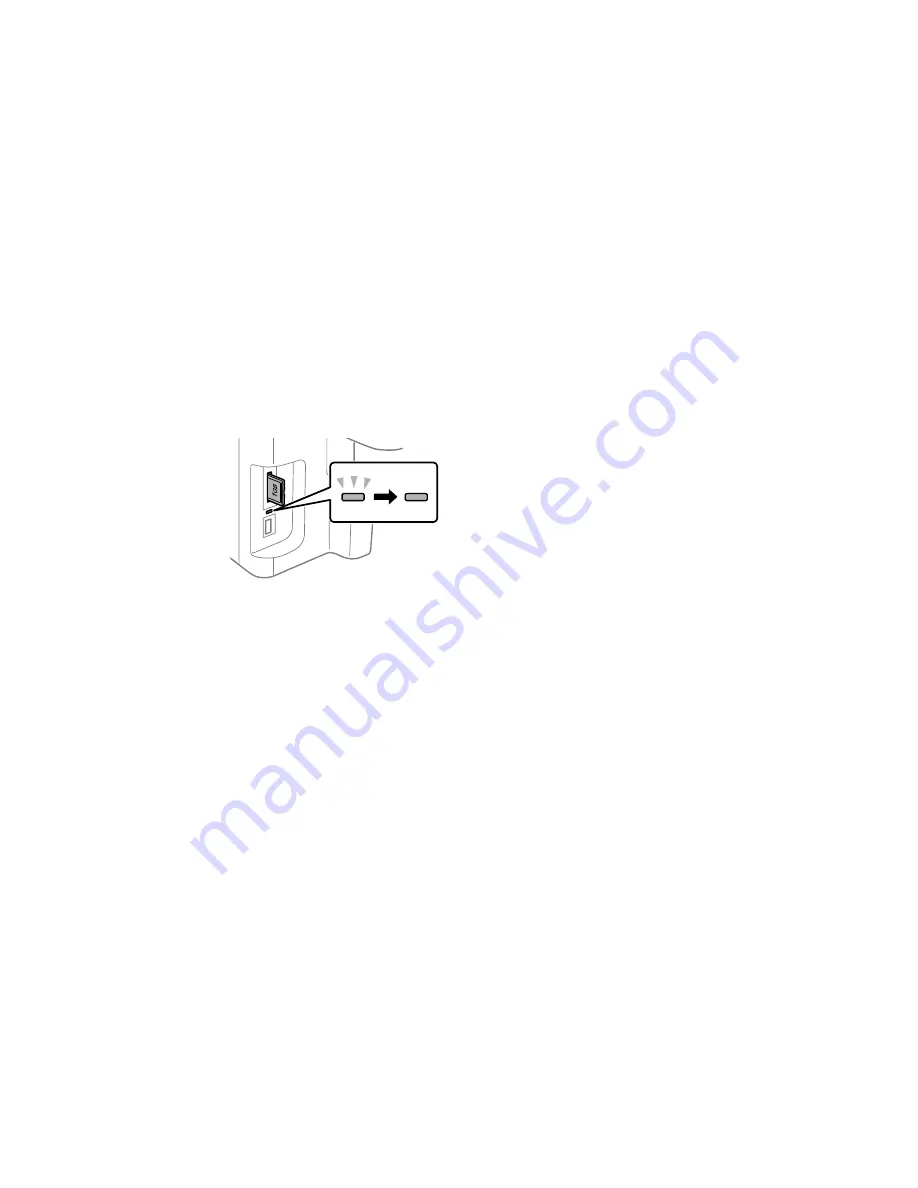
1.
Make sure the memory card access light is not flashing.
2.
If your product is connected to your computer using a USB cable, do one of the following:
•
Windows
: Open the
My Computer
,
Computer
,
Windows Explorer
, or
File Explorer
utility.
Then right-click the name of your memory card (listed as a removable disk) and select
Eject
.
•
Mac OS X
: Drag the removable disk icon for your memory card from the desktop or computer
window into the trash.
3.
Pull the memory card straight out of its slot.
Parent topic:
Inserting a Memory Card
Printing from a Memory Card
See these sections to print photos from a memory card inserted into your product:
Viewing and Printing Photos
Printing Photo Layouts
Parent topic:
Using Memory Cards With Your Product
206
Summary of Contents for WorkForce WF-3540
Page 1: ...WF 3540 User s Guide ...
Page 2: ......
Page 13: ...WF 3540 User s Guide Welcome to the WF 3540 User s Guide 13 ...
Page 37: ...4 Slide the edge guide to your paper size 37 ...
Page 41: ...1 Close the paper stopper and output tray if necessary 2 Pull out the paper cassette 41 ...
Page 42: ...3 Slide the edge guides outward 4 Slide the edge guide to your paper size 42 ...
Page 46: ...2 Pull out the paper cassette 3 Slide the edge guides outward 46 ...
Page 70: ...Parent topic Copying 70 ...
Page 129: ...129 ...
Page 156: ...1 Telephone wall jack 2 DSL filter 3 DSL modem ISDN connection one phone number 156 ...
Page 157: ...1 ISDN wall jack 2 Terminal adapter or ISDN router ISDN connection two phone numbers 157 ...
Page 158: ...1 ISDN wall jack 2 Terminal adapter or ISDN router 158 ...
Page 176: ...3 Select Fax Settings for Printer Select your product if prompted You see this window 176 ...
Page 185: ...3 Select Fax Settings for Printer Select your product if prompted You see this window 185 ...
Page 285: ...3 Carefully remove any jammed paper 4 Remove any jammed paper from the duplexer 285 ...
Page 286: ...5 Open the duplexer 286 ...
Page 287: ...6 Carefully remove any jammed paper stuck inside 7 Reattach the duplexer 287 ...
Page 290: ...6 Carefully remove any jammed pages in the direction shown 290 ...


