


278
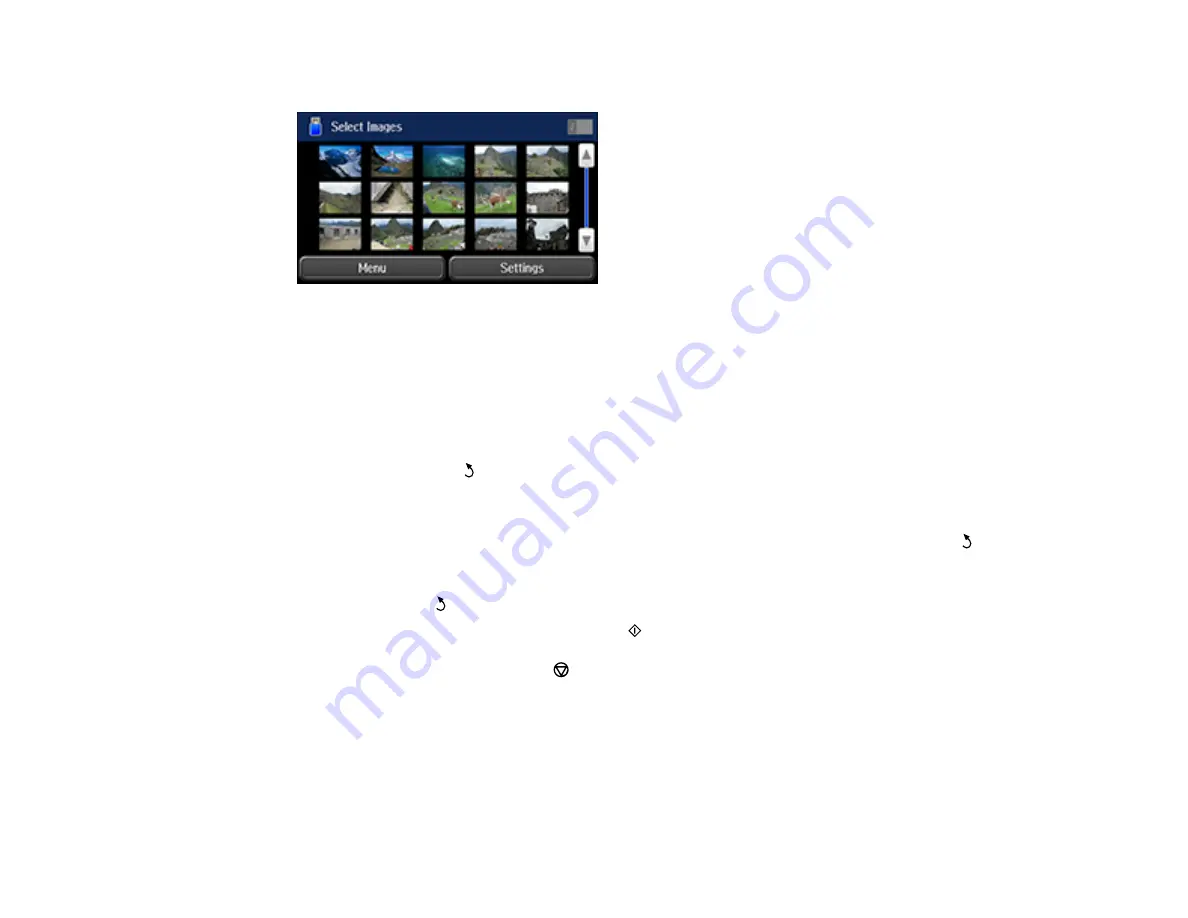
You see a screen like this:
Note:
If you have more than 999 JPEG images on your device, the images are divided into groups,
and you must first select the group you want to display.
4.
Do one of the following to select your photos:
• To select individual photos, select the thumbnail image of the photo you want to print, then use the
numeric keypad on the control panel or press
+
or
–
on the LCD screen to select the number of
copies (up to 99). Press the left or right arrow buttons to scroll through and select additional
photos, or press the
back button to return to the thumbnail image view and select another photo.
• To select all photos, select
Menu
>
Select All Images
.
5.
To adjust a photo (adjustments modify only your printed copy, not the original file), select its
thumbnail image, and select
Adjustments
. Make the necessary adjustments and press the
back
button.
6.
To change the print settings, select
Settings
, and select the necessary settings. When you are
finished, press the
back button.
7.
When you are ready to print, press one of the
Start
buttons.
Note:
To cancel printing, press the
Stop
button or select
Cancel
.
Parent topic:
Viewing and Printing From the LCD Screen
Related references
Photo Adjustment Options - Device Mode
Print Setting Options - Device Mode
Summary of Contents for WF-R5690
Page 1: ...WF R5690 User s Guide ...
Page 2: ......
Page 42: ...42 Parent topic Using Google Cloud Print Related topics Wi Fi or Wired Networking ...
Page 74: ...74 2 Open the feeder guard and pull up the paper support 3 Slide out the edge guides ...
Page 193: ...193 You see this window ...
Page 215: ...215 4 Click OK Parent topic Scanning ...
Page 238: ...238 You see this window 3 Select Fax Settings for Printer Select your product if prompted ...
Page 249: ...249 You see this window 3 Select Fax Settings for Printer Select your product if prompted ...
Page 250: ...250 You see this window 4 Select Speed Dial Group Dial List ...
Page 416: ...416 3 16 CPD 41354R2 Parent topic Copyright Notice ...


