167
2.
Select
Settings
.
3.
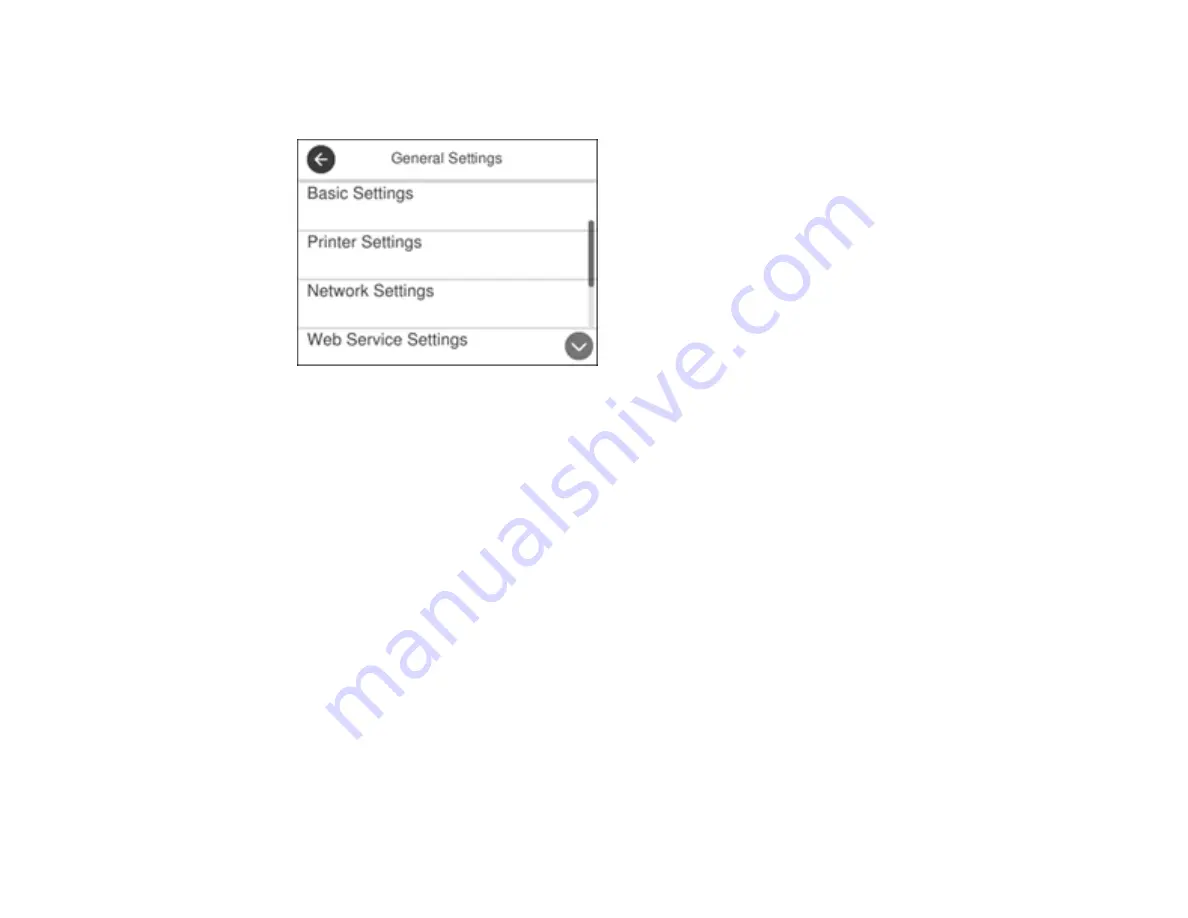
Select
General Settings
.
4.
Scroll down and select
Fax Settings
.
5.
Scroll down and select
Fax Setting Wizard
.
The Fax Setting Wizard screen appears.
6.
Select
Proceed
.
7.
On the Fax Header screen, use the displayed keypad to enter the sender name for your fax source,
such as your name or a business name. You can enter up to 40 characters.
8.
On the Your Phone Number screen, use the displayed keypad to enter your fax number, up to 20
characters.
Note:
The name and phone number in the fax header identifies the source of the faxes you send.
9.
On the Distinctive Ring Setting screen, do one of the following:
• If you have subscribed to a distinctive ring service from your telephone company, select
Proceed
.
Select the ring pattern to be used for incoming faxes or select
On
. Go to step 12.
• If you do not have a distinctive ring service, select
Skip
and go to the next step.
Note:
Distinctive ring services allows you to have several phone numbers on one phone line. Each
number is assigned a different ring pattern. You can use one number for voice calls and another for
Summary of Contents for WF-3720 series
Page 1: ...WF 3720 WF 3730 WF 4720 WF 4730 Series User s Guide ...
Page 2: ......
Page 18: ...18 3 Select General Settings 4 Select Basic Settings 5 Select Date Time Settings ...
Page 29: ...29 Product Parts Inside 1 Document cover 2 Scanner glass 3 Control panel ...
Page 68: ...68 1 Pull out the paper cassette 2 Slide the edge guides outward ...
Page 86: ...86 1 Open the document cover ...
Page 152: ...152 You see an Epson Scan 2 window like this ...
Page 154: ...154 You see an Epson Scan 2 window like this ...
Page 156: ...156 You see this window ...
Page 254: ...254 Related tasks Loading Paper in the Cassette ...
Page 256: ...256 5 Open the document cover ...
Page 258: ...258 8 Open the ADF cover ...


