62
8.
Select one of the options shown above, then select the settings you want to use. Contact your email
provider if necessary to confirm the authentication method for the email server.
Note:
You may need to try more than one authentication method, as some email providers have
more than one way to access their servers.
9.
Select
Proceed
to save your settings.
10. Select
Close
to exit.
11. Select
Connection Check
to verify the connection to the email server.
Parent topic:
Related tasks
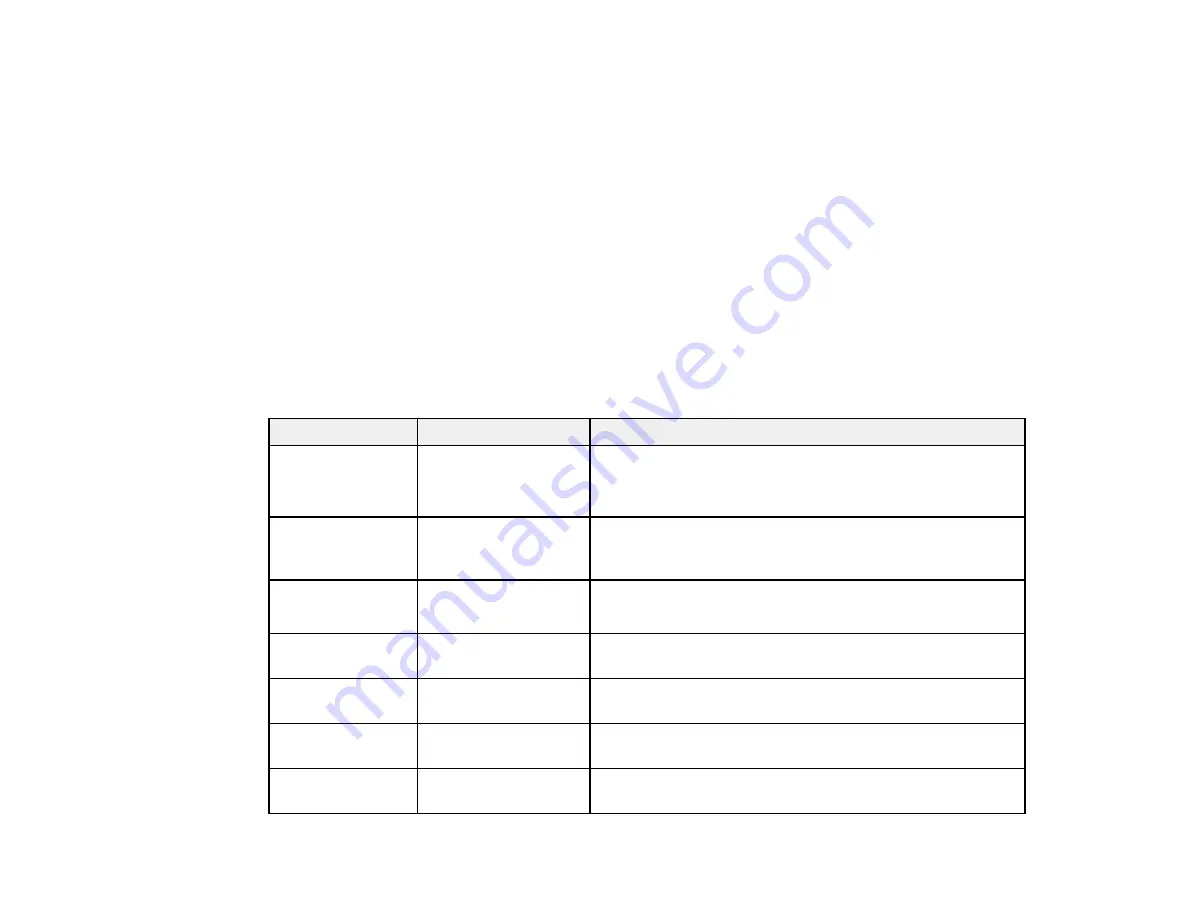
Email Server Settings
Setting name
Available options
Description
Authenticated
Account
—
Lets you enter a user name or email address for the mail
server. Used with the
POP Before SMTP
and
SMTP-
AUTH
methods.
Authenticated
Password
—
Lets you enter a password for the authenticated account.
Used with the
POP Before SMTP
and
SMTP-AUTH
methods.
Sender's Email
Address
—
Lets you enter the email address to be displayed to the
sender
SMTP Server
Address
—
Lets you enter the address of the SMTP server
SMTP Server Port
Number
—
Lets you enter the port number of the SMTP server. The
default port is 25.
POP3 Server
Address
—
Lets you enter the address of the POP3 server
POP3 Server Port
Number
—
Lets you enter the port number of the POP3 server. The
default port is 25.
Summary of Contents for WF-3720 series
Page 1: ...WF 3720 WF 3730 WF 4720 WF 4730 Series User s Guide ...
Page 2: ......
Page 18: ...18 3 Select General Settings 4 Select Basic Settings 5 Select Date Time Settings ...
Page 29: ...29 Product Parts Inside 1 Document cover 2 Scanner glass 3 Control panel ...
Page 68: ...68 1 Pull out the paper cassette 2 Slide the edge guides outward ...
Page 86: ...86 1 Open the document cover ...
Page 152: ...152 You see an Epson Scan 2 window like this ...
Page 154: ...154 You see an Epson Scan 2 window like this ...
Page 156: ...156 You see this window ...
Page 254: ...254 Related tasks Loading Paper in the Cassette ...
Page 256: ...256 5 Open the document cover ...
Page 258: ...258 8 Open the ADF cover ...


