


12
Replacing Ink Cartridges
w
Warning:
If ink gets on your hands, wash them
thoroughly with soap and water. If ink gets
into your eyes, flush them immediately with
water. If discomfort or vision problems
continue after a thorough flushing, see a
doctor immediately.
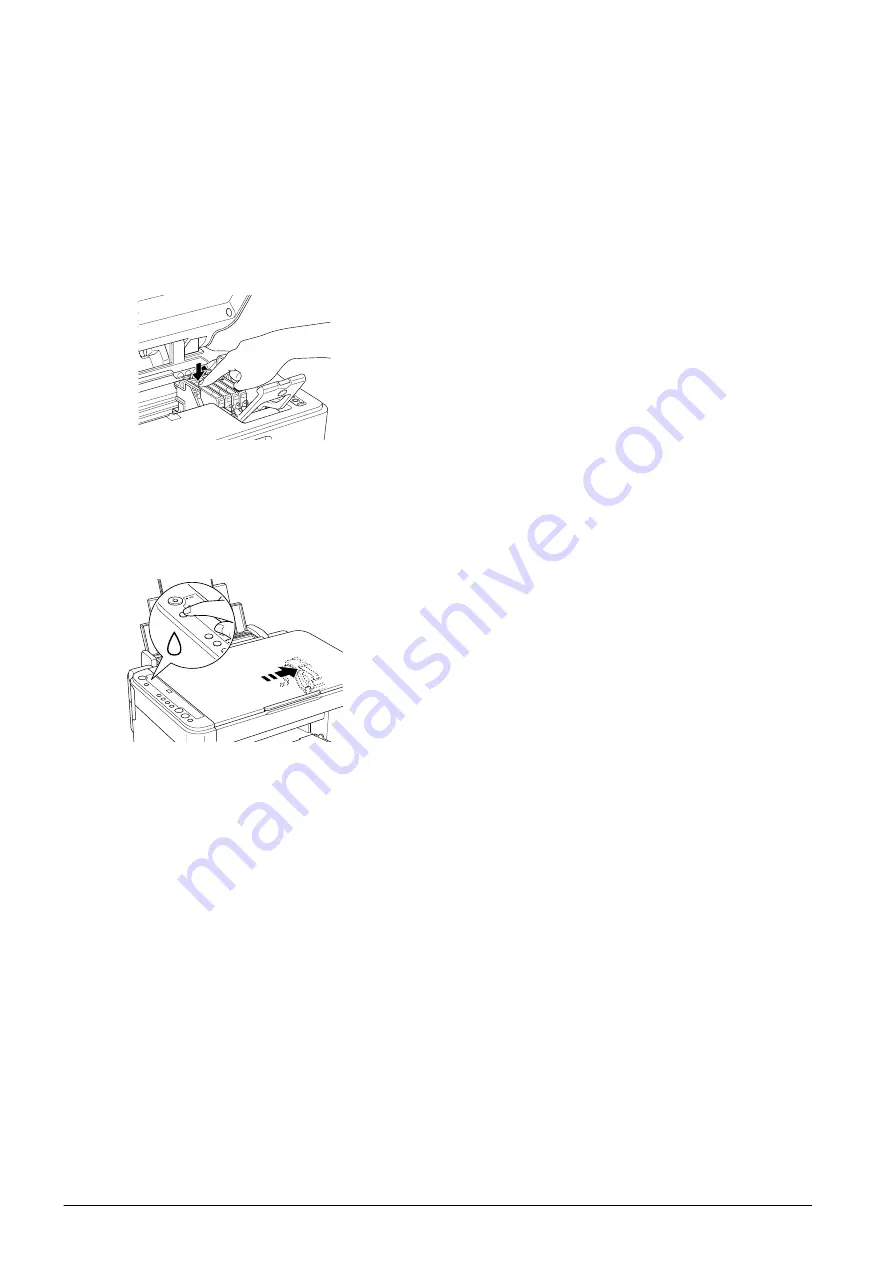
8.
Place the replacement ink cartridge vertically
into the cartridge holder, then push the ink
cartridge down until it clicks into place.
9.
When you have finished replacing the ink
cartridge, close the cartridge cover and press it
so that it clicks into place, then close the scanner
unit.
10. Press the
H
Ink button.
The unit begins charging the ink delivery
system. This process takes about one minute to
complete. When the ink charging process is
finished, The On light stops flashing and
remains lit, and the Ink light goes out.
c
Caution:
The On light continues to flash while this
product performs the ink charging operation.
Never turn off this product while this light is
flashing. Doing so can result in incomplete
charging of ink.
Note:
If the Ink light remains on after the On light stops
flashing (and remains lit), the ink cartridge may not
be installed correctly. Press the
H
Ink button again,
and reinstall the ink cartridge until it clicks into place.
Summary of Contents for STYLUS CX3600
Page 19: ...English ...
Page 20: ...Printed in XXXXXX XX XX XX ...


