2-6
Scanning Basics
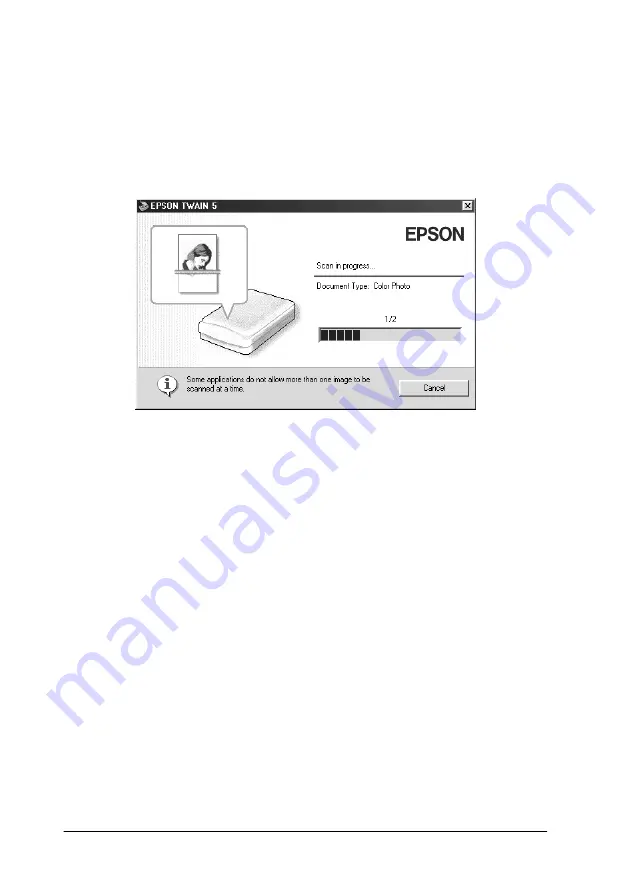
2. After EPSON TWAIN has previewed and recognized the
image type, the following window appears. EPSON TWAIN
automatically sets the “Image Location setting” on page 2-7
and “Exposure setting” on page 2-8, and then starts scanning.
If you scan multiple photos, the number of scanned image will
be indicated.
3. The scanned image(s) is sent to the application.
Note:
❏
You cannot scan an image which exceeds the available memory or
disk space. If you try to scan a very large image, an alert appears on
the screen.
❏
Before scanning, be sure to calibrate your screen. For details, see
“Calibrating Your Screen” on page 4-2.
❏
After an image is scanned, be sure to save or export it.
Document Type Recognition setting
The image is automatically recognized as one of the following
document type:
Color Photo:
24-bit color scanning
Summary of Contents for Series Perfection 1240U Series
Page 2: ... 2 ...
Page 8: ... 8 ...
Page 30: ...1 20 Using the Buttons ...
Page 50: ...2 20 Scanning Basics High Contrast Increases the contrast of dull images Open Shadow ...
Page 60: ...2 30 Scanning Basics ...
Page 94: ...3 34 Understanding EPSON TWAIN Features ...
Page 102: ...4 8 Calibrating Your System ...
Page 146: ...6 30 Maintenance and Troubleshooting ...
Page 160: ...A 14 Technical Specifications ...
Page 161: ...Contacting Customer Support B 1 Appendix B Contacting Customer Support Overview B 2 ...


