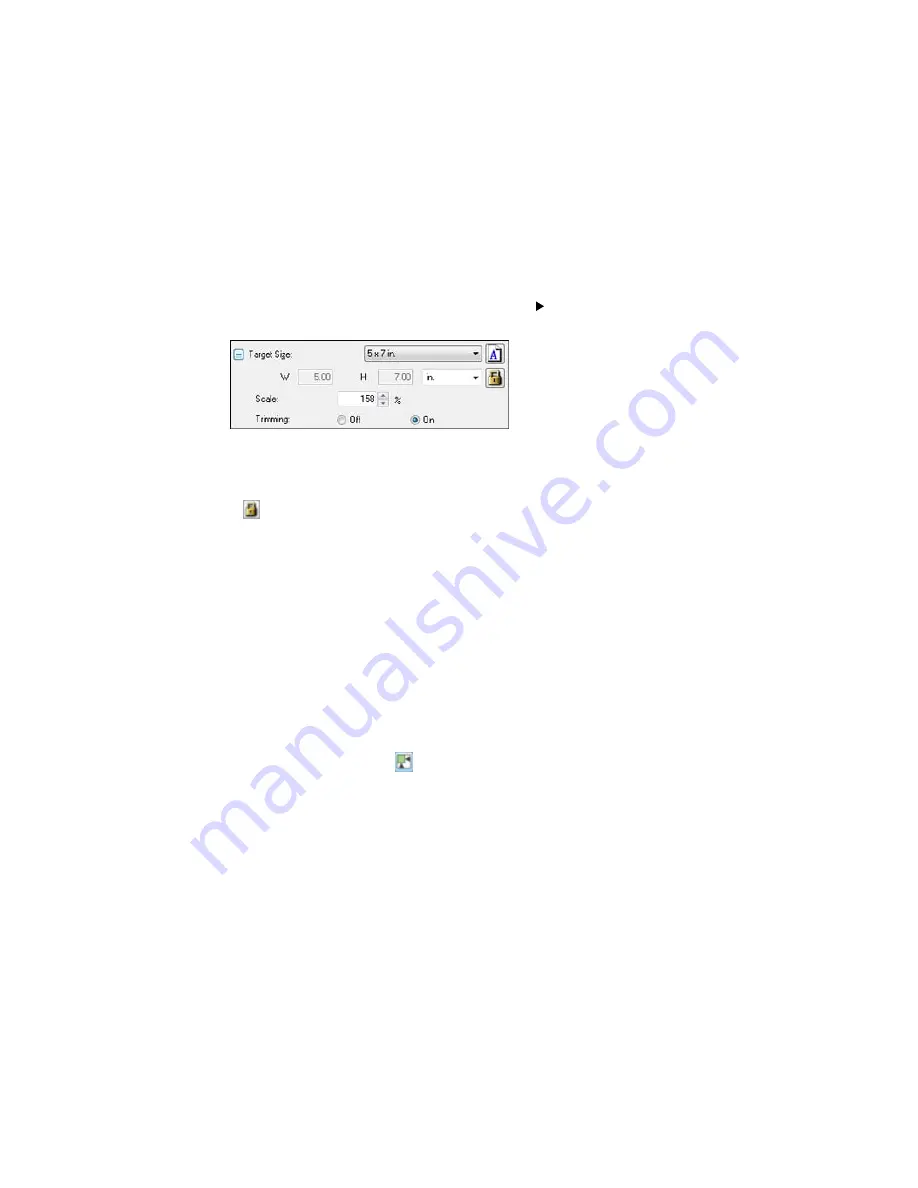
6.
To use additional sizing tools, click the
+
(Windows) or
(OS X) icon next to the Target Size setting
and select options as desired.
•
Scale
: Reduces or enlarges your image by the percentage you enter.
•
Trimming
: Turns automatic image cropping on or off.
•
Unlock icon: Unlocks the width/height proportions of the scanned image size so you can adjust
it without constraint.
Parent topic:
Scanning in Professional Mode
Selecting a Scan Area - Professional Mode
You can select a specific area in your preview image to include in your scanned image. You can select
the entire image area or a portion of it. You can even select multiple scan areas to create multiple
scanned images of different areas (Normal Preview mode only).
You can also use the scan area to select specific Image Adjustments settings for a scanned image. Just
be sure to click inside the scan area before selecting the settings.
Note:
In Professional Mode, the default Preview mode is Normal mode. To use Thumbnail Preview
mode instead, select the
Thumbnail
checkbox beneath the Preview button (if available), then click the
Preview
button to preview your image again.
1.
Do one of the following to select your scan area in the Preview image:
•
Normal preview
: Click the
Auto Locate icon to create a marquee (dotted line) on the preview
image.
94
Summary of Contents for M200
Page 1: ...M200 M205 User s Guide ...
Page 2: ......
Page 10: ......
Page 17: ...1 Document cover 2 Scanner glass 3 Control panel Parent topic Product Parts Locations 17 ...
Page 87: ...87 ...
Page 118: ...4 Refill the ink tank to the upper line on the ink tank 118 ...
Page 178: ...Parent topic Solving Problems 178 ...
Page 188: ... Certification Number RCPEPWL12 0107 Parent topic Technical Specifications 188 ...


