185
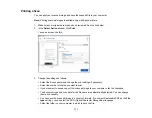
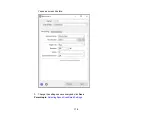
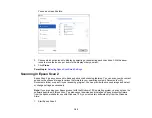
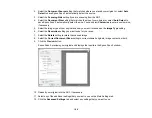
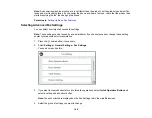
13. Select the format in which you want to save your scanned file as the
Image Format
setting. If
necessary, select
Options
and select any desired format options.
14. Enter the file name for your scanned file in the
File Name
field. If necessary, select
Settings
to
modify the file name settings.
15. Select the location in which you want to save your scanned file as the
Folder
setting. If necessary,
select
Select
to create a new folder.
16. Click
Scan
.
The product scans your original and saves the scanned file in the location you specified.
Available Document Source Settings
Additional Scanning Settings - Main Settings Tab
Additional Scanning Settings - Advanced Settings Tab
Saving Scanned Documents as a Searchable PDF Using Epson Scan 2
Image Format Options
Scan Resolution Guidelines
Parent topic:
Related topics
Placing Originals on the Product
Available Document Source Settings
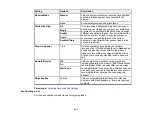
You can select these Document Source options in Epson Scan 2:
Auto Detect
Automatically detects where the originals are placed on your product for scanning.
ADF
Selects the Automatic Document Feeder as the location where the originals are placed on your
product for scanning.
Scanner Glass
Selects the scanner glass as the location where the originals are placed on your product for scanning.
Parent topic:
Additional Scanning Settings - Main Settings Tab
You can select these additional scanning settings on the Epson Scan 2 Main Settings tab. Not all
adjustment settings may be available, depending on other settings you have chosen.
Summary of Contents for EcoTank L15150
Page 1: ...L15150 L15160 User s Guide ...
Page 2: ......
Page 46: ...46 Related topics Wi Fi or Wired Networking ...
Page 160: ...160 You see an Epson Scan 2 window like this ...
Page 162: ...162 You see an Epson Scan 2 window like this ...
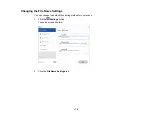
Page 178: ...178 You see a screen like this 2 Click the Save Settings tab ...
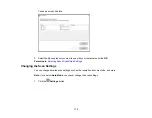
Page 183: ...183 You see this window ...
Page 279: ...279 Print Quality Adjustment ...

