


The projector control toolbar lets you control the projector from the
projected screen just as you would using the remote control.
If your network device is connected to the projector using EasyMP Multi
PC Projection, you can also use the toolbar to select the network device
from which you want to project.
Available features vary depending on the mode used.
s
"Whiteboard Mode Bottom Toolbar"
s
"Annotation Mode Bottom Toolbar"
Selecting Network Device Display from the
Projector Control Toolbar
If you have connected devices to the projector via a network, you can select
to project an image from those devices using the projector control toolbar.
You can select the image source from computers that are running EasyMP
Multi PC Projection, and smartphones or tablets that are running Epson
iProjection.
a
You can select any connected network device for projection, even if
the user connected using the EasyMP Multi PC Projection software
with the moderator feature enabled. See the
EasyMP Multi PC
Projection Operation Guide
for details about the moderator feature.
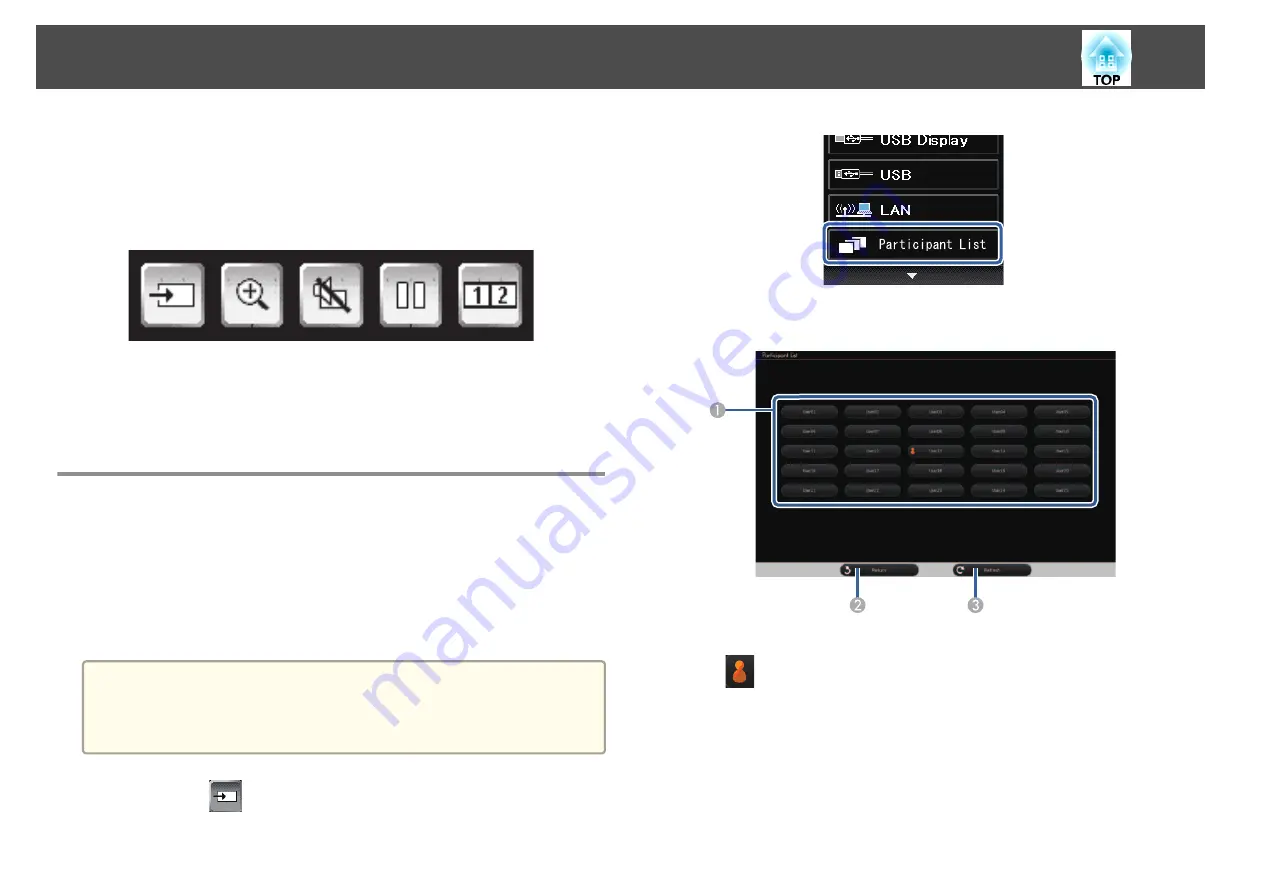
a
Select the
icon on the projector control toolbar, and then
select
Participant List
from the image source list.
b
Select the user name for the device you want to project from.
A
Displays the user names for network devices connected to the projector.
The
icon is shown next to the user name of the currently projected
device.
B
Closes the user selection screen and returns to the previous screen.
C
Refreshes the user list.
When an additional user connects to the projector via a network, select this
button to update the user list.
Control the Projector from Projected Screen
118
Summary of Contents for EB-1420Wi
Page 1: ...User s Guide ...
Page 8: ...Introduction This chapter explains the projector s features and the part names ...
Page 52: ...Basic Projection Methods This chapter explains how to project and adjust images ...
Page 171: ...Configuration Menu This chapter explains how to use the Configuration menu and its functions ...
Page 239: ...d Install the new air filter e Close the air filter cover Replacing Consumables 239 ...
Page 241: ...Appendix ...
Page 252: ...Units mm Appearance 252 ...
Page 253: ...Without feet With feet Units mm Appearance 253 ...


