


Switches from annotation mode to computer interactive
mode if you want to operate the computer while drawing.
•
To change from annotation mode to computer interactive
mode, press
icon and then select
icon. After
changing to computer interactive mode, content drawn
using annotation mode is retained.
•
To change from computer interactive mode to annotation
mode, press
icon and then select
icon.
s
"Using Computer Interactive Mode"
a
•
If the
icon is not displayed, set the
Pen Mode Icon
setting to
On
in the
projector's
Extended
menu.
s
Extended
-
Display
-
Pen Mode
Icon
•
You can also change annotation mode to
computer interactive mode using the fol‐
lowing methods:
- Press the [Pen Mode] button on the
remote control.
- Change
Pen Mode
settings from the
Configuration menu.
s
Extended
-
Easy Interactive Function
-
Pen Mode
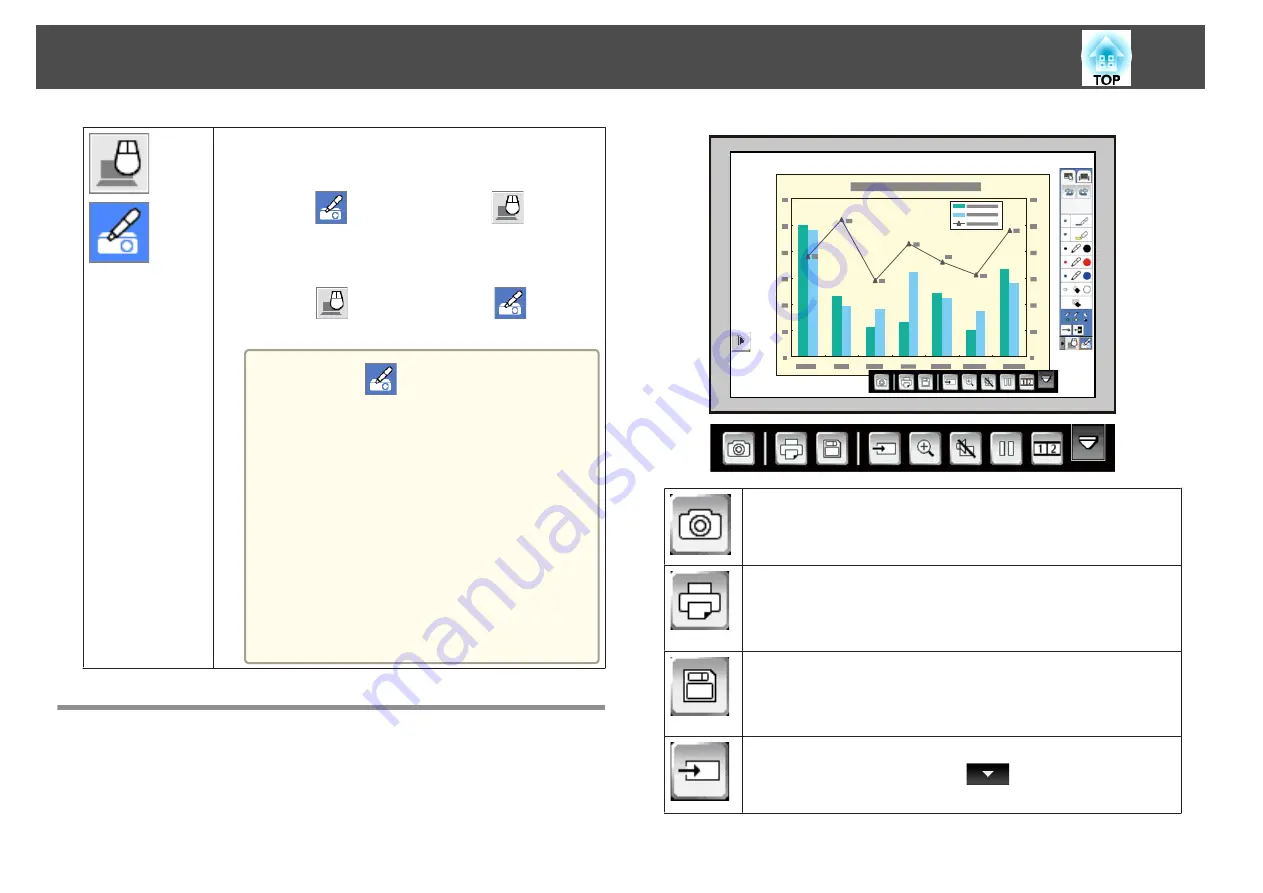
Annotation Mode Bottom Toolbar
The annotation mode bottom toolbar lets you control the projector just as
you would using the Control Pad or the remote control. The annotation
mode bottom toolbar is shown in the following illustration.
Takes a snapshot of the projected screen. After taking the snapshot,
the image is pasted onto a new page in Whiteboard Mode.
Sends the projected screen to the printer.
Items that can be set differ from the Whiteboard Mode save
feature.
s
"Printing Drawing Contents in Annotation Mode"
Saves the projected screen in PNG format.
Items that can be set differ from the Whiteboard Mode save
feature.
s
"Saving Drawing Contents in Annotation Mode"
Changes the image source using the displayed list.
To close the source list, select the
icon at the bottom of the
list.
Draw on the Projected Image (Annotation Mode)
108
Summary of Contents for EB-1420Wi
Page 1: ...User s Guide ...
Page 8: ...Introduction This chapter explains the projector s features and the part names ...
Page 52: ...Basic Projection Methods This chapter explains how to project and adjust images ...
Page 171: ...Configuration Menu This chapter explains how to use the Configuration menu and its functions ...
Page 239: ...d Install the new air filter e Close the air filter cover Replacing Consumables 239 ...
Page 241: ...Appendix ...
Page 252: ...Units mm Appearance 252 ...
Page 253: ...Without feet With feet Units mm Appearance 253 ...


