33
4.
Click
Select Scanner
and select your scanner from the scanner list, if necessary.
5.
If you want to use a scan job, click one of the job icons in the
Job
section of the window to complete
and send your scan with one click.
Note:
The default job is
Scan to PDF
. To create more jobs, click the
Job Settings
button.
Note:
If you do not see any icons, click the
V
symbol next to the
Job Settings
button.
6.
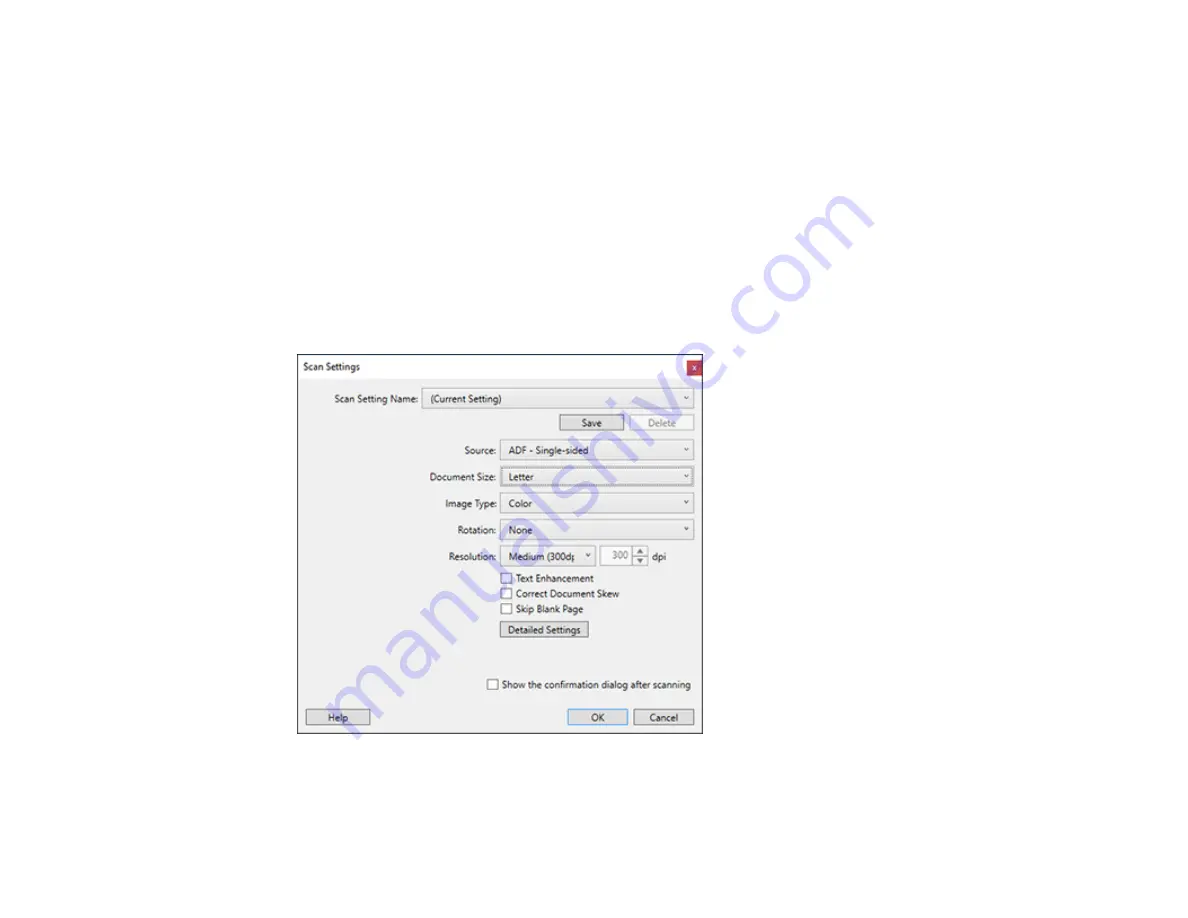
If you want to select scan settings for a particular destination, click the
Scan Settings
button, select
any displayed settings you want to use, and click
OK
.
Note:
See the help information in Document Capture Pro for details. If you do not see the
Scan
Settings
button, click the
<
symbol in the
Scan and...
bar.
7.
Click one of the destination icons in the
Scan and...
section of the window. Your product starts
scanning and you see the settings window.
Summary of Contents for DS-50000 WorkForce DS-50000
Page 1: ...DS 50000 DS 60000 DS 70000 User s Guide ...
Page 2: ......
Page 6: ......
Page 25: ...25 You see an Epson Scan 2 window like this ...
Page 27: ...27 You see an Epson Scan 2 window like this ...
Page 35: ...35 You see this window ...


