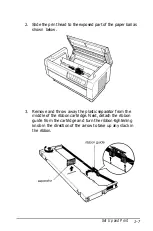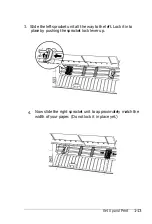
6. Insert the ribbon guide over the metal pins on each side of
the print head as shown below. The smaller end of the
guide should be on top, with its angled edge facing back
toward the platen. Turn the ribbon-tightening knob again
to remove any slack in the ribbon.
7. Slide the print head from side to side to see that it moves
smoothly and that the ribbon is not twisted or creased.
Set Up and Print
1-9
Summary of Contents for DFX-5000+
Page 1: ......
Page 2: ......
Page 3: ......
Page 6: ...Printer Parts ...
Page 163: ...PC437 table 1 PC437 table 2 B 22 Printer Commands and Character Tables ...

