


240
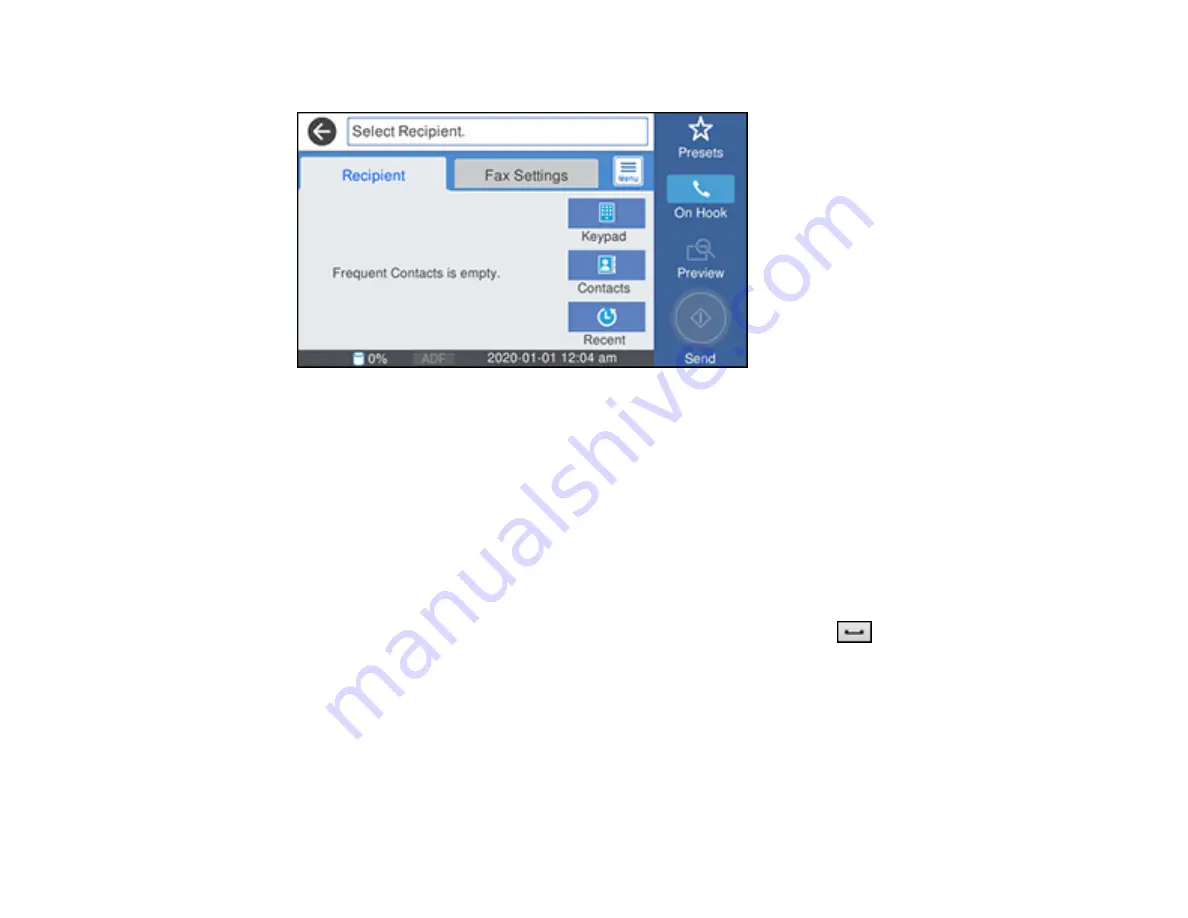
You see a screen like this:
Note:
To fax a double-sided document, place your document in the ADF and turn on the
ADF 2-
Sided
setting. (You cannot fax double-sided documents in color.)
4.
Do one of the following to select fax recipients:
• Select
Keypad
and enter a fax number. Select
OK
when done. To add another fax number,
repeat the same steps. You can also use the numeric keypad on the control panel to enter a fax
number.
Note:
If direct dialing has been restricted, you can only select the number from the contact list or
fax history. If necessary, enter an outside line access code (such as 9) at the beginning of the fax
number. If the access code has been set up in the
Line Type
setting, enter the
#
pound sign
instead of the code. If your fax number requires a brief pause, select the
icon to insert a
pause symbol (–).
• Select
Contacts
to display the contact list. Select one or more contacts (select the contact again
to deselect it). You can also select the
Search for Contacts
field to search for recipients by name,
index name, or entry number. Select
Close
when you are finished.
• Select
Recent
to display the sent fax history.
Note:
To delete entered recipients, select the
Select Recipient
field, select the recipient you want to
delete, and select
Remove
.
Summary of Contents for C11CH67201
Page 1: ...WF 7820 WF 7840 Series User s Guide ...
Page 2: ......
Page 14: ......
Page 37: ...37 Product Parts Inside 1 Document cover 2 Document mat 3 Scanner glass 4 Control panel ...
Page 183: ...183 You see an Epson Scan 2 window like this ...
Page 185: ...185 You see an Epson Scan 2 window like this ...
Page 197: ...197 1 Click the Settings button You see a screen like this 2 Click the File Name Settings tab ...
Page 199: ...199 You see a screen like this 2 Click the Save Settings tab ...
Page 202: ...202 You see a screen like this 2 Click the Customize Actions tab ...
Page 204: ...204 You see this window ...
Page 288: ...288 You see a window like this 5 Click Print ...


