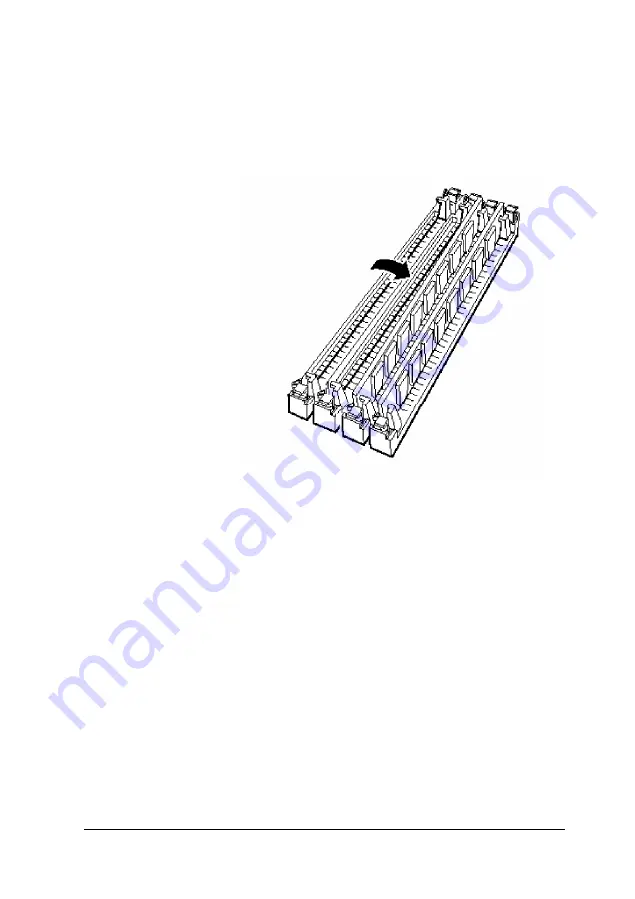
4.
Push the SIMM into the socket until it is seated firmly in the
slot. Then tilt it upright, as shown below, guiding the hole
at each end of the SIMM over the retaining post at each end
of the SIMM socket. If it does not go in smoothly, do not
force it; pull it all the way out and try again.
5.
Replace any option cards you removed. (See page 4-15 for
instructions.)
Removing SIMMs
If you need to remove SIMMs from your computer (to install
different ones, for example), follow the steps below:
1. Use the illustration on page 4-5 to locate the SIMM sockets
on the left front side of the main system board, next to the
microprocessor.
2.
Remove any option cards that may be blocking your access
to the SIMM sockets. (See page 4-18 for instructions.)
Installing and Removing Options
4-13
Summary of Contents for ActionPC 6000
Page 1: ......
Page 24: ...1 10 Setting Up Your System ...
Page 42: ...2 18 Running SETUP and Installing Drivers ...
Page 121: ...Hard Disk Drive Types Hard disk drive types Specifications A 9 ...
Page 125: ...Hardware Interrupts System I O Address Map Specifications A 13 ...
Page 126: ...System I O address map continued A 14 Specifications ...
Page 128: ...A 16 Specifications ...
Page 140: ...8 Index ...


